
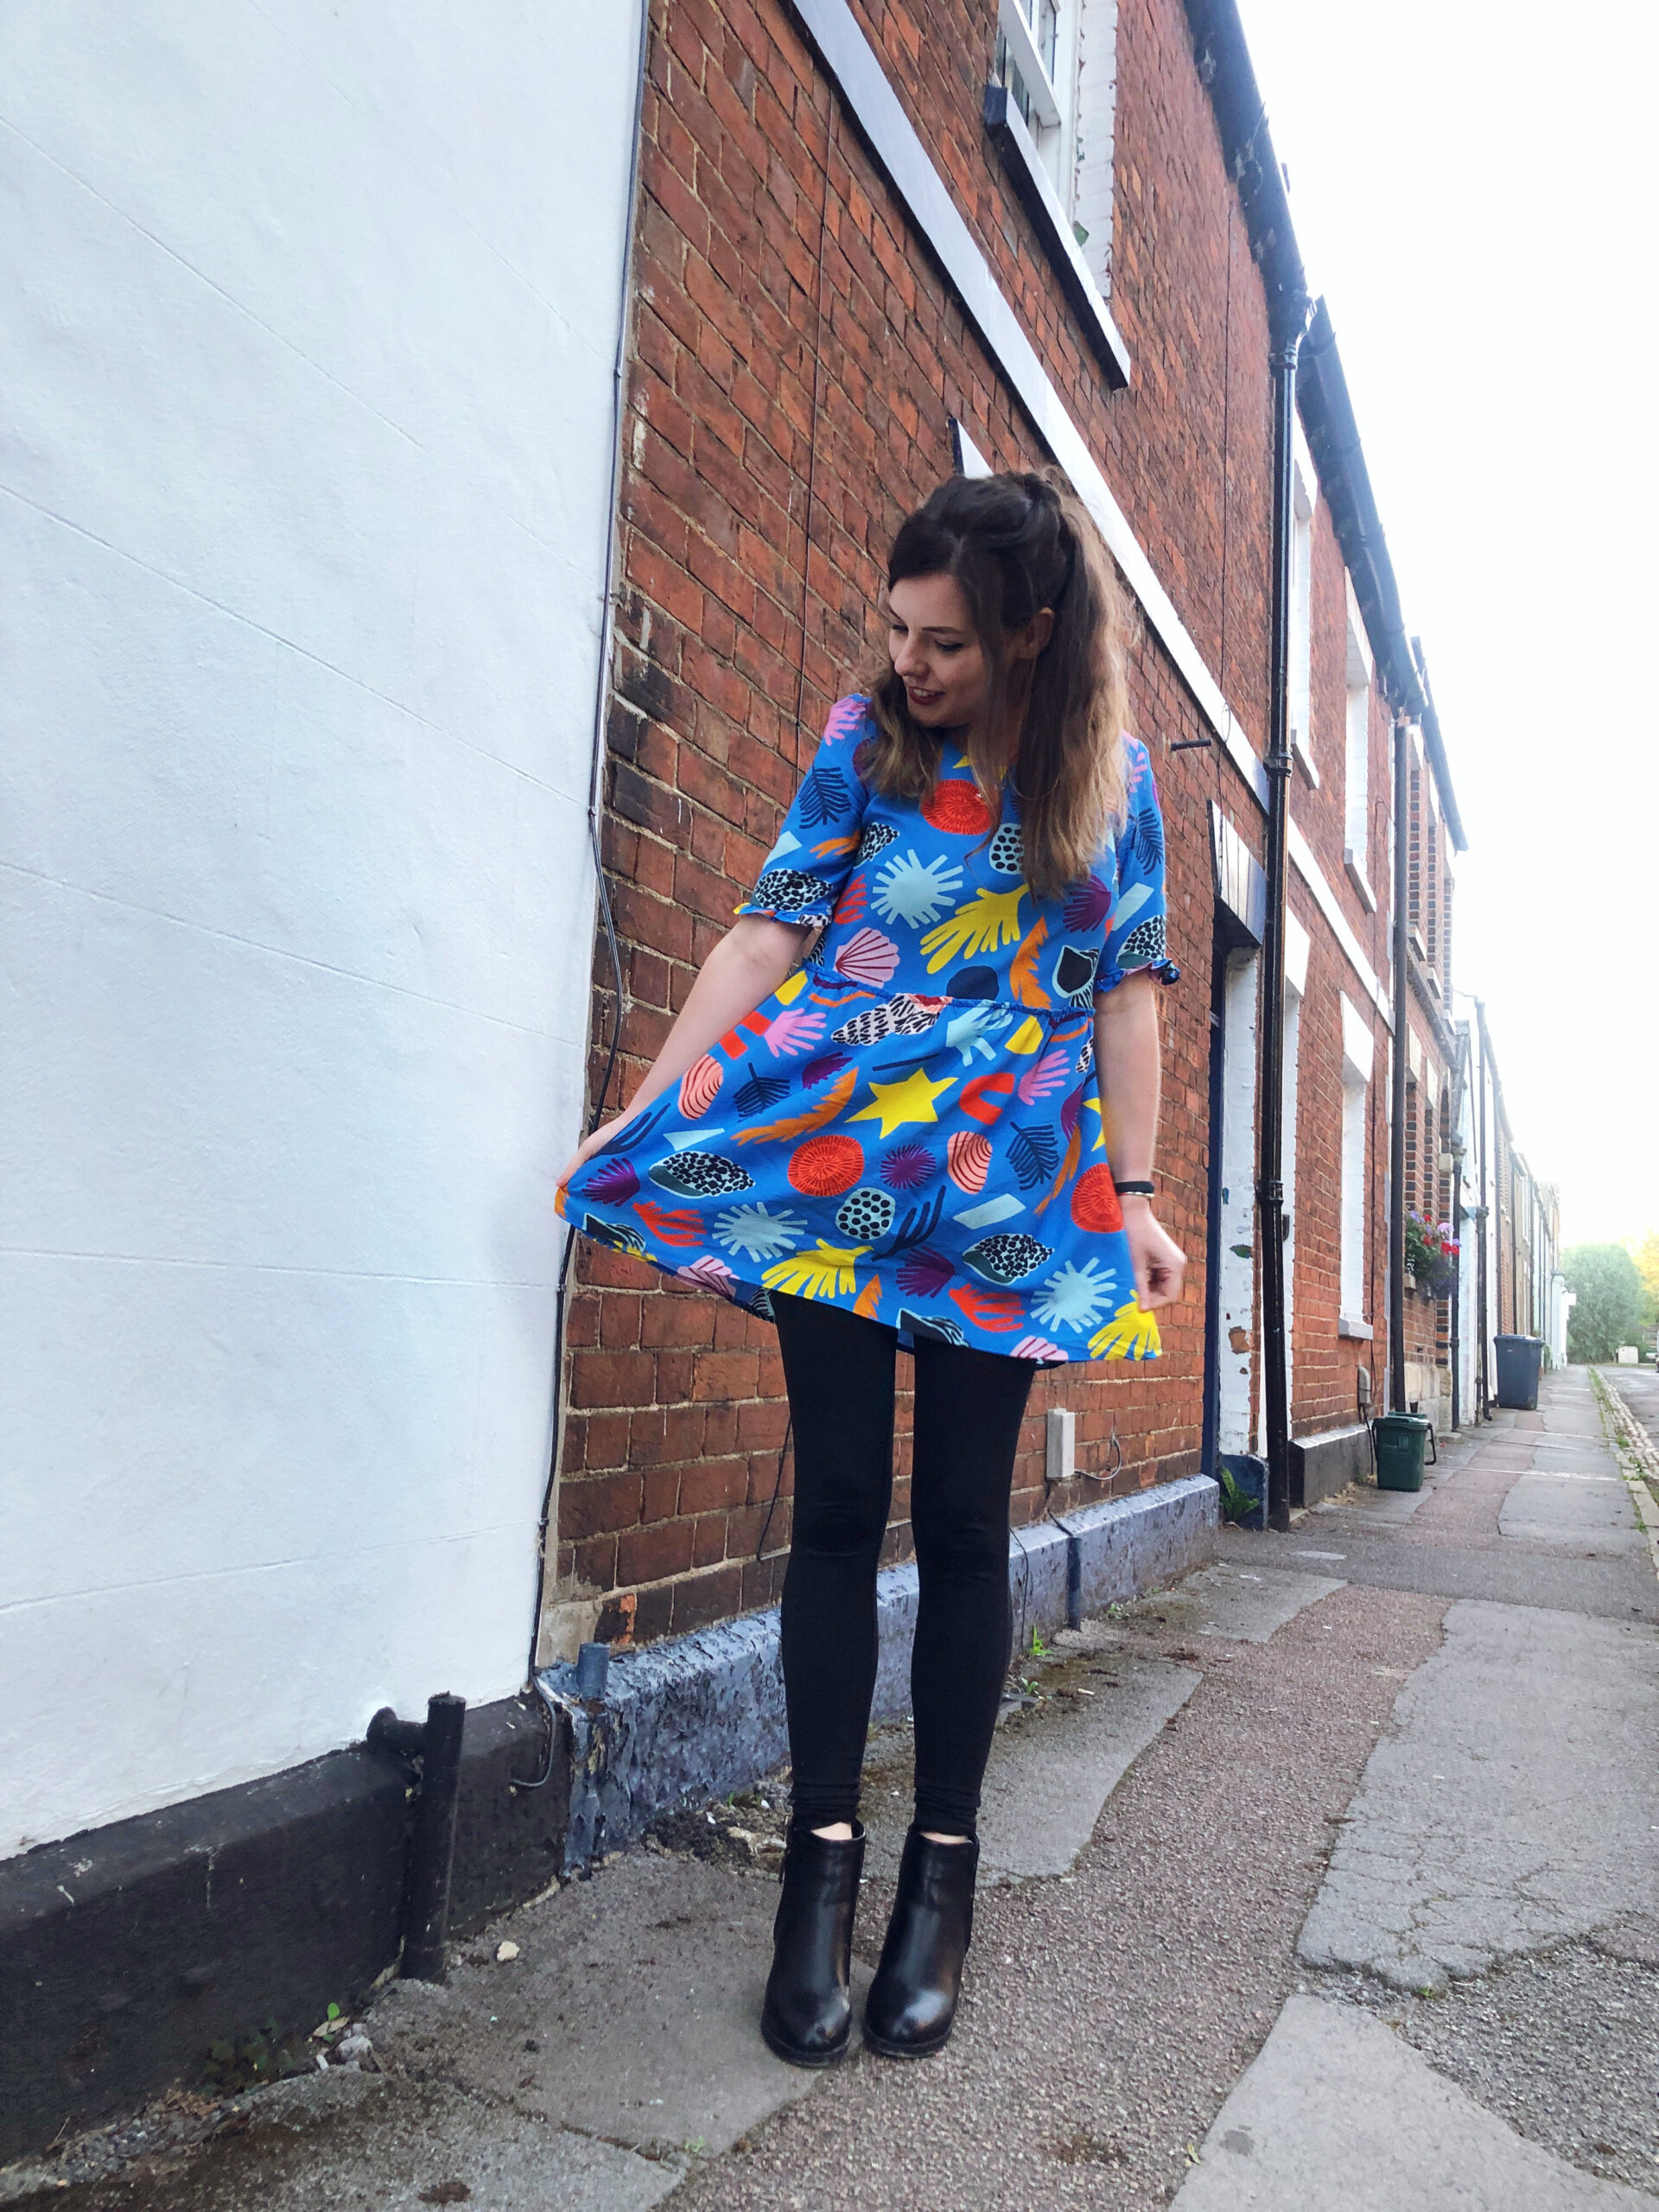
Can you still call it pattern hacking if it is your own poor-planning that is to blame…? While I absolutely love this finished smock top, getting to this point involved plenty of playing jenga with pattern pieces, adding in additional seam allowances and changing a pretty big element from the original design! I think it is only fair to highlight the I mistakes made — making mistakes and working around these challenges are so important to grow and improve as a sewist — but I really don’t think it detracts from the finished garment, which is as swishy and dreamy as I envisioned!
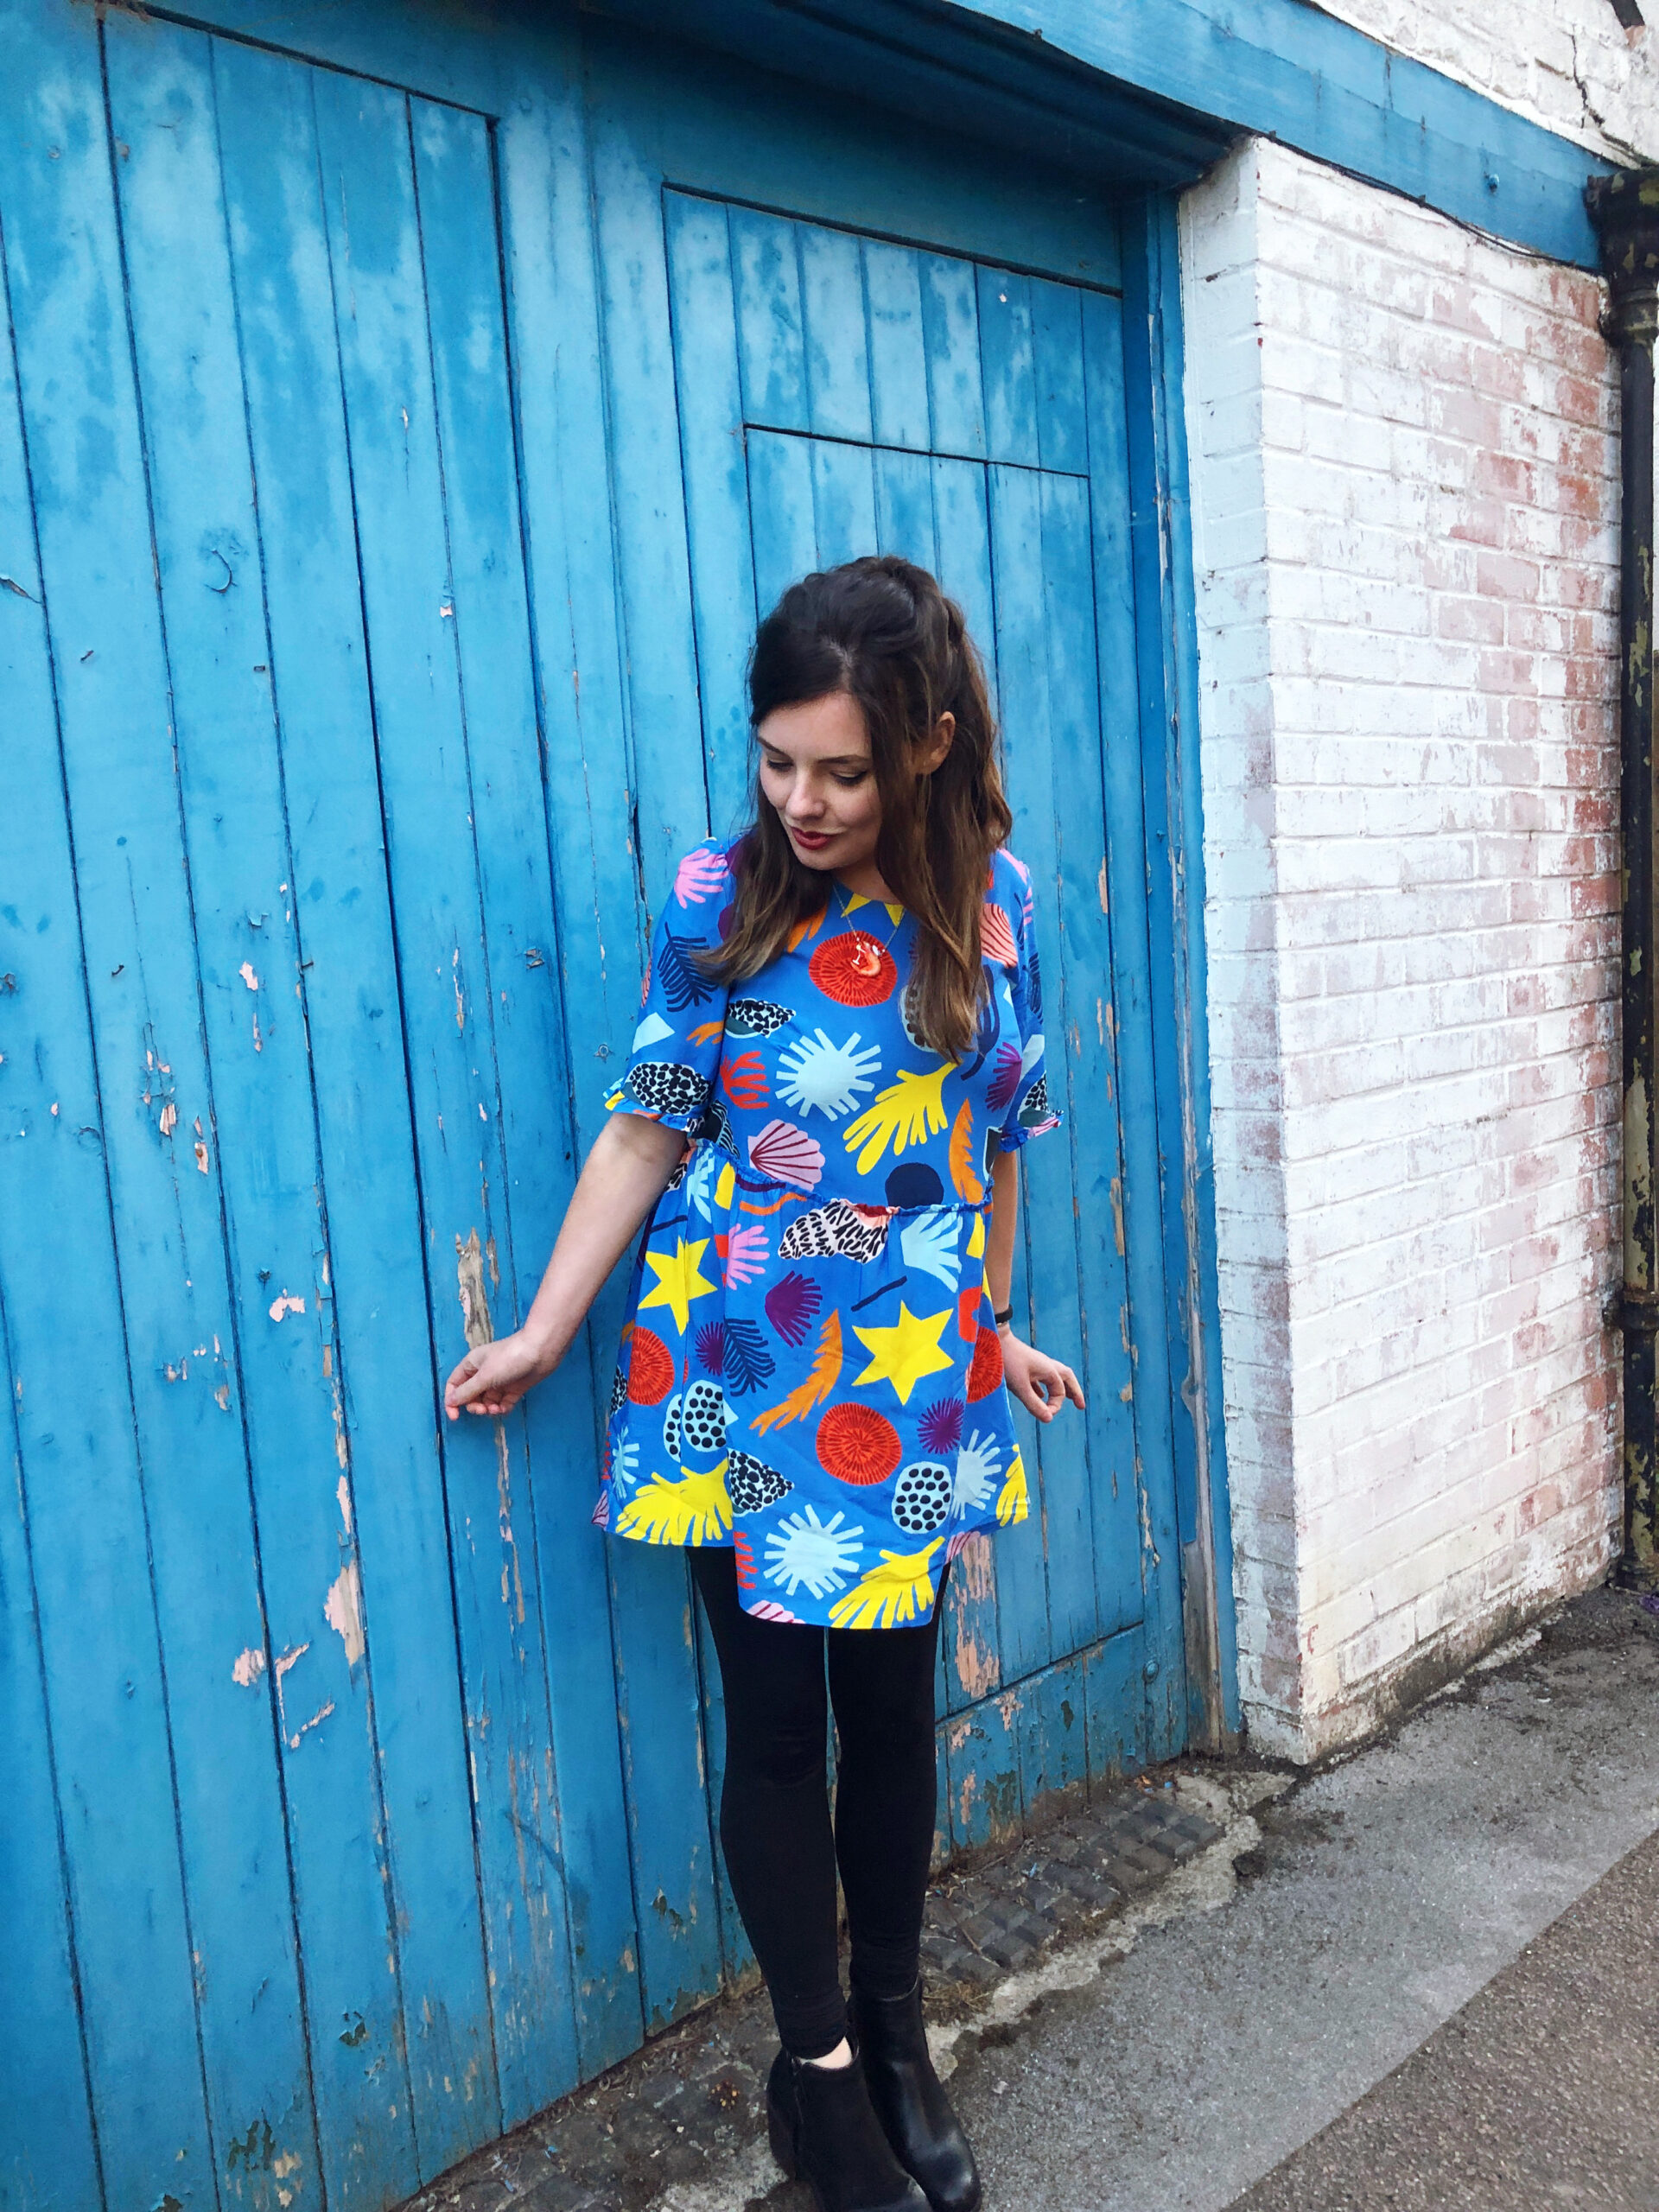

Let’s start with the positives. The Tilly and the Buttons Indigo Smock Top & Dress was introduced in autumn last year and absolutely took the sewing world by storm. I have seen so many beautiful versions sewn up in the last few months, so I was desperate to make my own version. It is such a comfortable and versatile garment, and has some really lovely touches — the frilled seam at the waist, the flounce sleeves (ahem…) and the dipped back. It is graded for a ‘Confident Beginner’, as there is nothing here that is too tricky — Tilly and the Button instructions are incredibly easy-to-follow and the only part that is killer is unpicking the endless gathering stitches (I swear, gathering will be the end of me…).
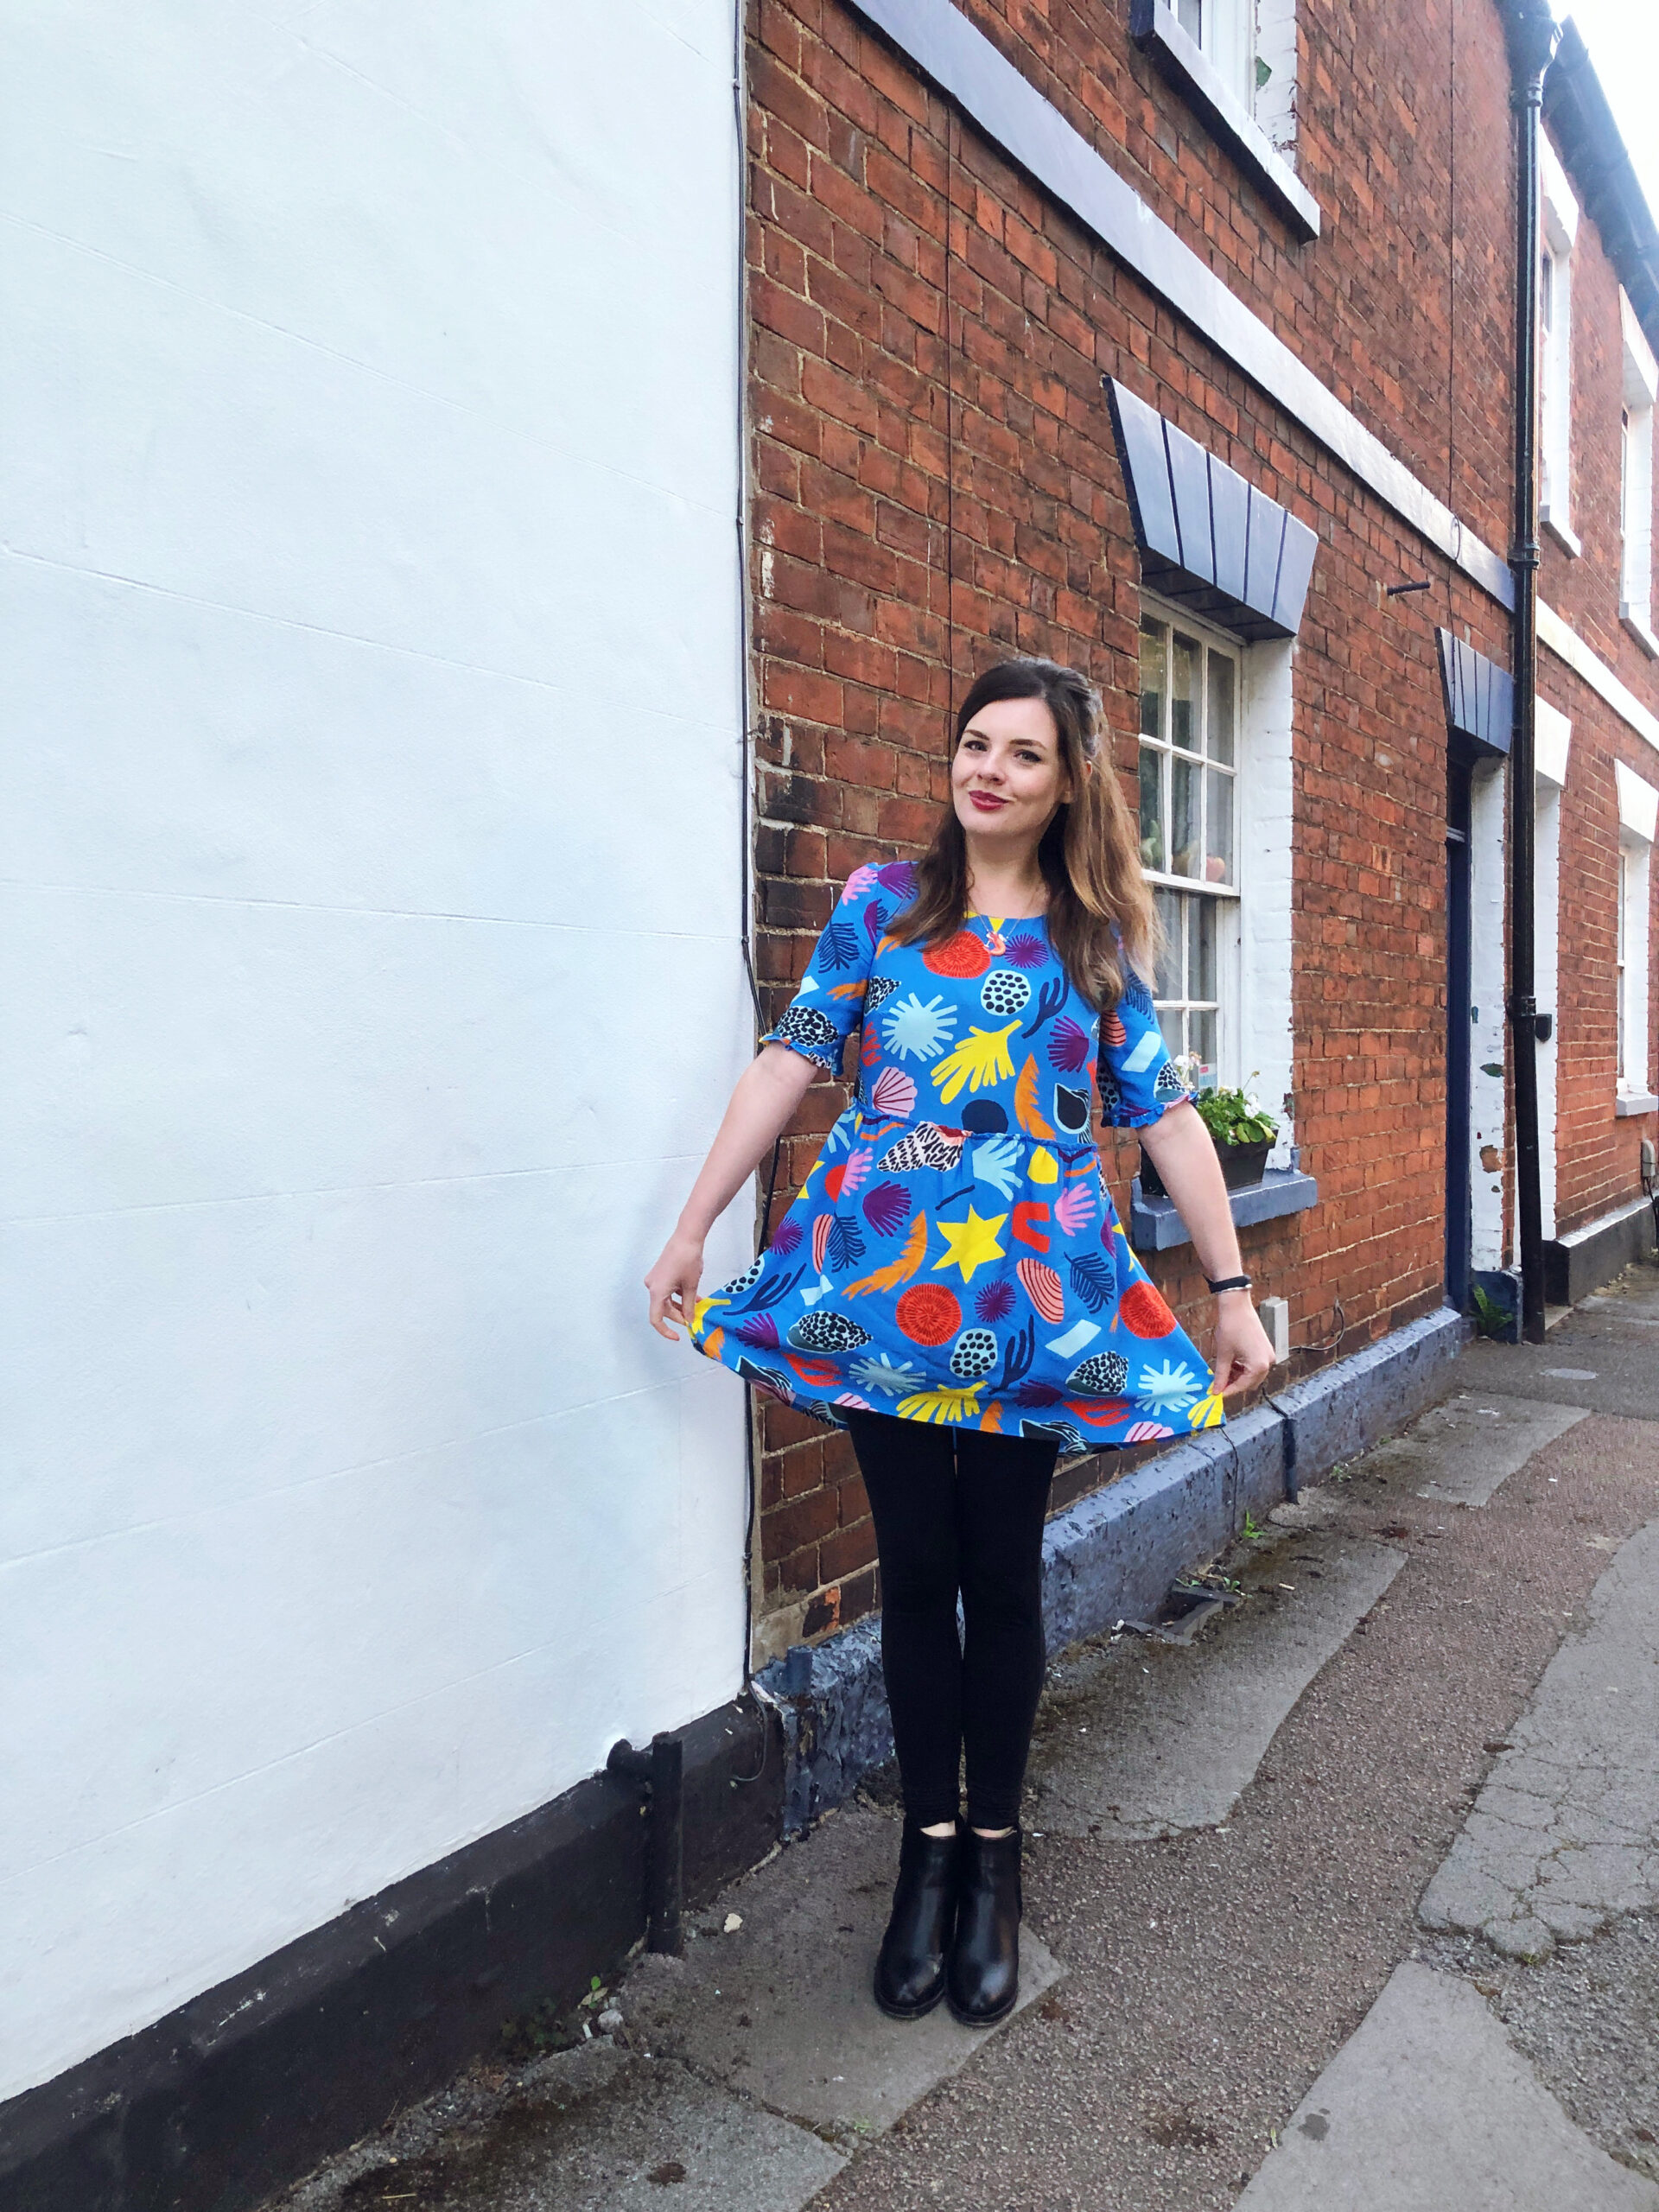
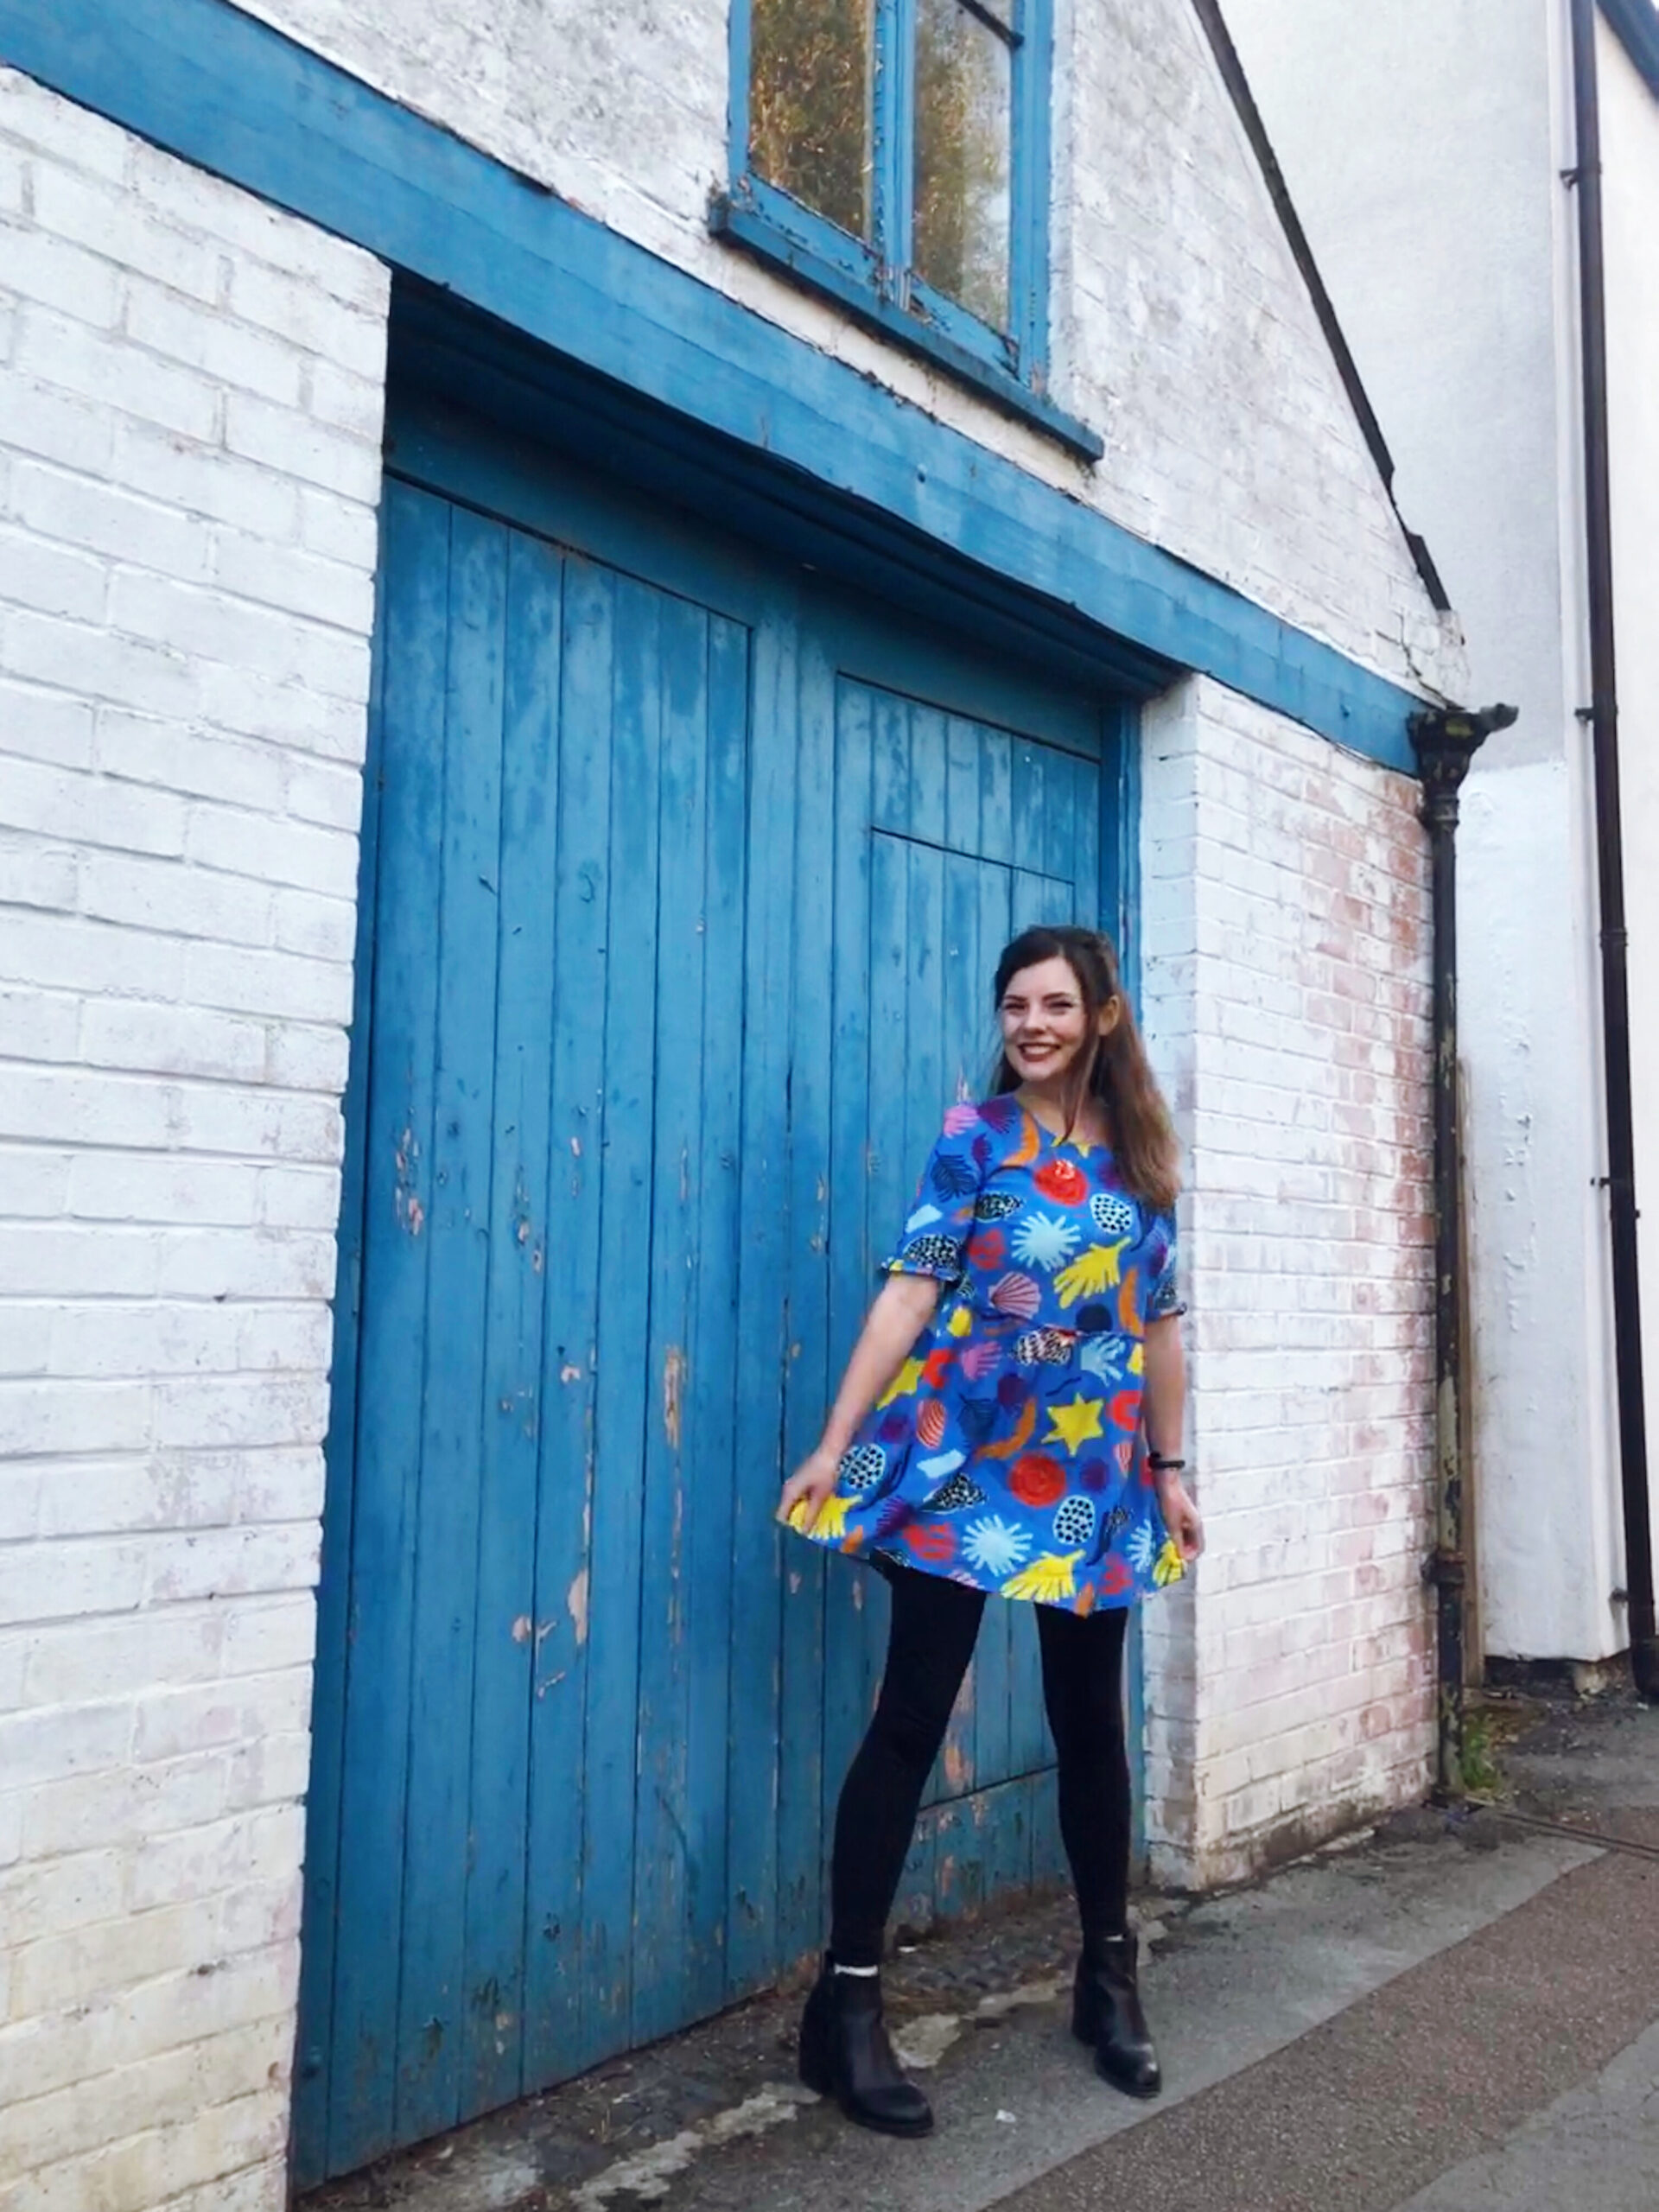
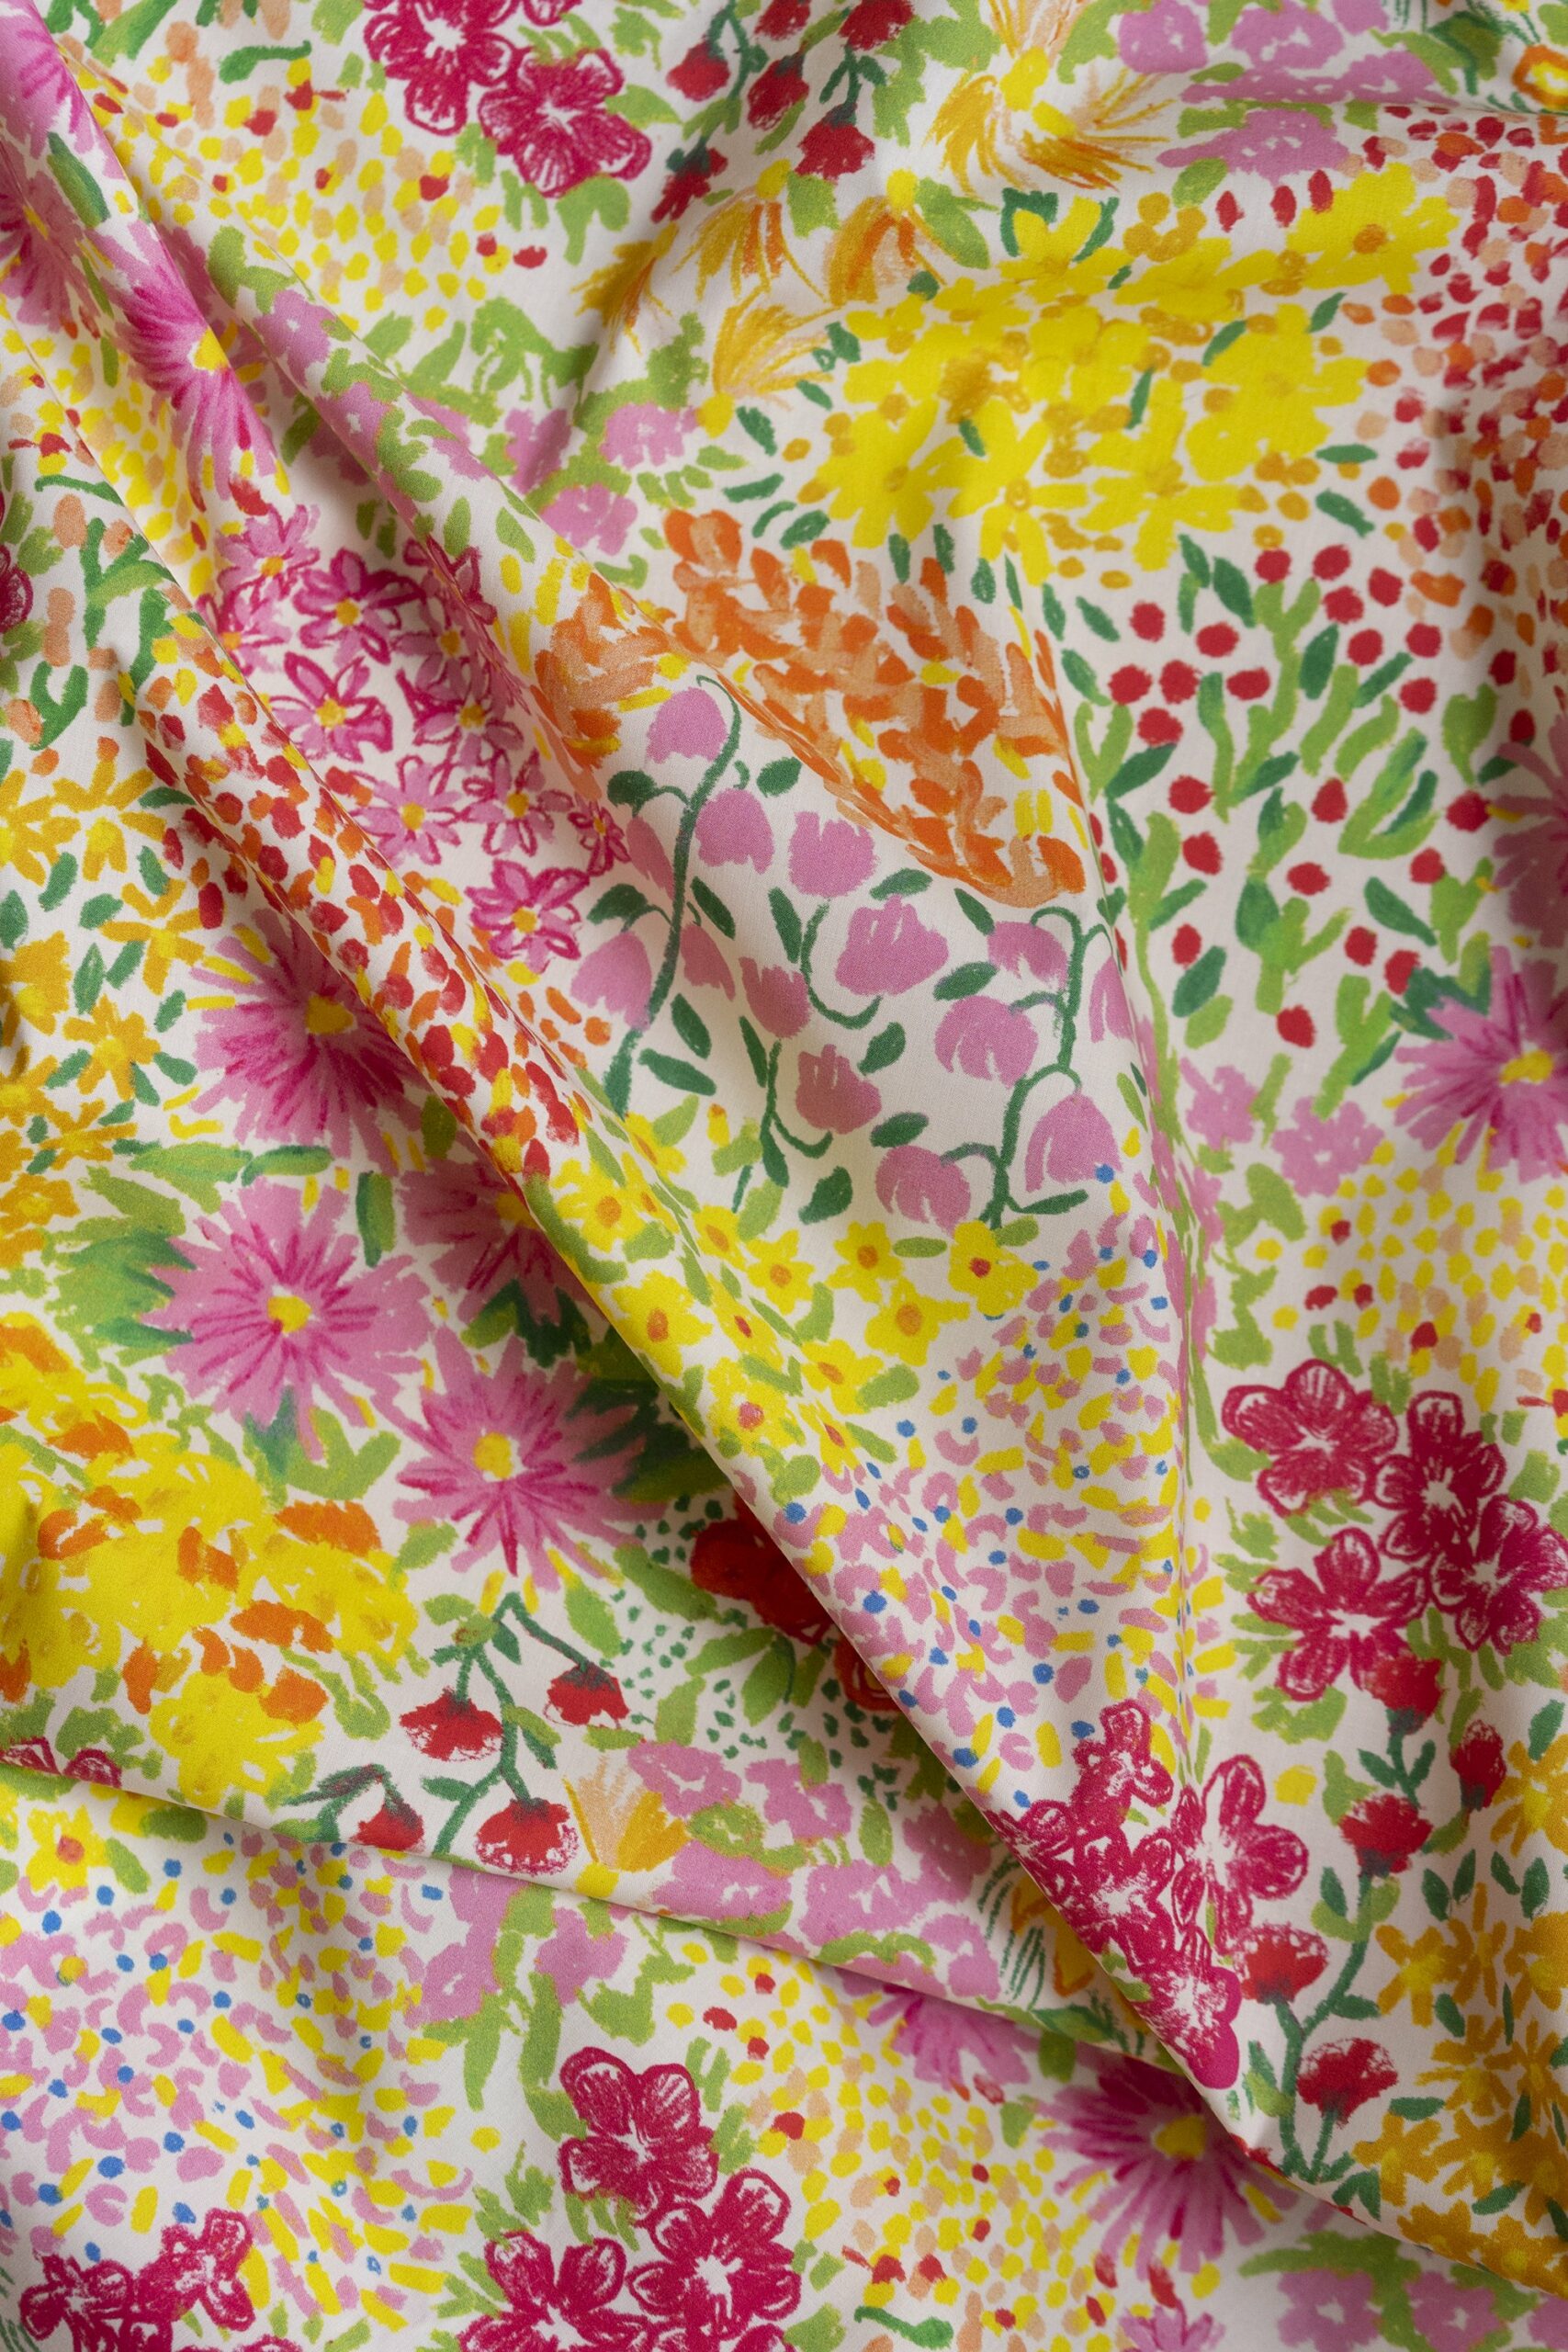
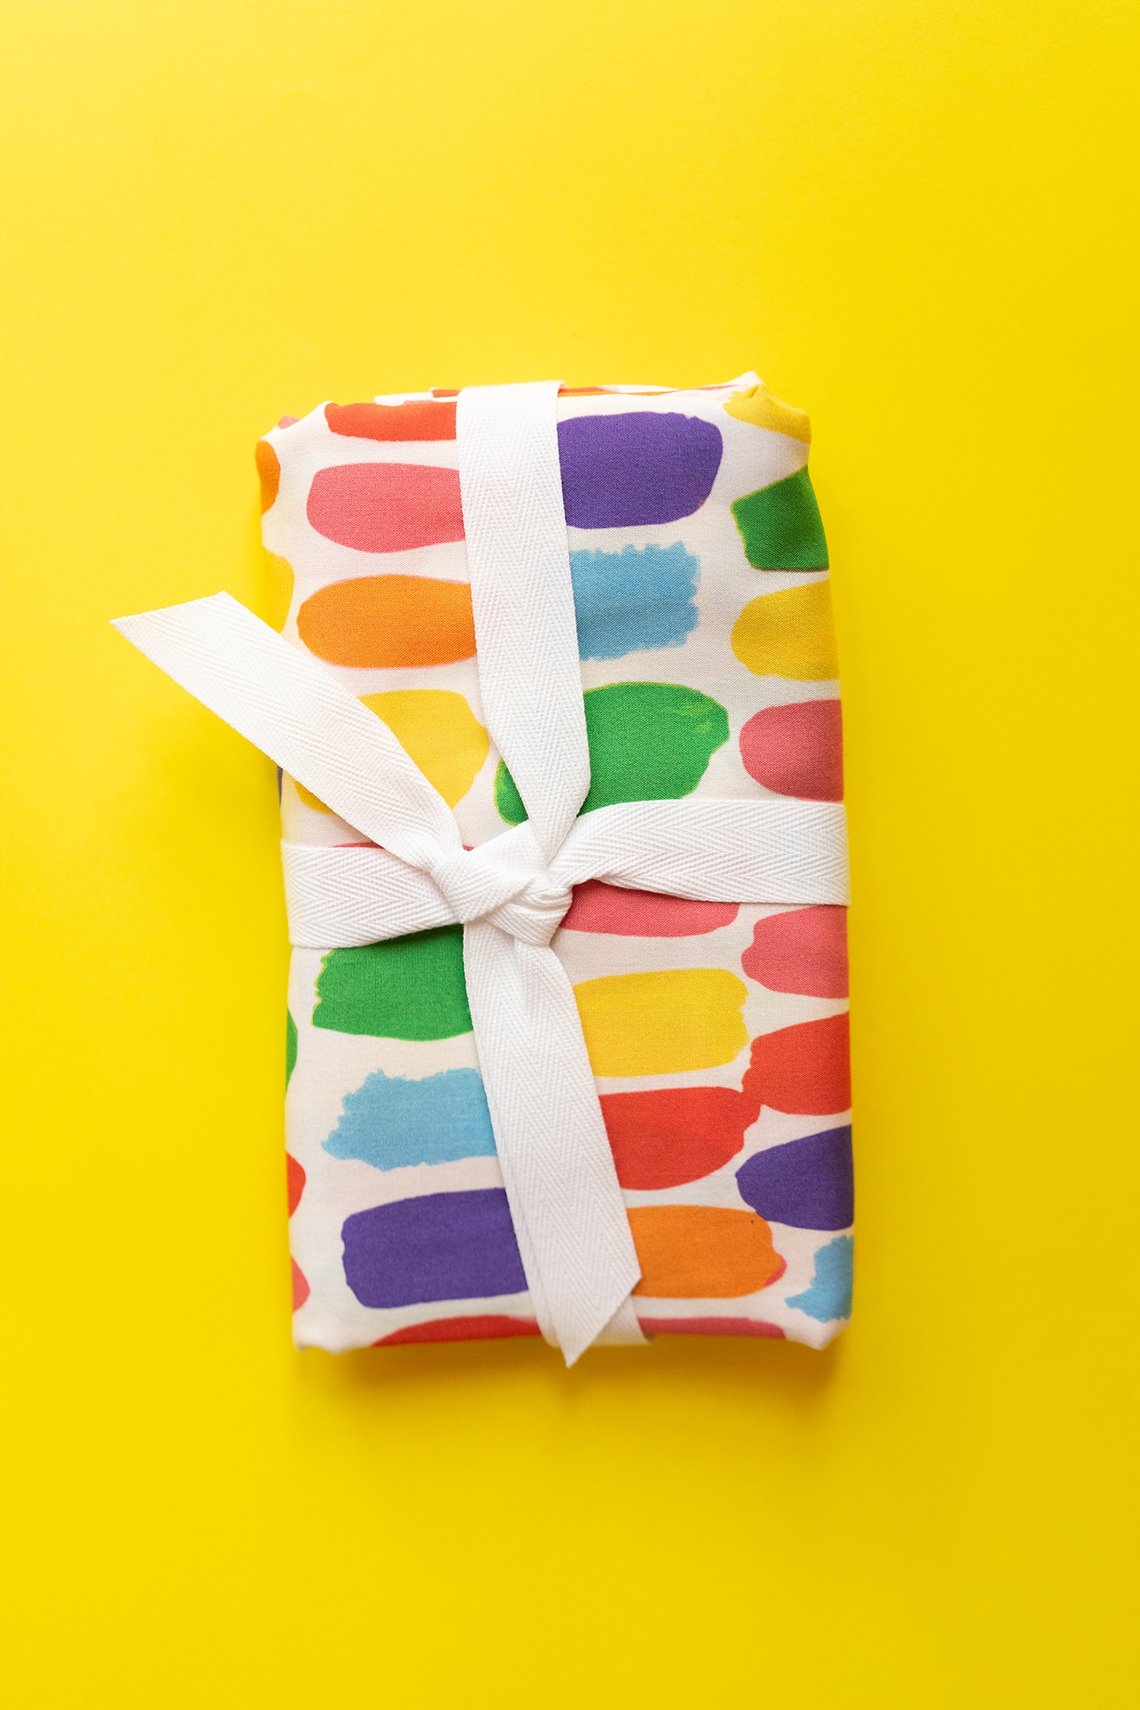
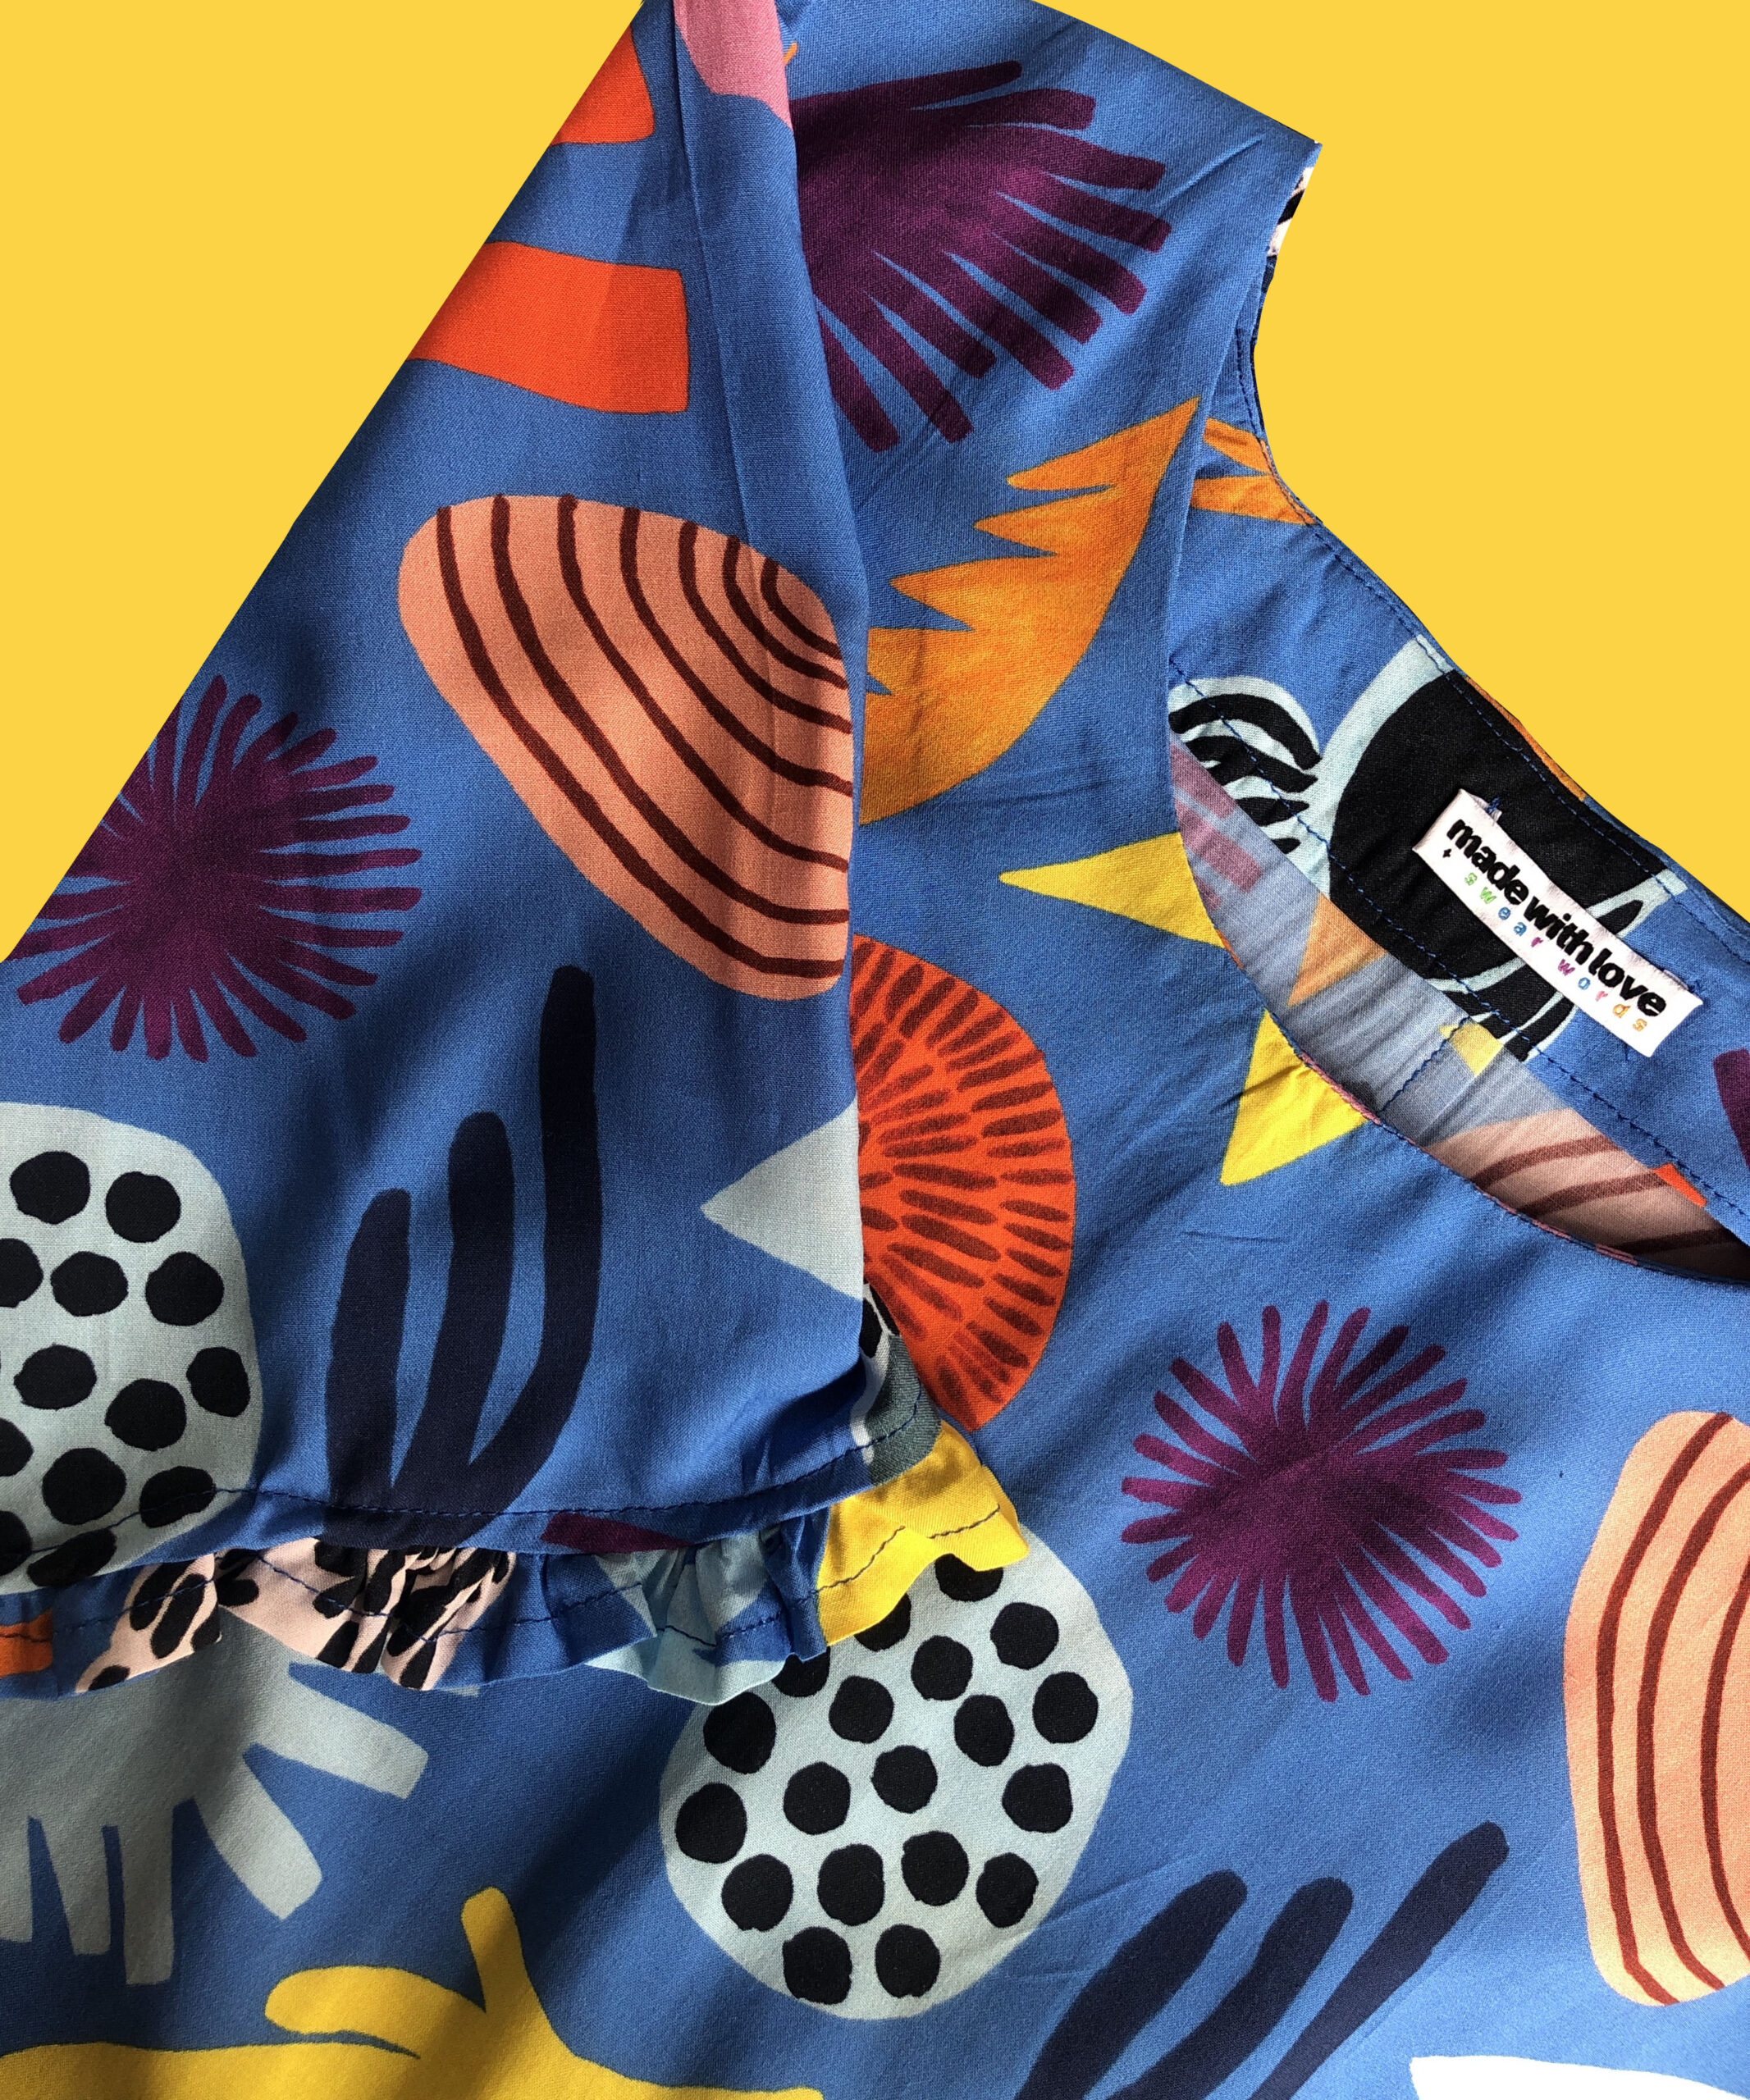
More positives: this beautiful viscose has a print of shells, anemones and reeds that was designed by Léa Maupetit; I really don’t think I have seen anything quite like it before! The fabric is from Make My Lemonade, a Parisian brand that sells both sewing patterns and fabrics from its own RTW fashion collections — this is an awesome, sustainable concept and I would love it if more fashion brands followed suit. I am already eyeing up some more of their colourful fabrics available and seeing how the RTW versions are styled is giving me some serious inspiration!

https://www.makemylemonade.com
This viscose is of a really good quality and was easy to cut and sew, and the whole garment as a whole came together pretty quickly. In terms of adjustments, I followed the Tilly and the Buttons tutorials on fitting the Indigo smock top to make sure I had enough ease at the bust and I also finished my seams as French seams, including at the armhole of the sleeves! French seams really elevate any garment and keep things pretty on the inside.
Now onto the “hack”…! The viscose is 140cm wide and only 1.5m was available; despite Indigo requiring 1.7m x 150cm, I am fairly used to how much fabric is leftover when making garments from the “Big 4” pattern companies, so I merrily ordered anyway. Whoops, turns out indie pattern companies really utilise every last scrap of fabric! The back bodice should be cut out on the fold, but I had nowhere near enough fabric to manage that, so I added ⅝in to the centre back foldline and cut two bodices. Unfortunately, I did not have enough fabric to pattern match at the back seam, which is a pity.
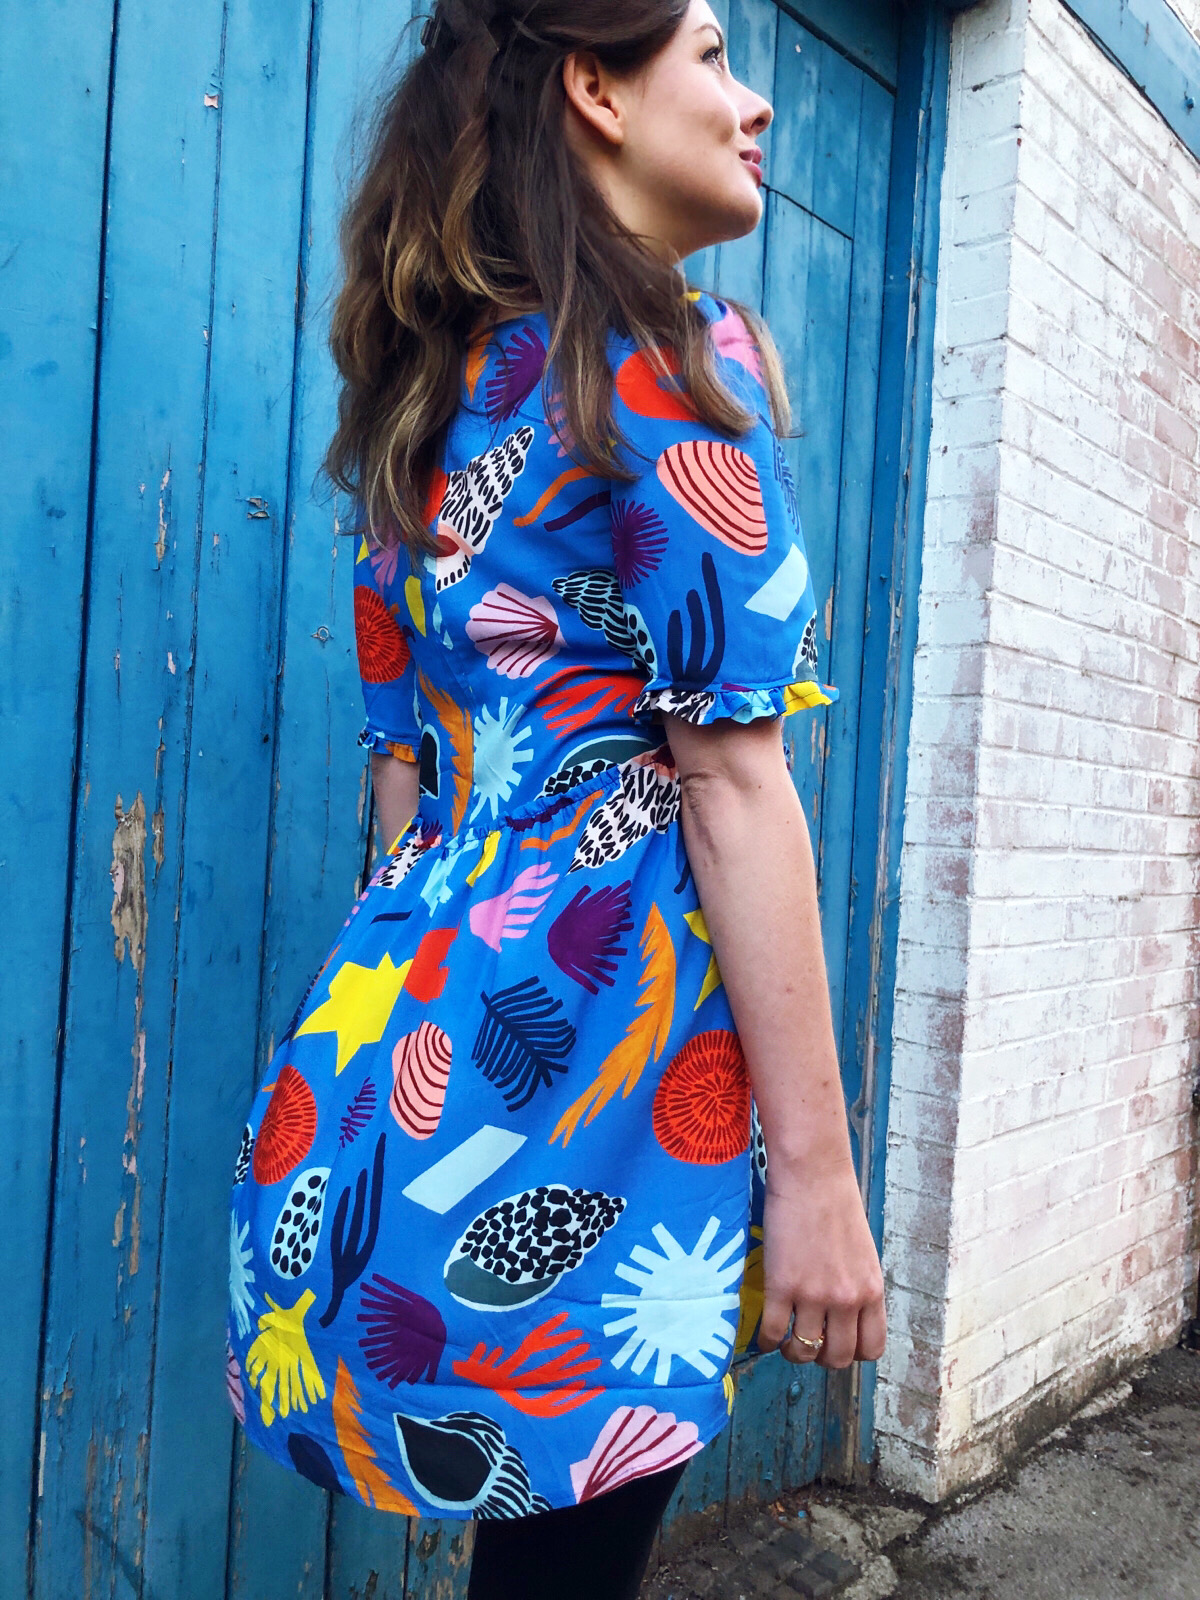
As I mentioned above, Indigo should have flounces added to the sleeves and they both also need to be cut on the fold. I was jenga-ing around with pattern pieces for quite a while and eventually managed to squeeze them onto my fabric when I shaved off a couple of inches of the pattern width. Bad idea. I had justified it to myself as “Just make sure not to gather too tightly and it will be fine!”, but as soon as I pinned the flounce to the sleeve, I realised there was no way I was going to be able to squeeze my arm through it. At that point, I was tempted to just finish the sleeve with a narrow hem to be done with it!
Deep down though, I didn’t want to give up and knew I wanted something to make the sleeves as exciting as originally planned. So I made these narrow ruffle cuffs to finish the sleeve and you know what? I am really chuffed with how pretty it looks. It may be a slight departure from the original design for the sleeve, but I think it works and it is uniquely mine.
Labels by Kylie and the Machine
Sewing is about pushing yourself and learning from mistakes. When I make the Indigo smock top again — and I certainly will, it’s a fabulous pattern and so comfy — I will know to not skimp on the fabric requirements!


Love! Way to make lemonade out of lemons on the sleeves!
Thank you! 🙂 Still have a lot to learn and improve on, but I do think these small ruffle cuffs are a cute element!