The idea of sewing my own lingerie has always been a really enticing, if not a rather aspirational, one. I have pretty large boobs for my frame and they are quite frequently the bane of my existence in a number of different ways, but in particular of trying to find bras that a) fit well and b) actually look somewhat cute. It seems the moment you hit over a DD-cup — a size that is far away in my rearview mirror, waving forlornly by the side of the road as I zip past — your choice is boiled down into black/white/beige sensible bras that have hefty straps and full-coverage cups. Which, okay, are pretty practical bras and do have their place in the underwear drawer — but they are not the most visually exciting by any stretch of the imagination. Sometimes I want to look cute in something colourful! Or embroidered! Or lacy! Seriously, why do most lingerie companies think the moment you are bigger than a lil B-cup, you won’t want something beautiful and will only want something purely functional — I say all this as I angrily browse Huit Lingerie, which only covers A GRAND TOTAL OF FOUR CUP SIZES. FOUR!! Ahem.
With all this in mind, the thought of sewing my own lingerie has always been an idea floating around my head, even to the point where I have bought some lingerie fabrics over the last few years and added them to my stash. The main reason I hesitated in taking the plunge is that sewing a bra felt really, really daunting to me: how to get the perfect fit, the dizzying array of different elastics, all of the various fabric possibilities, how to know which underwire to use and in which size… let alone the actual process of so much fiddly sewing! It just felt like despite all the progress I had made in my sewing journey, sewing a bra was a different ball game entirely.
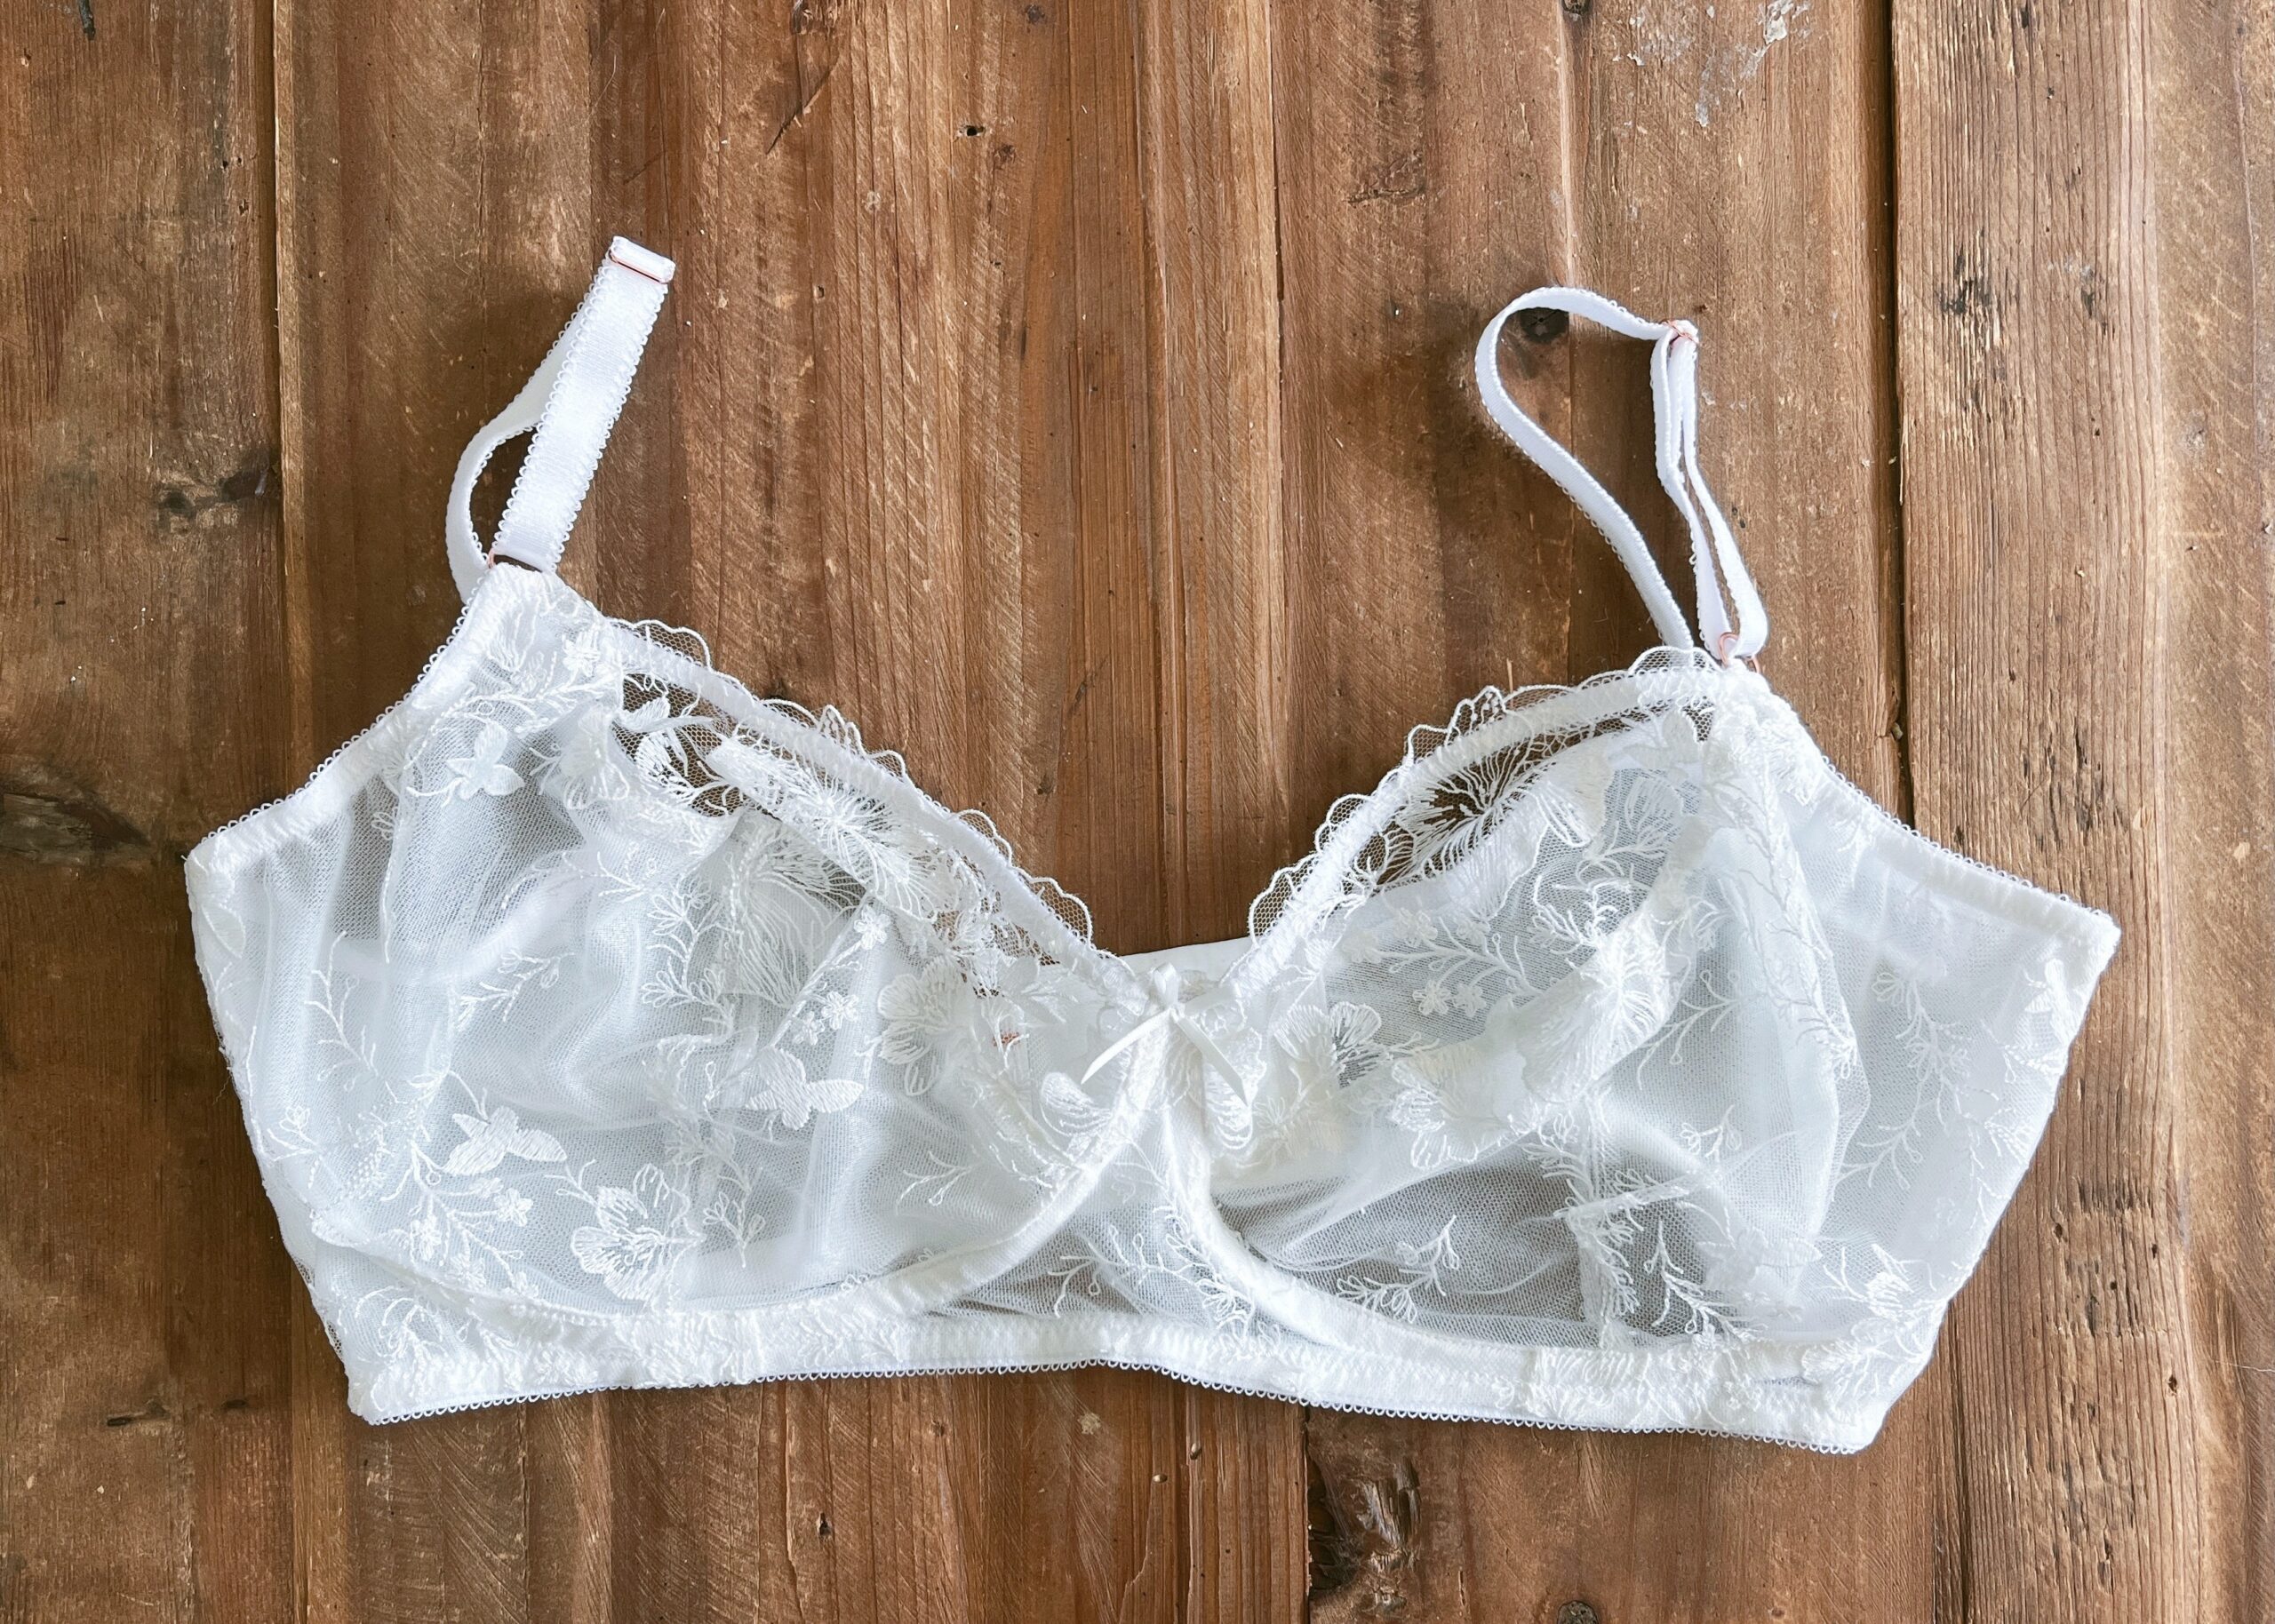
To my absolute delight, Needles Studios down in Los Altos announced a two-day Bra Camp with the absolutely enchanting Bella of What Bella Made, and I jumped at the chance to finally learn how to sew a bra. This was such a wonderful class and experience; it was super intense — you are learning all the ins and outs of bra construction and fit, and then you gotta sew a whole damn bra — but Bella is such a warm, joyful instructor and she absolutely knows all there is to know about getting a perfectly fitted bra. Seriously, someone needs to give her a book deal on sewing and fitting lingerie! Everything was explained so clearly, from how best to sew the bra to get a clean finish, to the different styles and shapes of underwires, to all the different fitting issues and how to fix them. The class provided bra kits from Stephie’s Lingerie, which contained all the various materials we needed to make our bras — the laces included in the kits were luxurious and I am definitely planning to buy more supplies from her in the future. Although I didn’t entirely finish my bra in the class, I left with about 85% constructed and the excitement to finish was overwhelming. Within a few hours of getting home, I added the underarm elastic, sewed on the straps, and stitched the bow on by hand. After impatiently waiting a few days, the underwires I ordered arrived, and I added them in before stitching the channelling shut at the side. Voilà, my very own, perfect-fit, delicate, lacy bra.
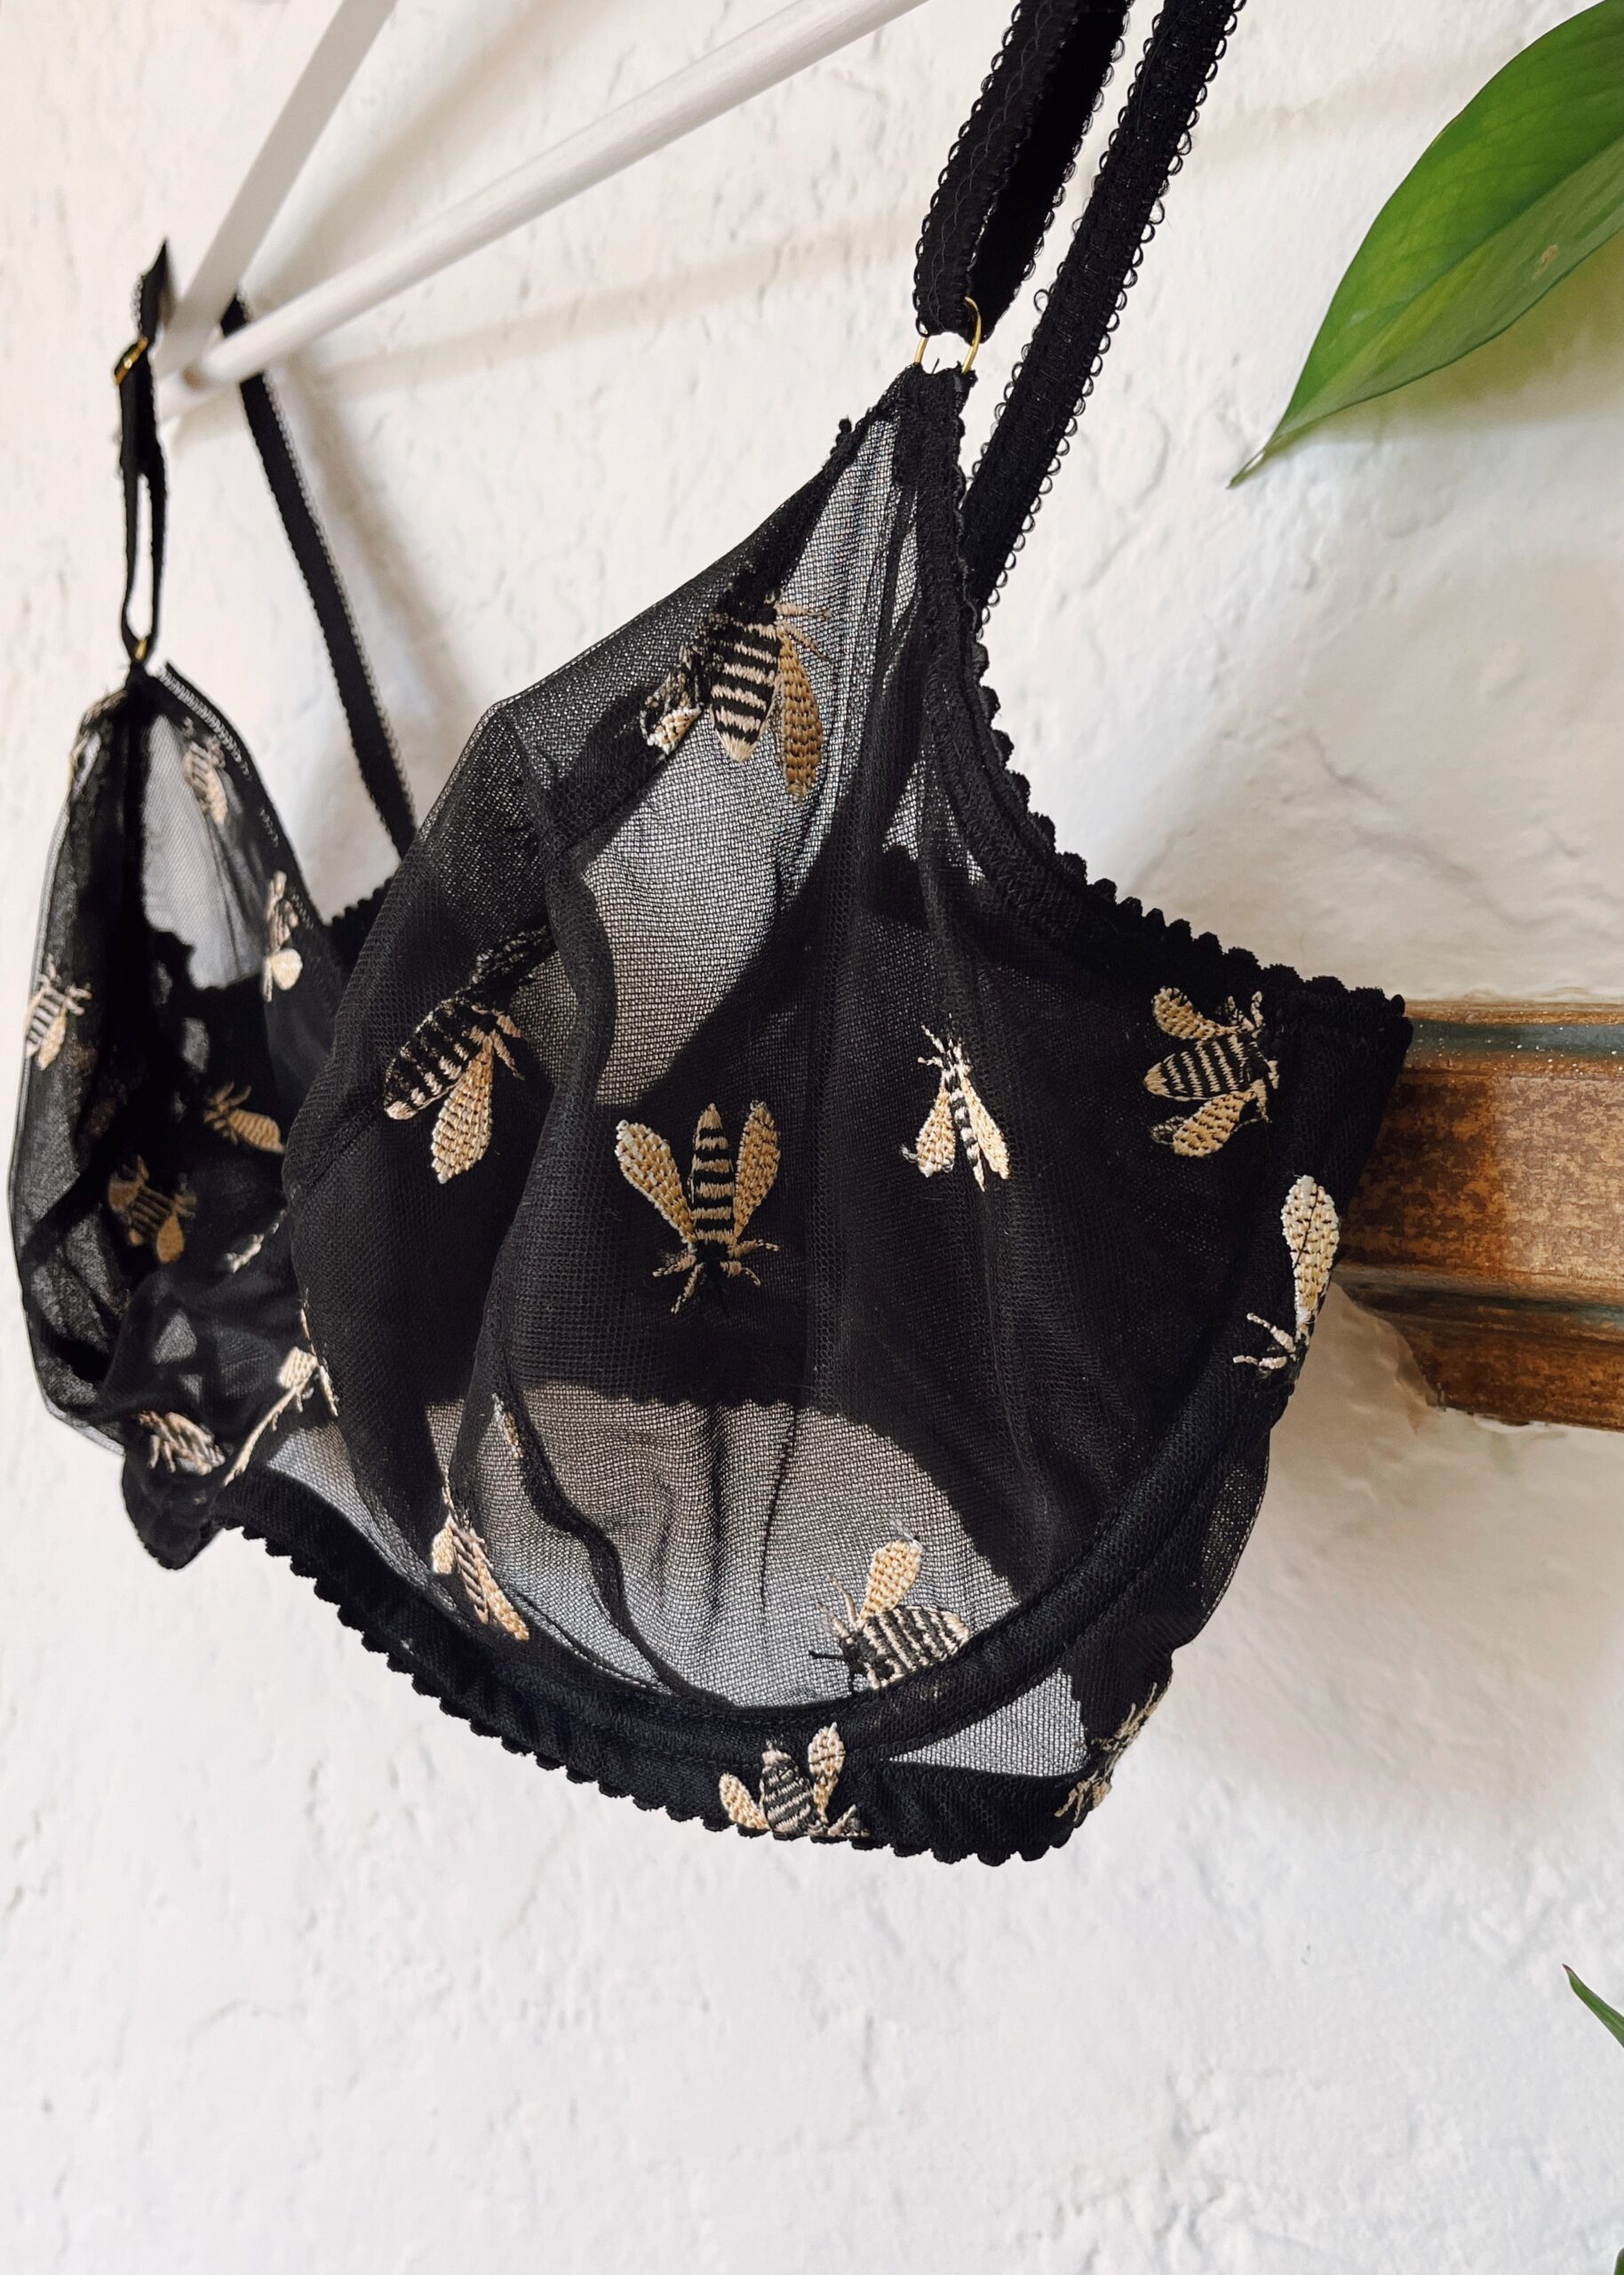
Turns out, once you have sewn your first ever bra and now have a perfectly fitting pattern, you immediately want to make another one 😅 I quickly added some supplies to my basket from Bra Builders to match a fabric from my stash and started plotting my new bra. The plotting period was pretty brief because as soon as my notions were delivered, I got started, and several hours later, I was wearing my new bra.
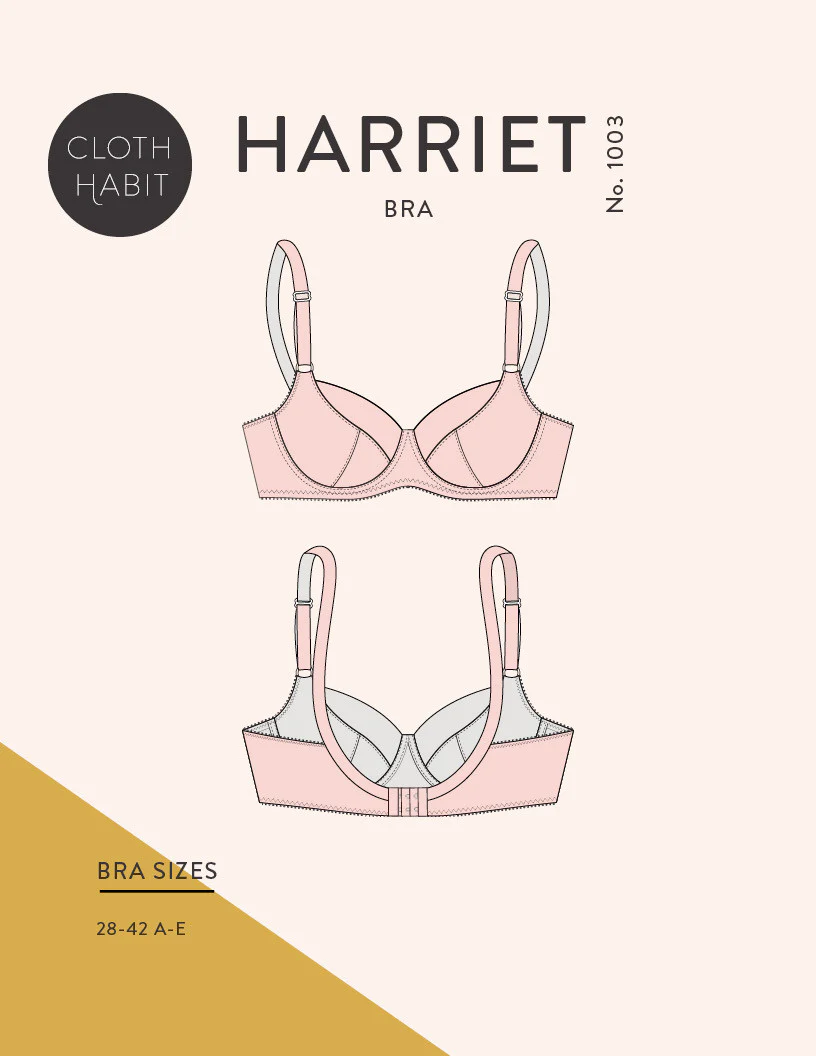
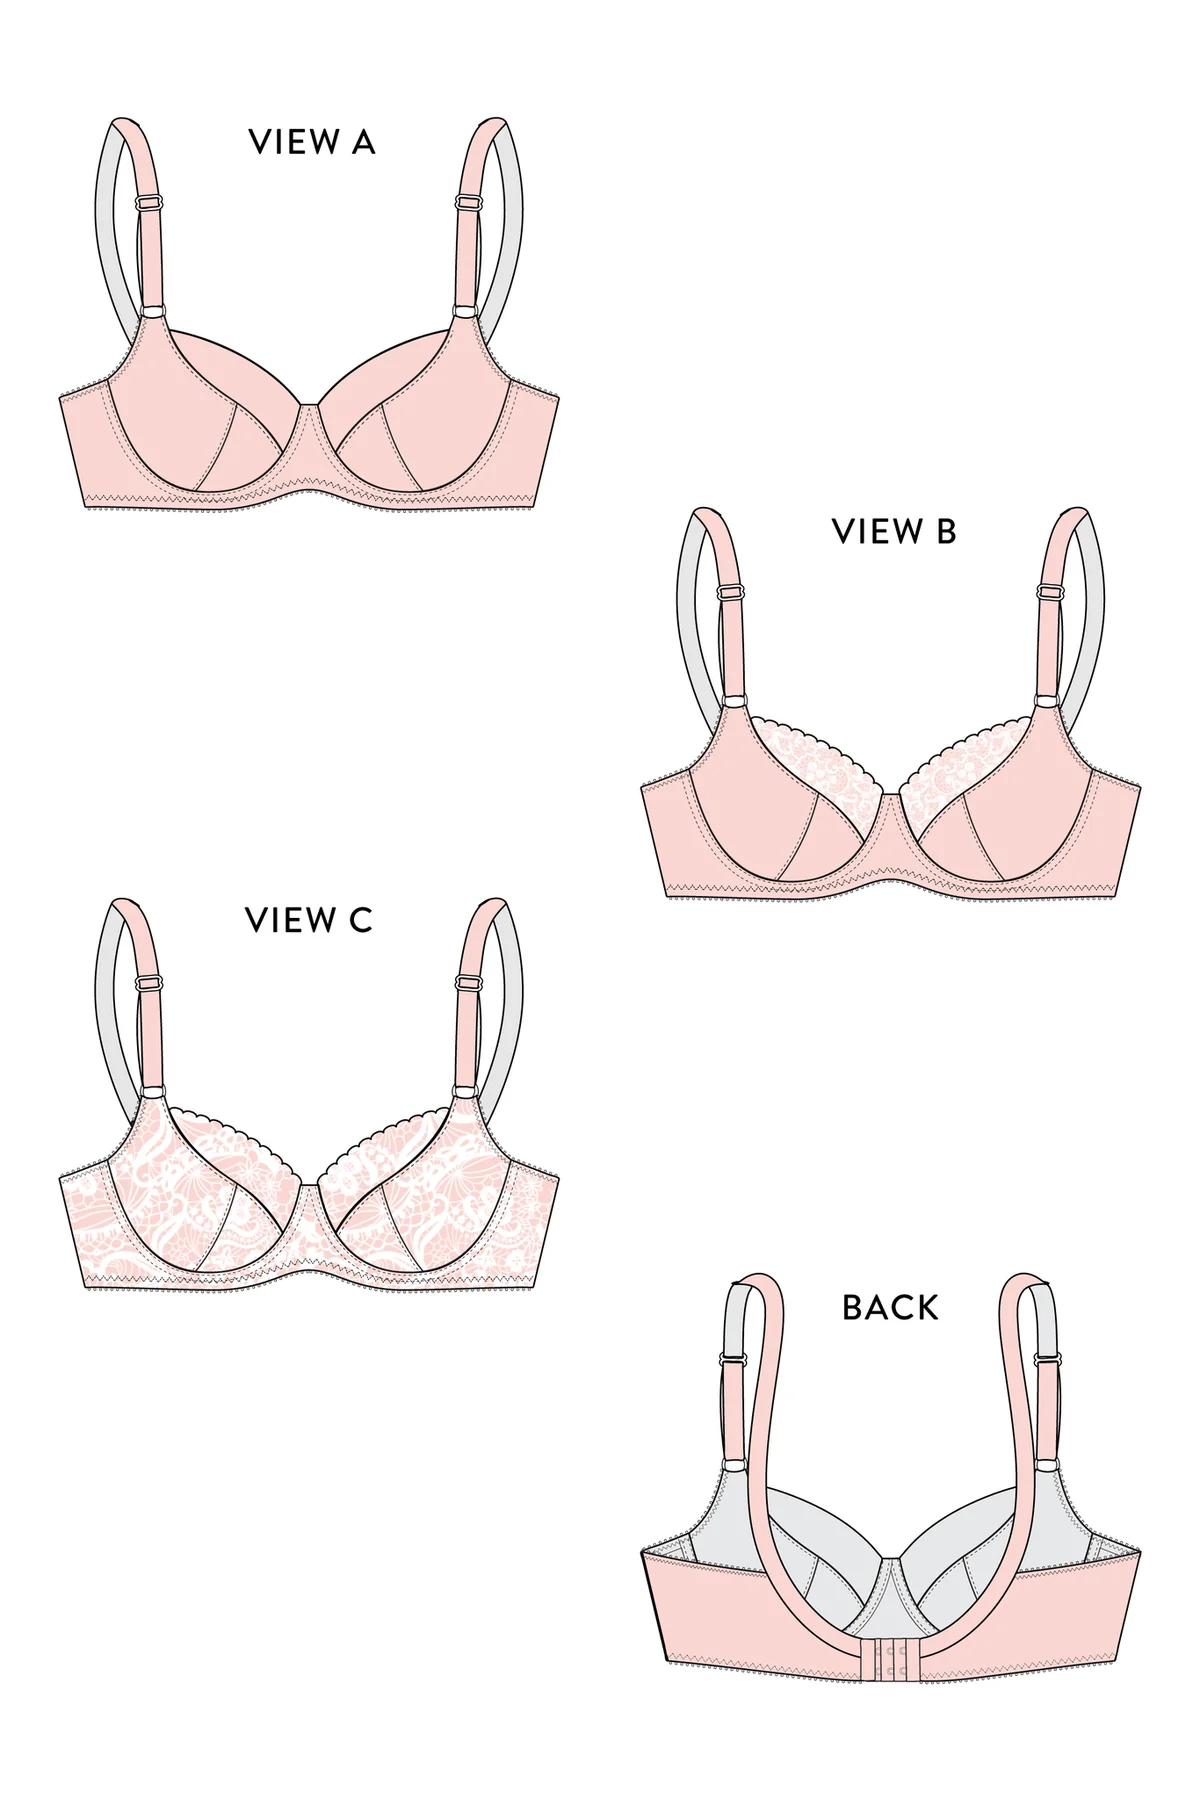
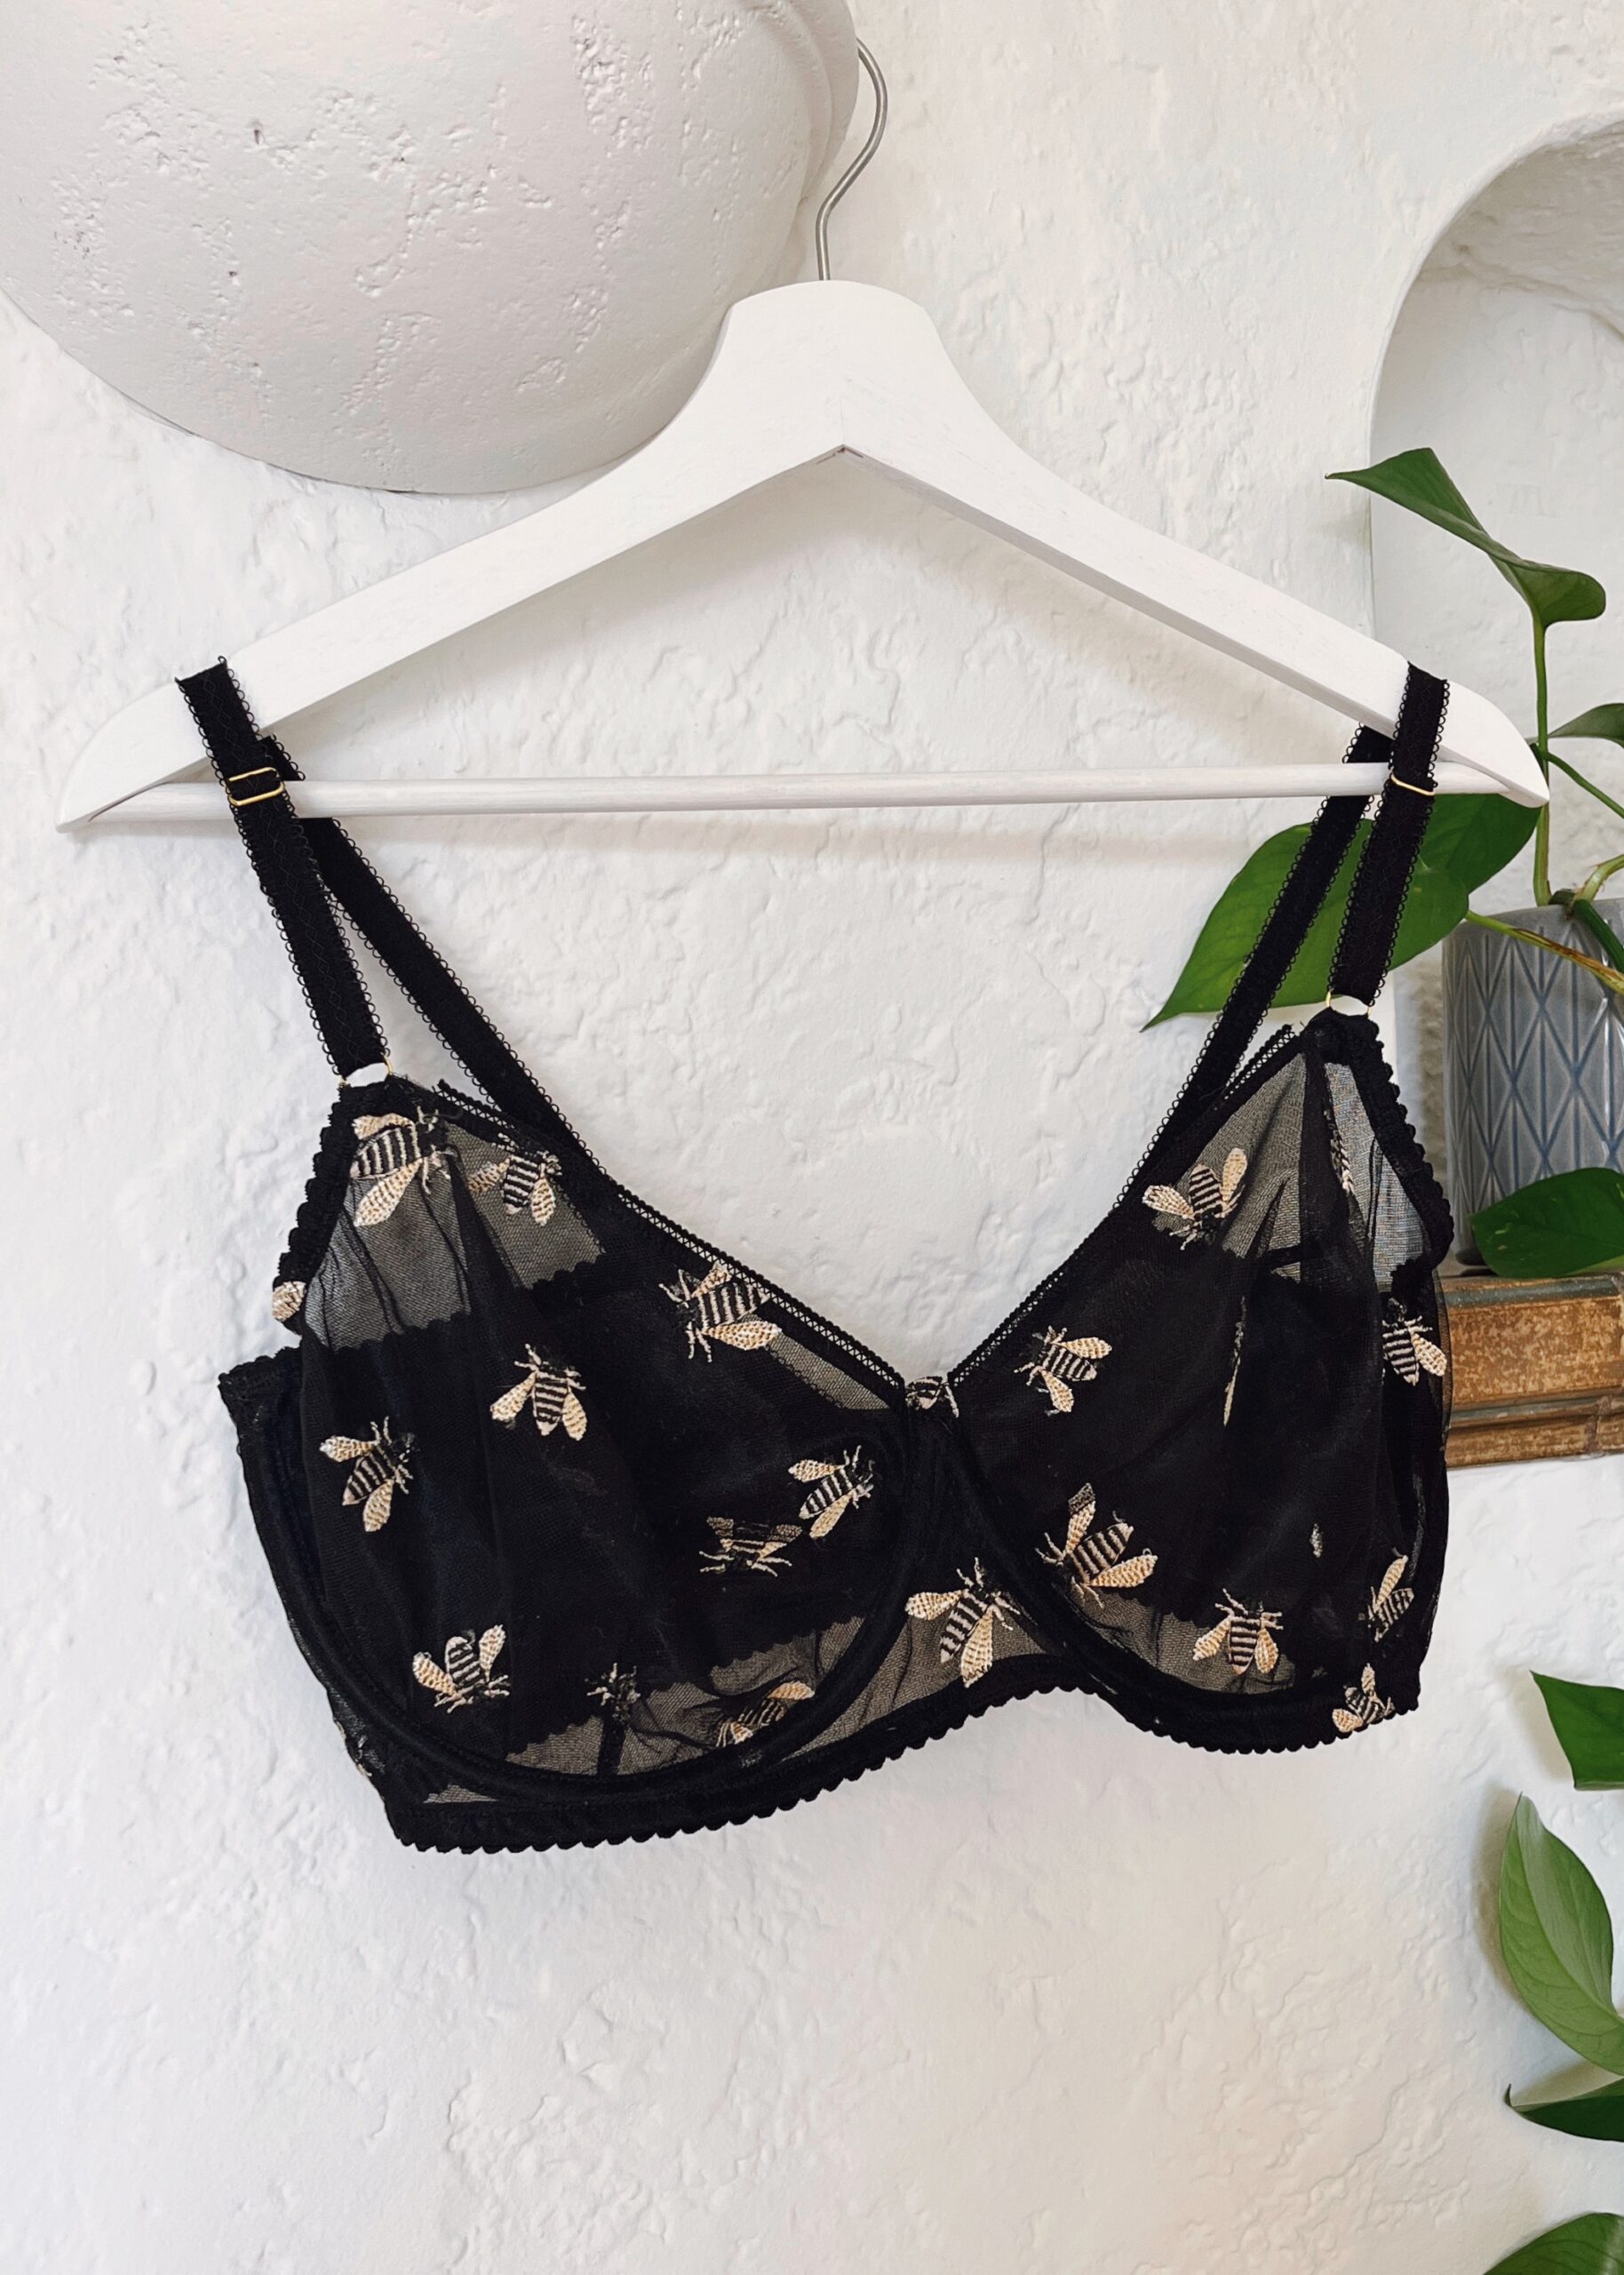
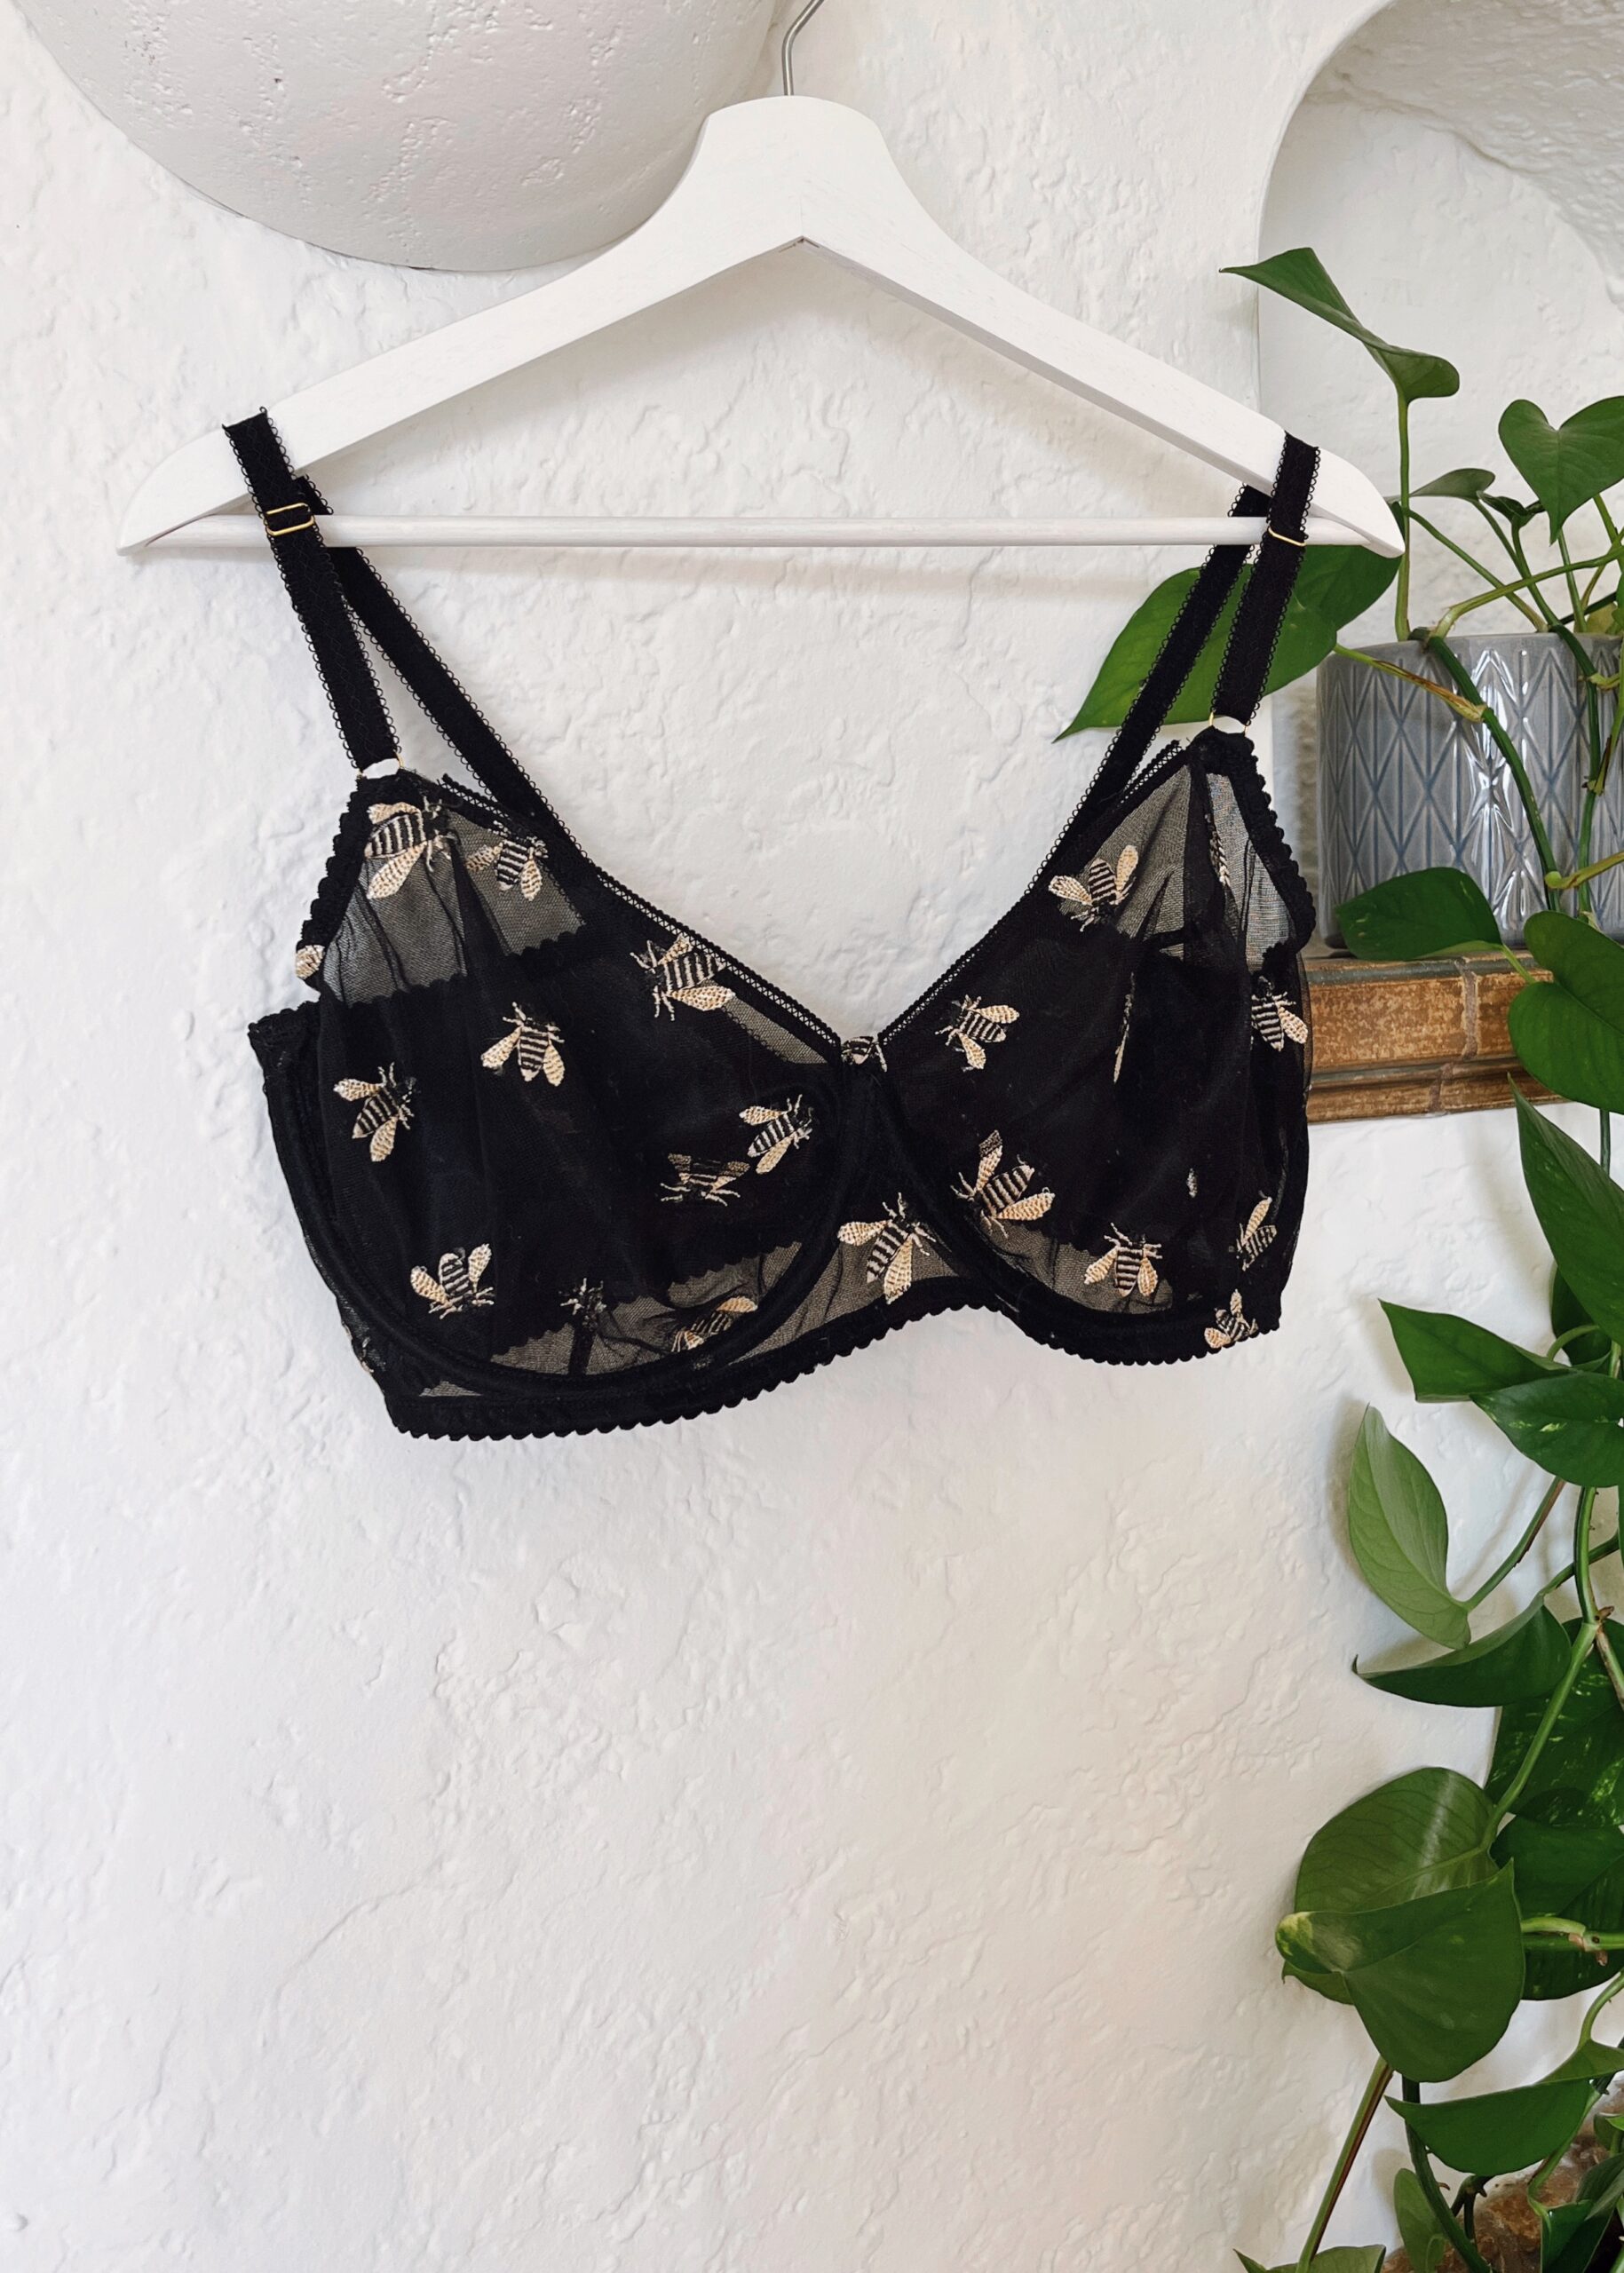
The pattern I made at Bra Camp and again here is the Cloth Habit Harriet Bra (available in sizes 28A – 42H across two size bands). This underwire bra has a 3-piece cup, which creates an almost sweetheart neckline, and a supportive scoop-back. It is designed for low-stretch, stable bra fabrics, like duoplex or rigid bra tulle or lace. Scalloped lace is a good option for View B & View C, as the upper cup can be left unlined to showcase the scallops. For my white lace bra, I lined all pieces with stable cup lining, except for the upper cup; I wanted to show off the scallop lace design here, and Bella recommended adding ¼” picot elastic to stabilise the lace. For this new black tulle bra, I made View A and lined all pieces with sheer cup lining, including the upper cup, which I then finished with ¼” picot elastic.
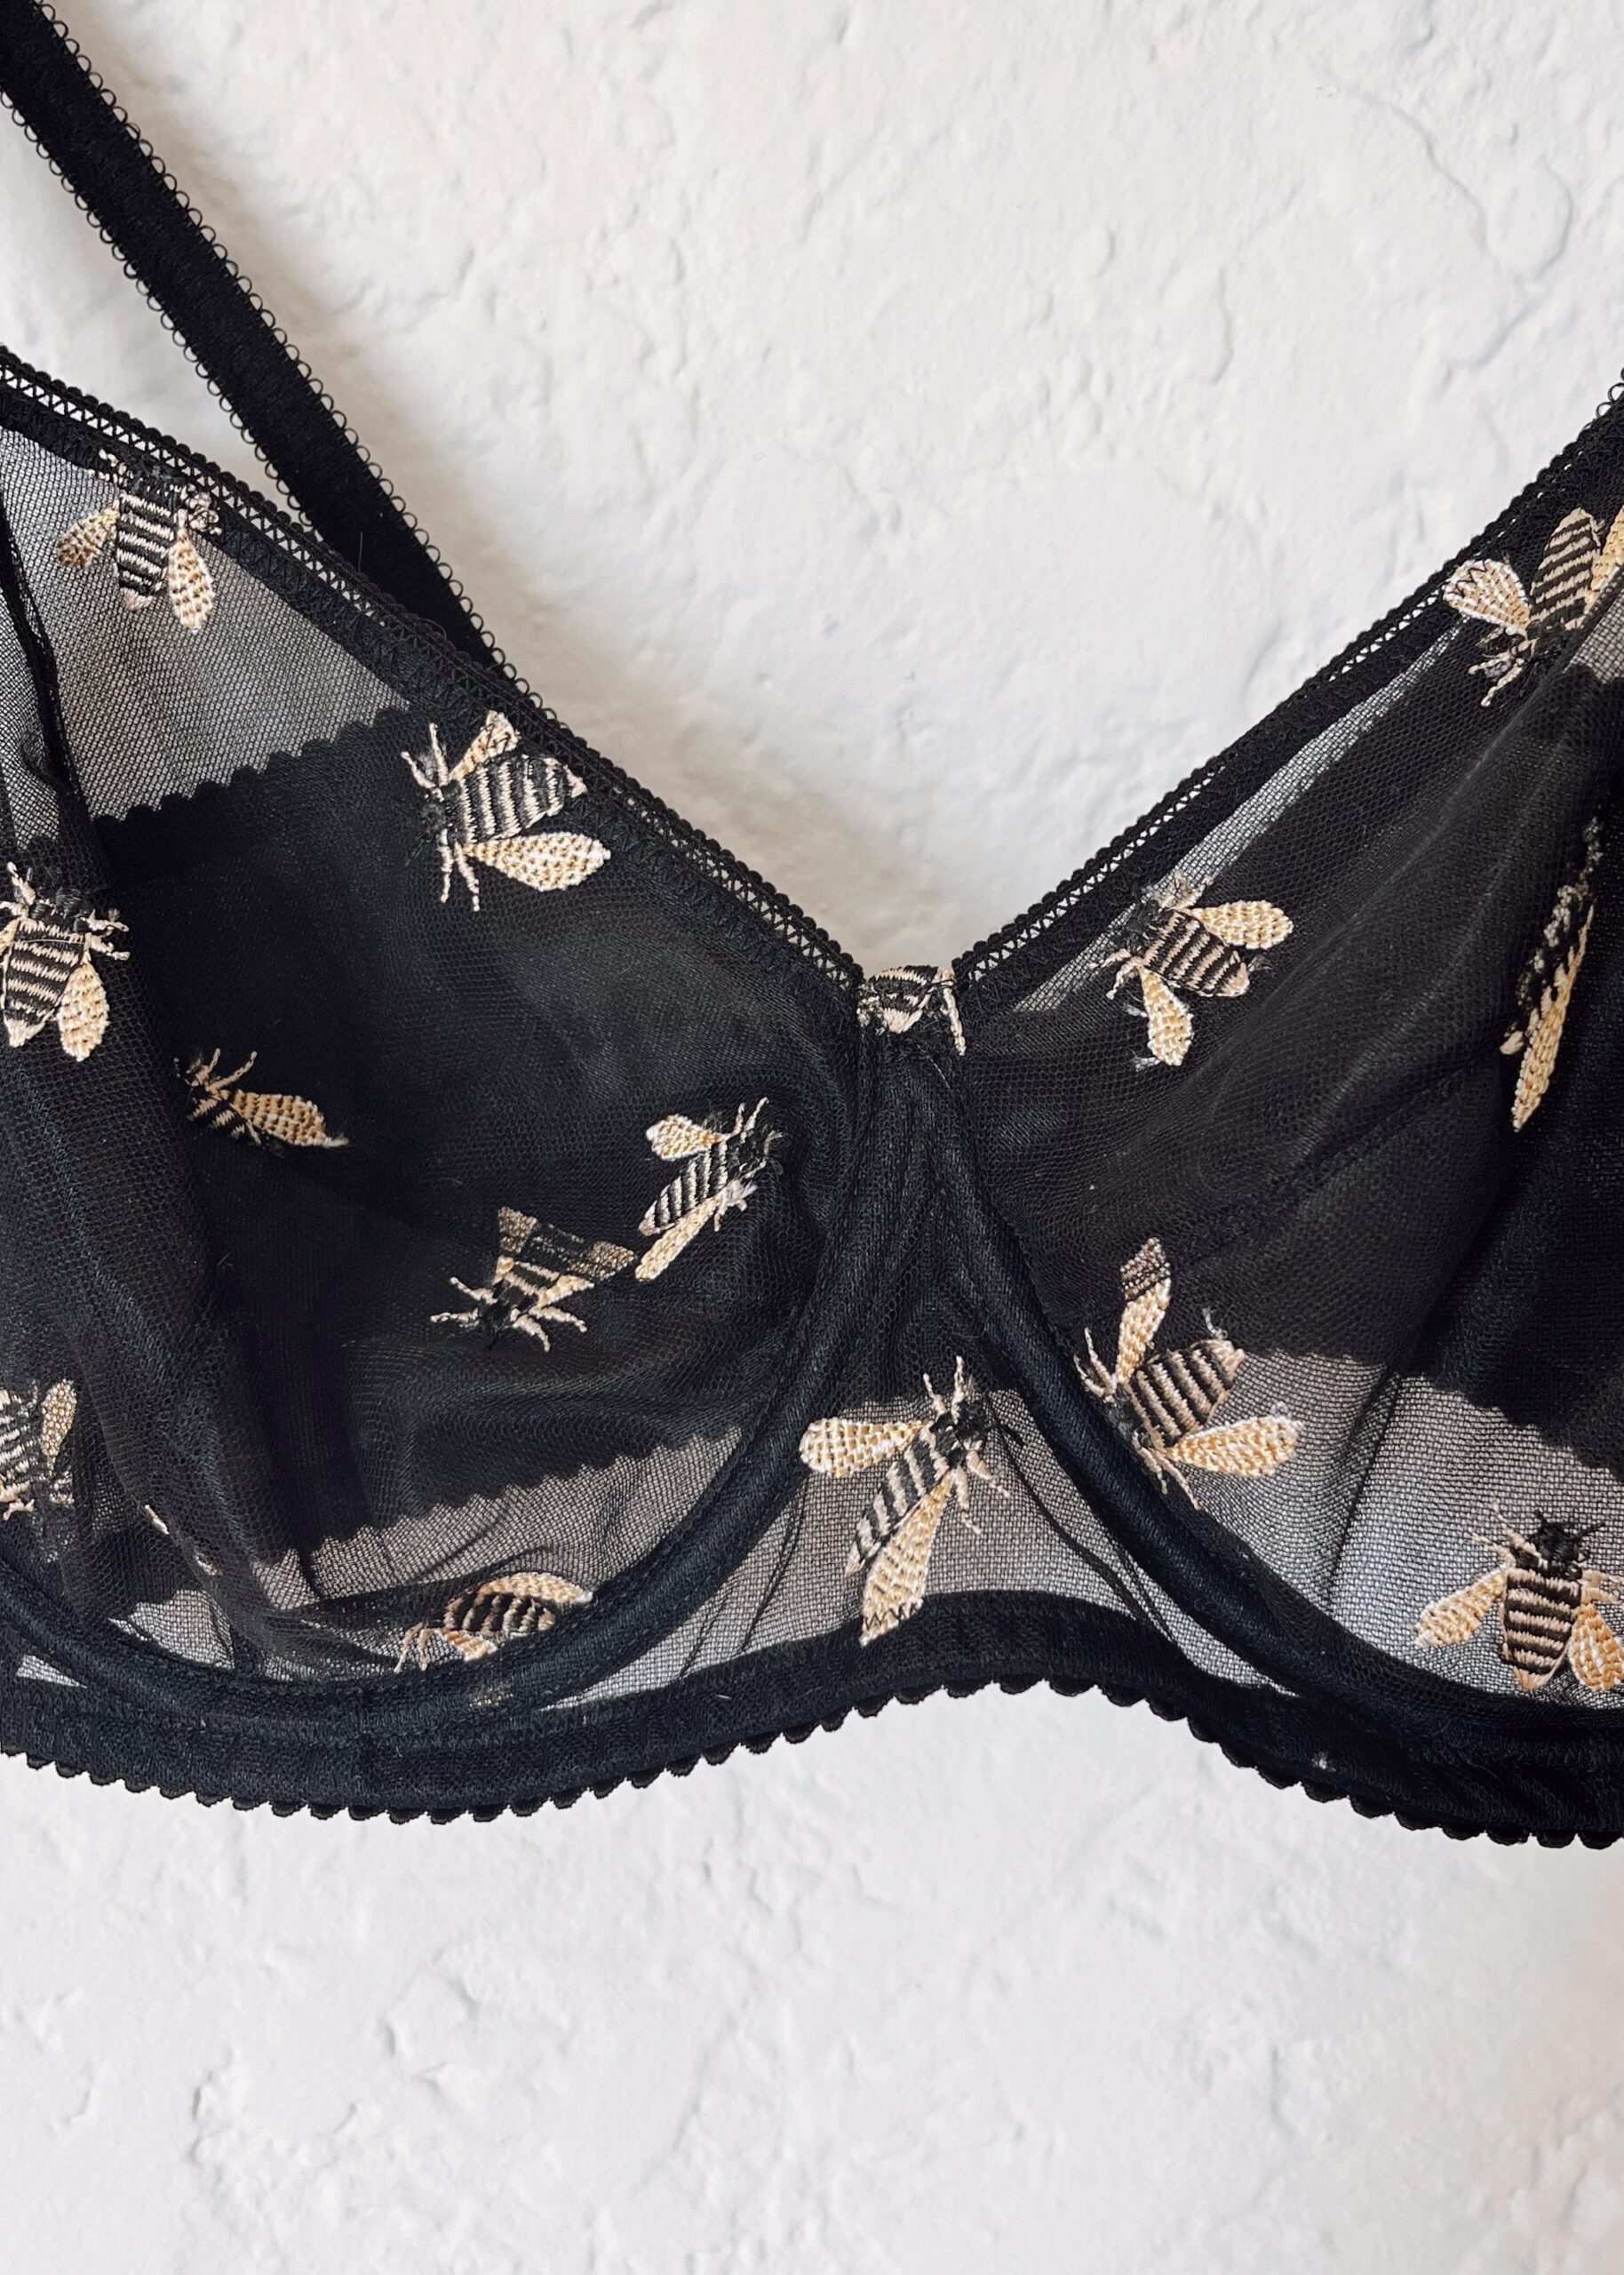
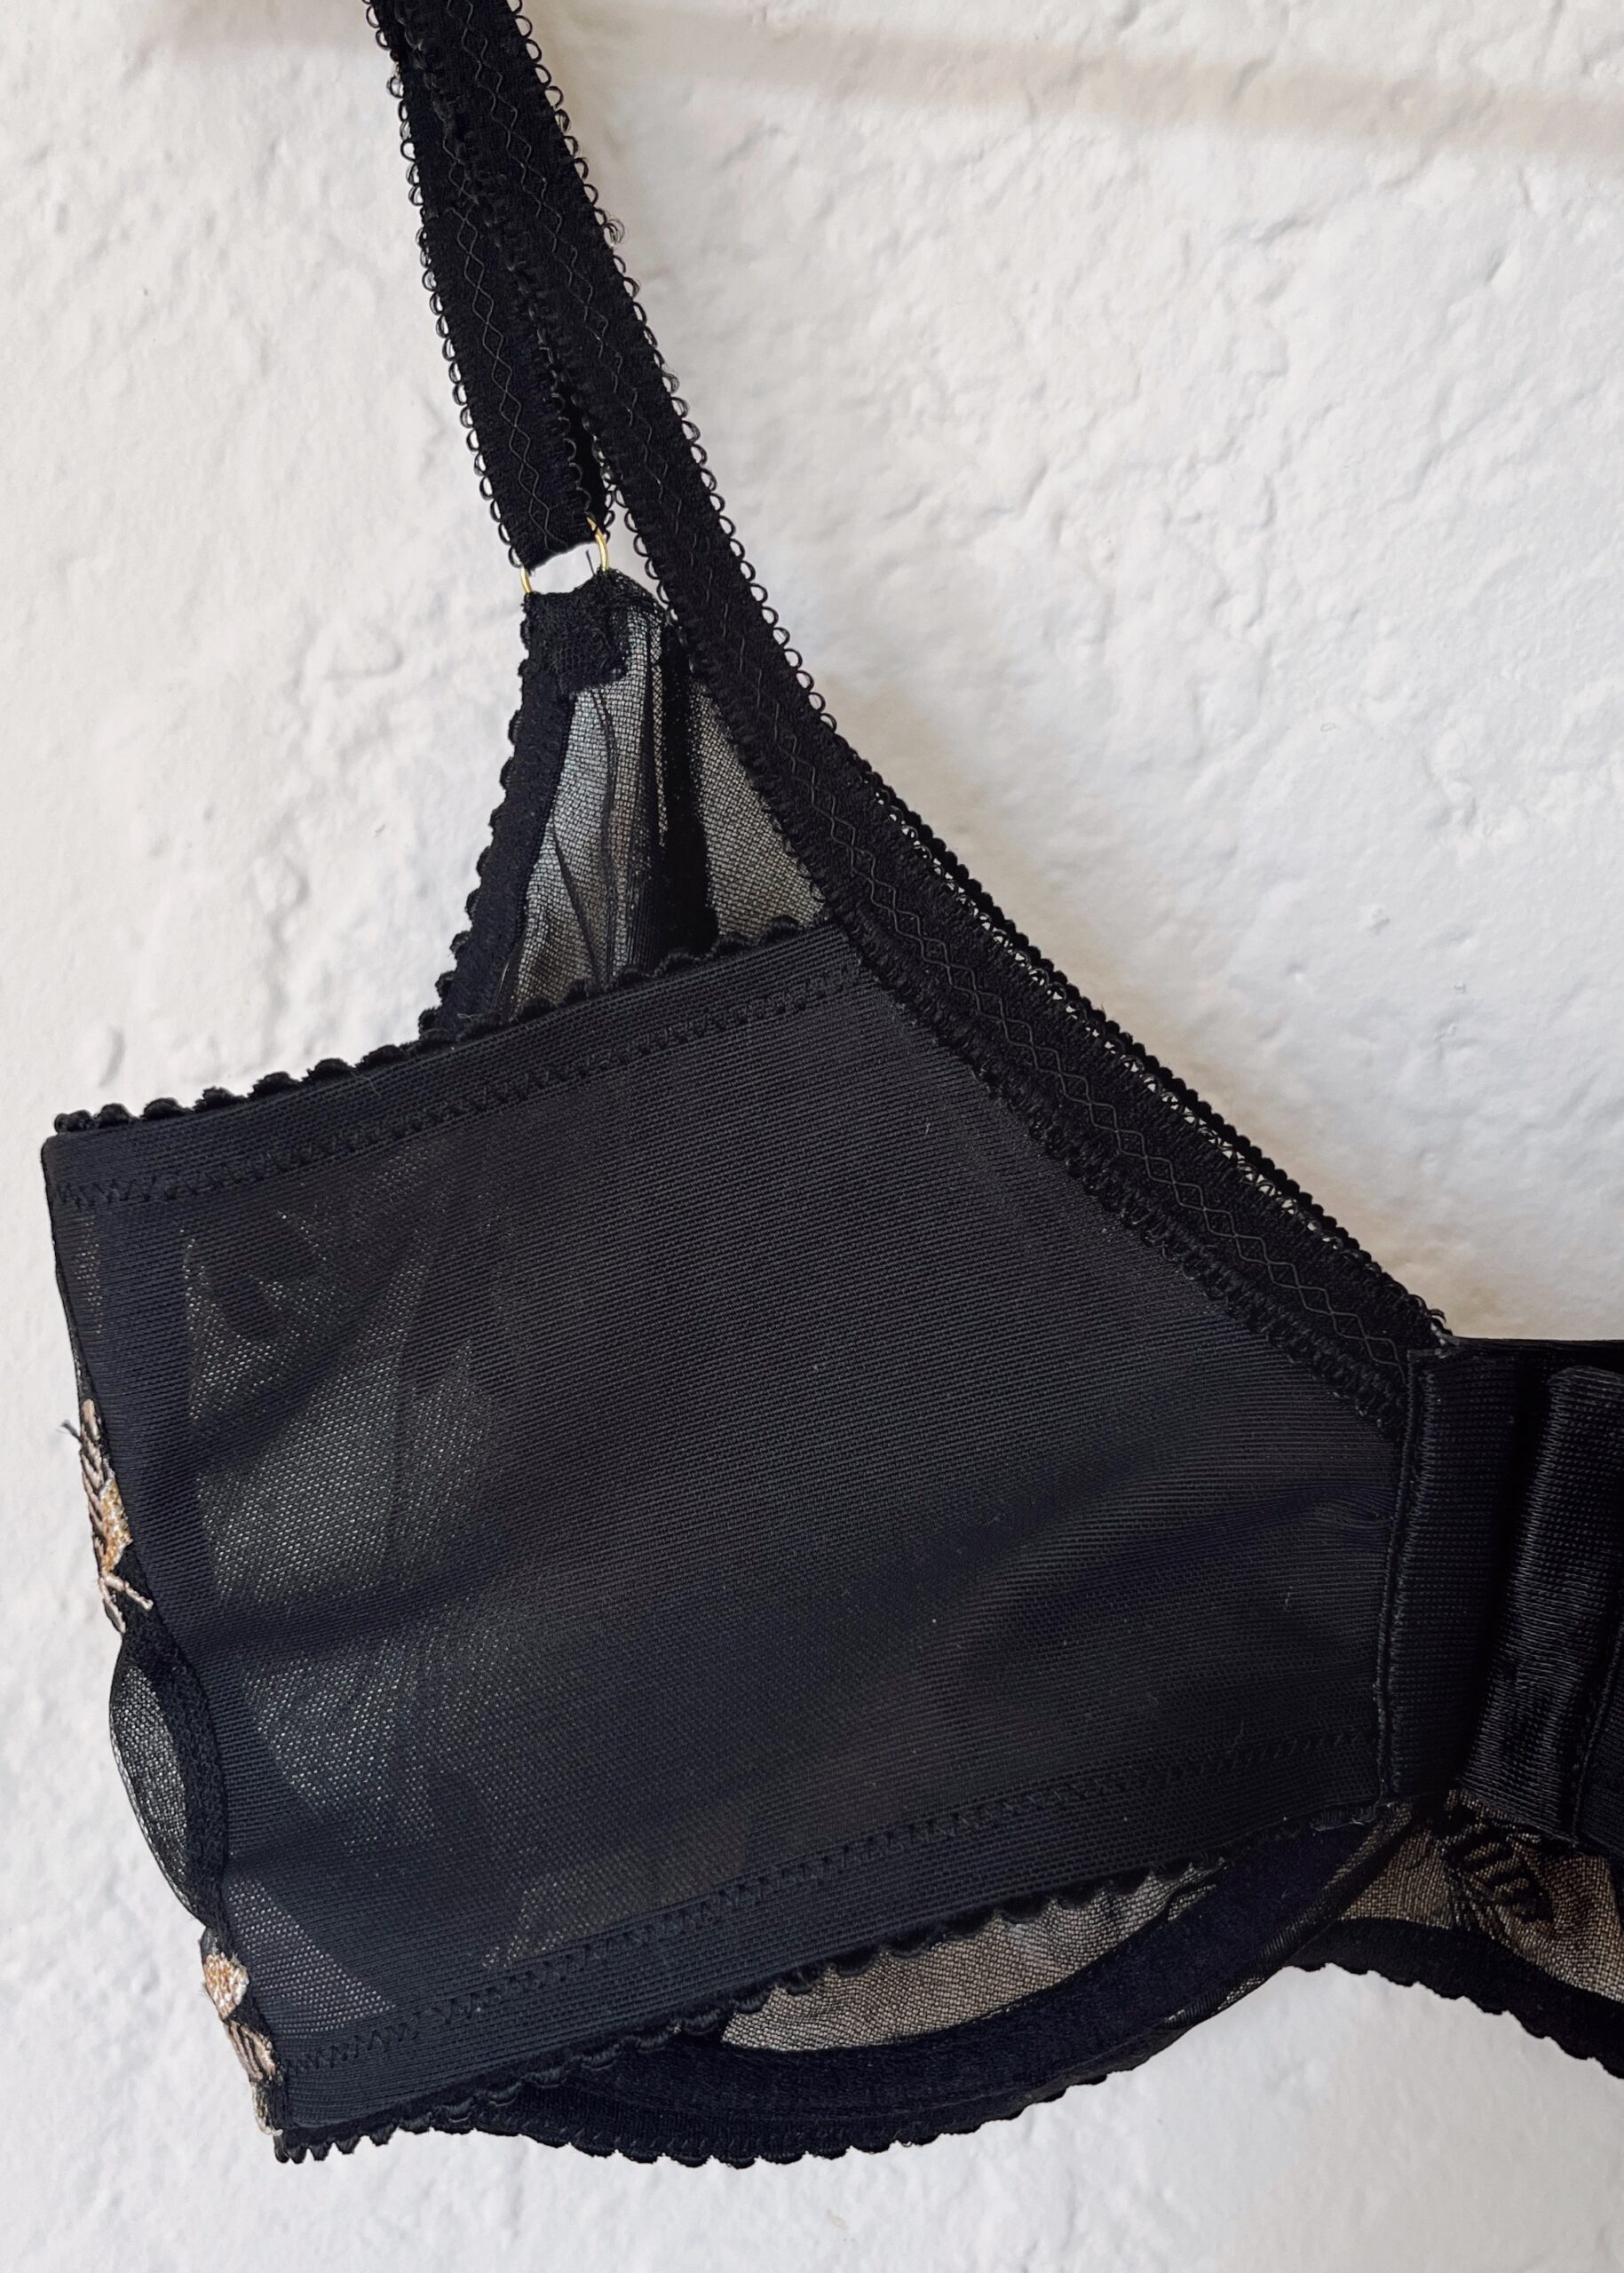
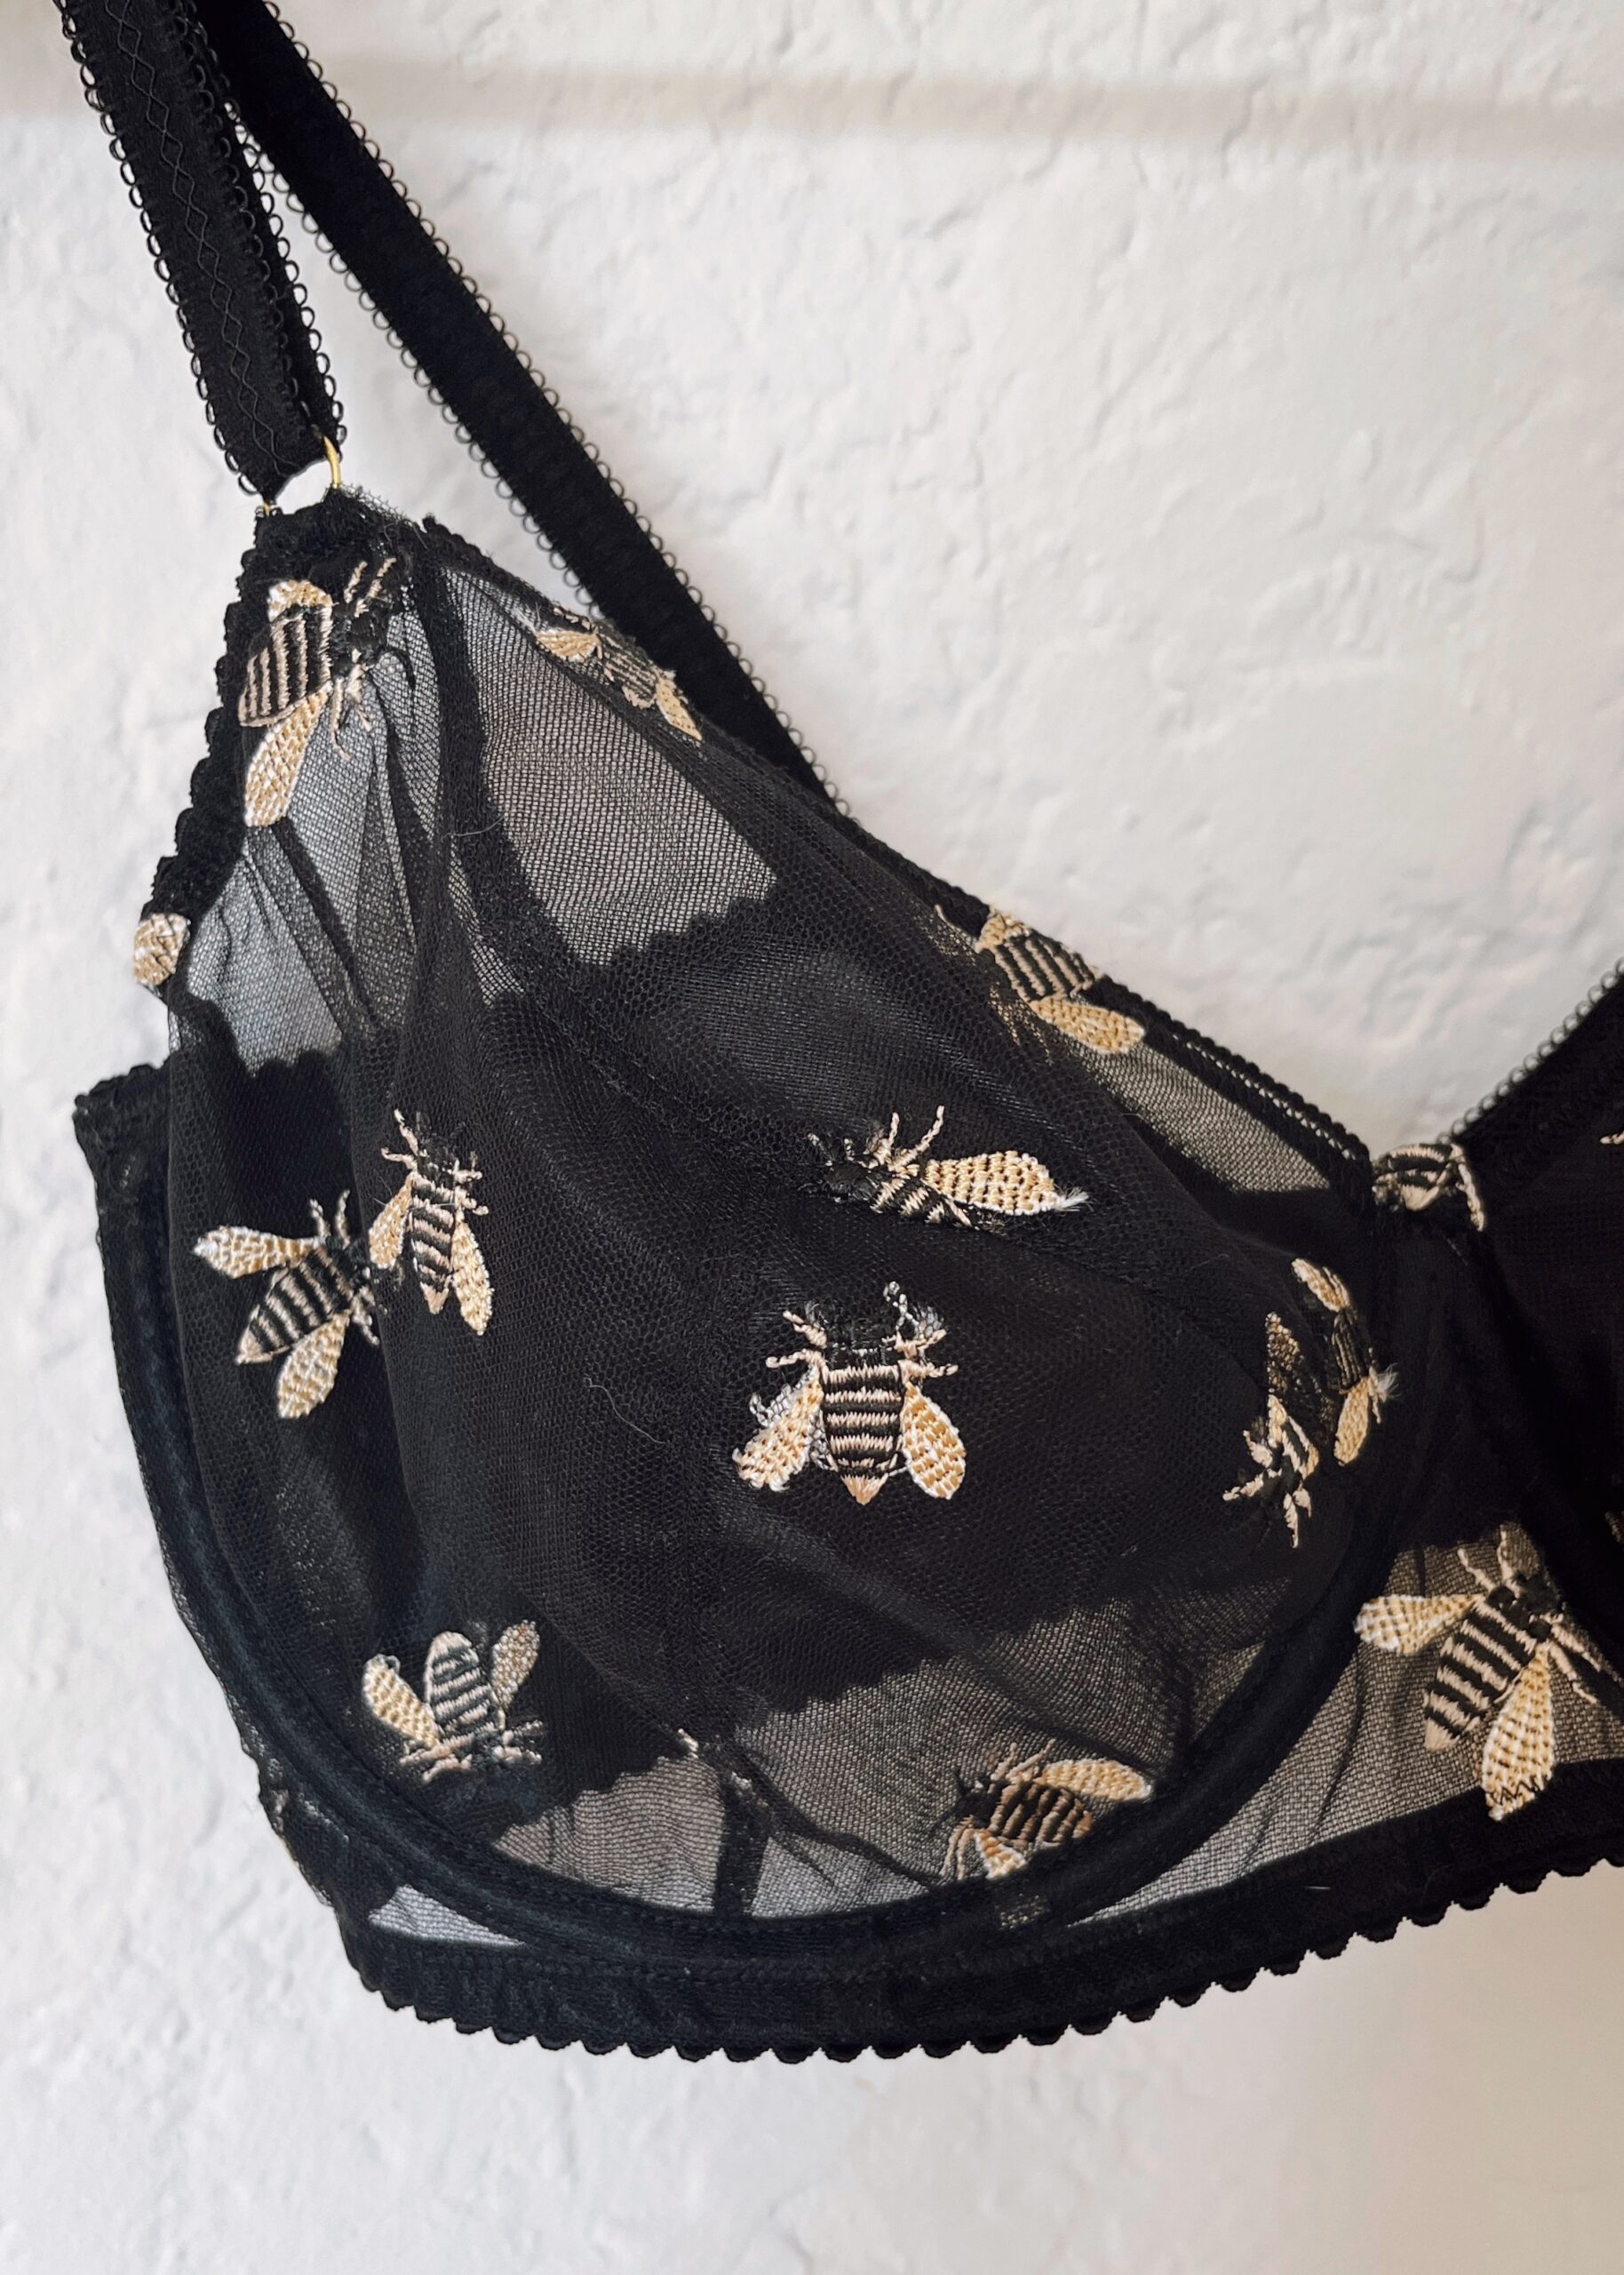
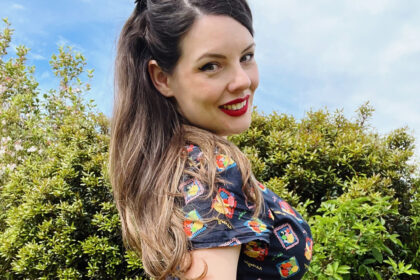
This embroidered bee bra tulle was from Sister Mintaka and has been in my stash for a good while! It is lightweight and 100% nylon, with only a little mechanical ‘give’ in the crosswise direction. The bee embroidery is just so sweet! I also used the following notions from Bra Builders:
- 3-hook and eye bra closure
- Sheer cup lining (to line all my pieces and give stability)
- Power net – firm weight (for the back band — this was a lot more firm than the power net I used in my white lace bra, but is still sufficiently stretchy and feels very supportive)
- ½” bra strap elastic
- ½” picot underband elastic
- ⅜” picot elastic (for finishing the underarm seams)
- ¼” picot elastic (for finishing the upper cup)
- Plush underwire channelling
- ½” rings and sliders in gold
- 48 Regular Underwires (from Porcelynne)

Now to the main crux of the bra – size and fit. Before alterations, I made a straight 34GG (yep, I really wasn’t kidding when I said that DD-cups are just a fond, fleeting memory for me) and tried it on in front of Bella. Her expert eye was meticulous at picking up every little change needed — in some cases, shaving off a scant ⅛” could make a difference to the fit.
I made the following alterations as recommended and taught by Bella:
- The top of my bridge had to be narrowed to be ⅜” wide at the seam line, but there were also some drag lines at the lower part of the bridge; firstly I reduced the top bridge width to the correct size, before I added a ¾” wedge to the bottom of the bridge, tapering to nothing at the new amended top seam line.
- I needed some volume to be added to the inner cup at approximately 1½” in from the top of my bridge, so I added ¼”. As the inner cup is quite a small piece, it was not feasible to add the necessary volume and also taper to nothing at the seam line where the inner cup joins, so this alteration was carried through to the upper cup and tapered to nothing at the outer seamline of the upper cup.
- There was some general gaping at the upper cup, so I removed ¼” from the top edge, tapering to nothing at the seam line where the upper cup joins the outer and inner cup.
- I added ⅜” to the outer cradle underarm seam.
- I removed ⅛” from the back band underarm seam.
- I added a ¾” strip to the back band in the middle of the piece, being careful not the disrupt the scoop back neckline where the strap connects.
- I amended the scoop back to fit a 3-hook and eye bra closure.
- The big one: I needed to move the straps in by a pretty hefty 1½” at the front of the bra. I usually have chronic bra-straps-falling-off-my-shoulders-even-on-the-tightest-setting, so I knew this would be an important one for me to learn. This adjustment was a tricky one to execute and an adjustment that I think everyone in Bra Camp had to make, so bear this in mind if you are making the Harriet Bra! This one adjustment has been kinda crazy liberating though, as I actually have noticed the difference in not needing to hoik my bra straps back in place all day.
After learning about all these alterations, Bella then showed us how to cut scallop lace so that you mirror the scallops in the upper cup to create a symmetrical bra. It was really useful to learn and I am glad my white lace bra has perfectly balanced scallops, but I didn’t need to use this technique for the embroidered bee tulle. I did some minor fussy-cutting by placing a bee in the centre of my bridge, but didn’t realise that meant there was part of an embroidered bee right on the seamline of the top of the bridge (foreshadowing).
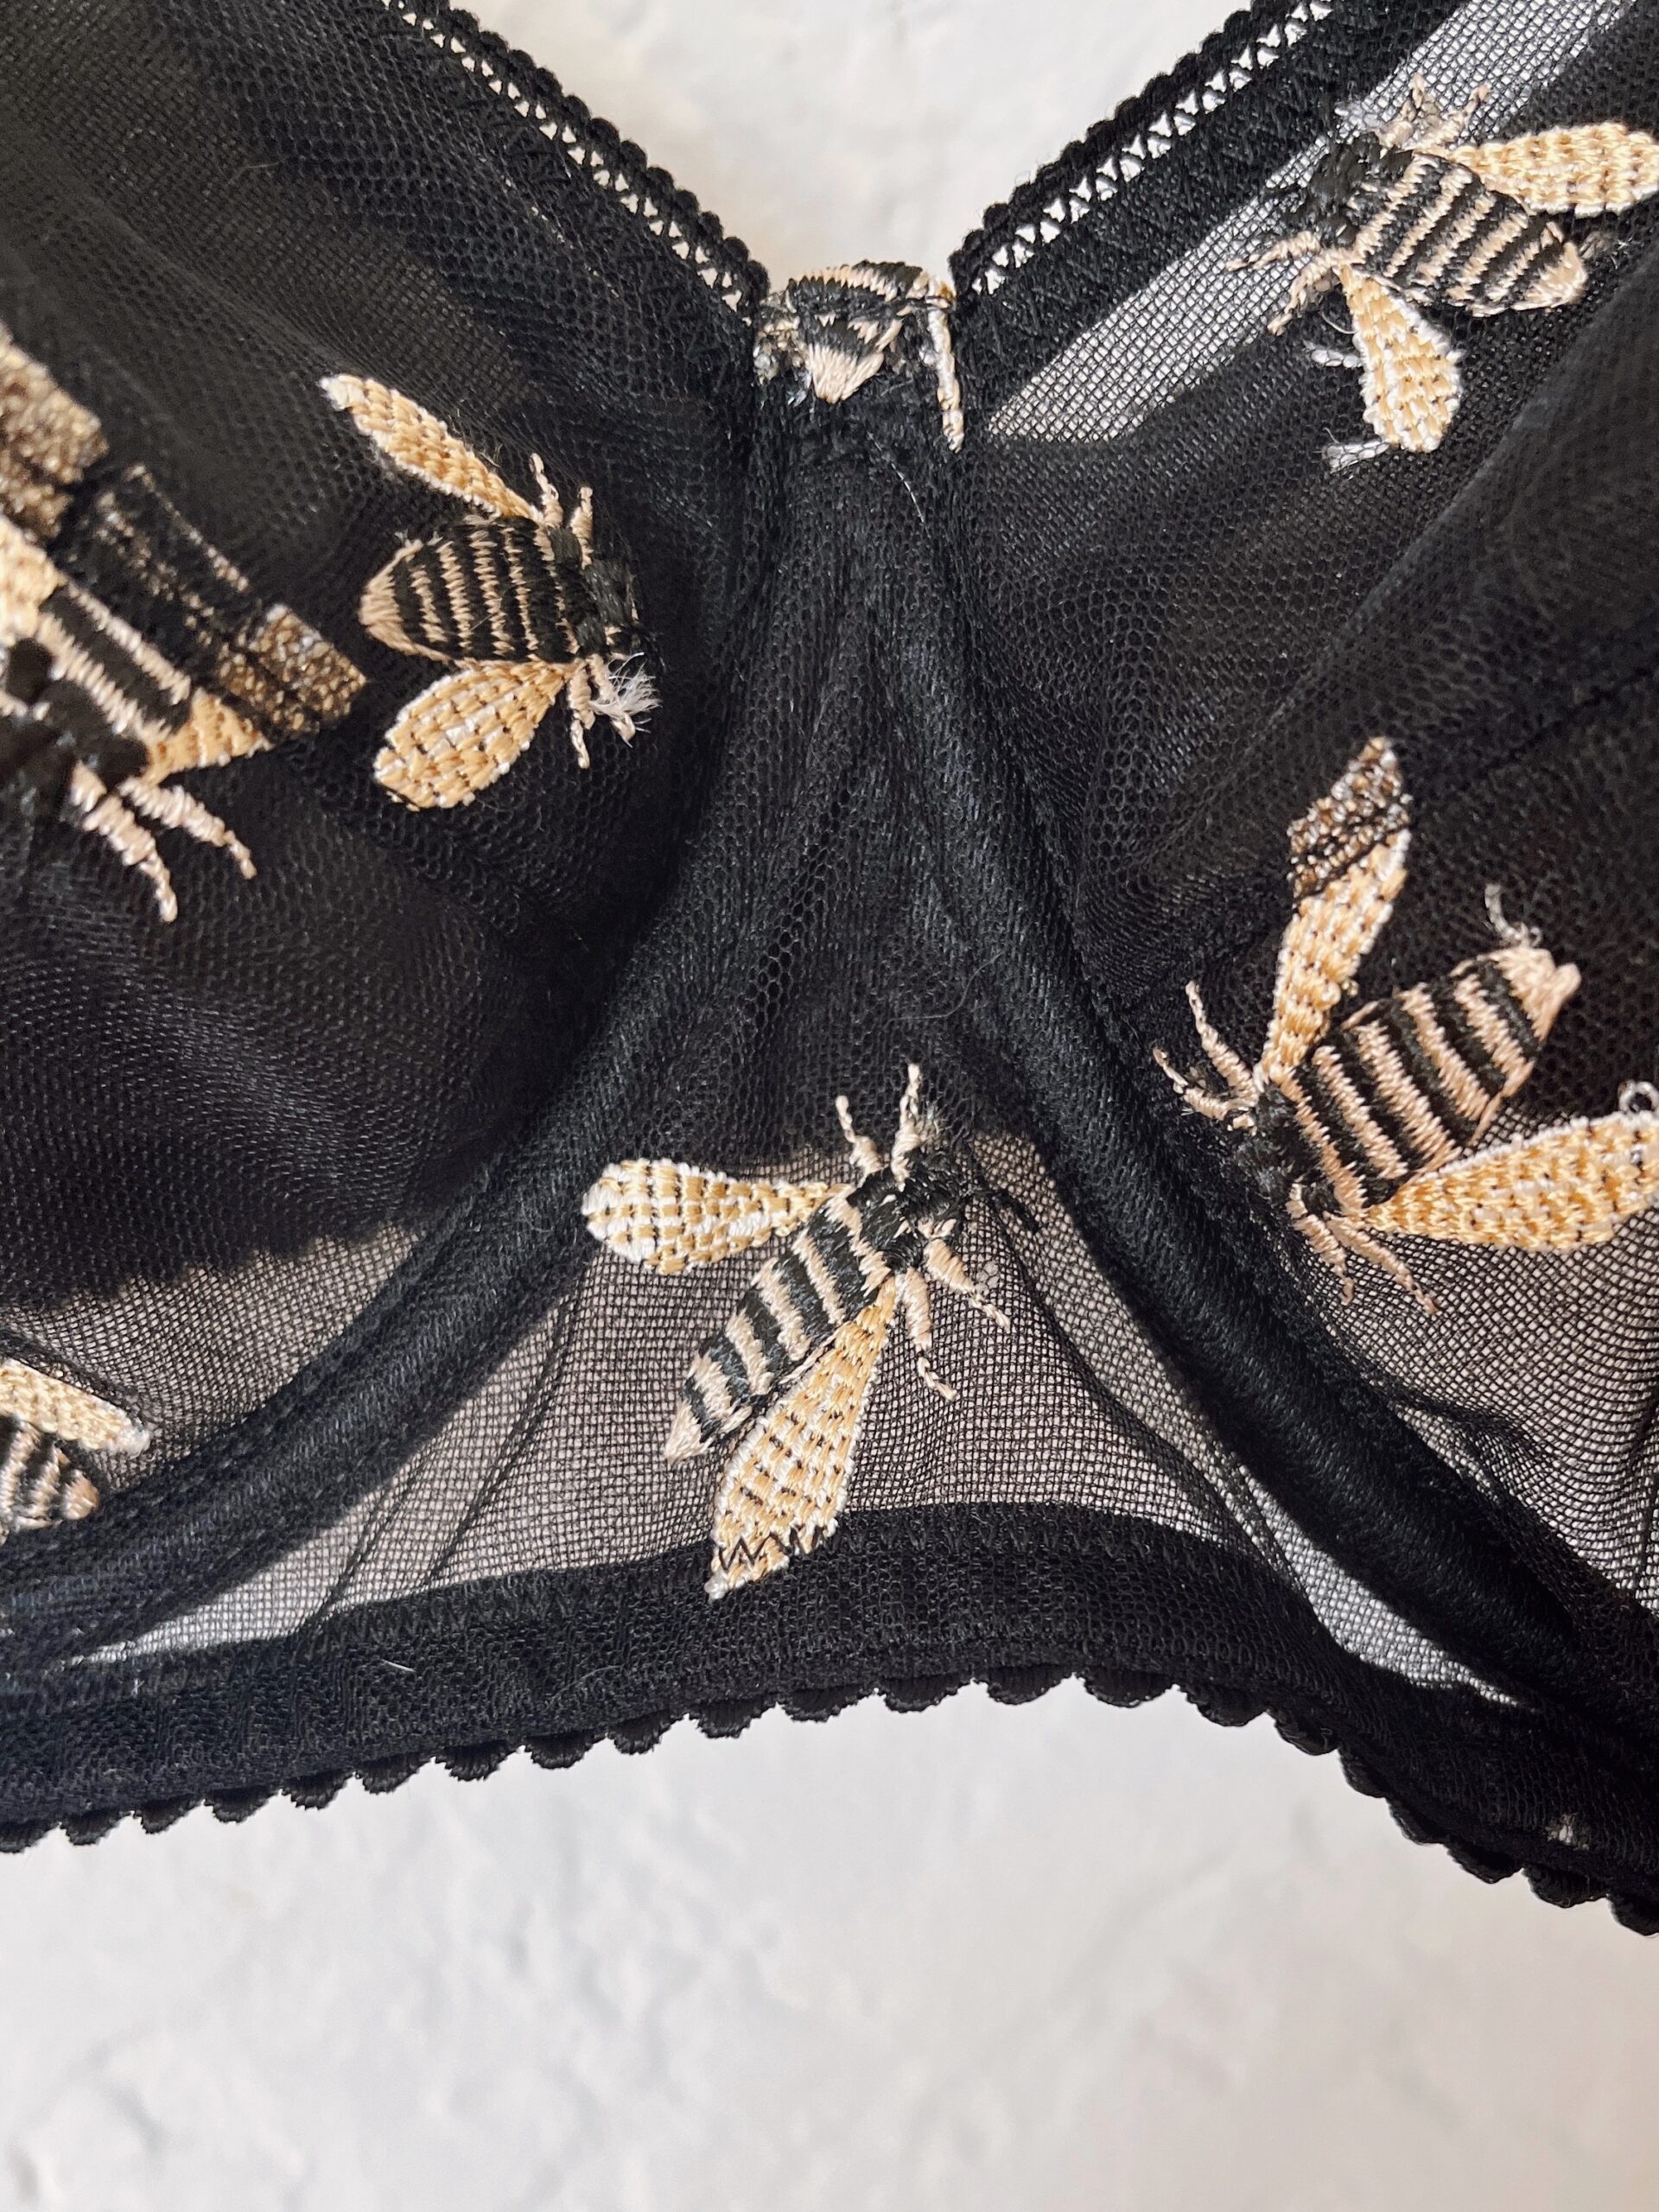
Finally, it was time to get sewing! At Bra Camp, I was using an unfamiliar machine with a bobbin that wanted to be very uncooperative. At one point, I am pretty sure I threatened the bobbin to physically fight me!! Suffice to say, I was a lot slower at sewing than usual, especially as the lace was very delicate, so I was being extra-cautious and using tissue paper to stabilise the start of each seam. At home on my Pfaff machine, I found the actual sewing process surprisingly easy. As you have a much narrower seam allowance than usual (¼”, with topstitching at ⅛”), I found that my ¼” seam foot was indispensable for all straight stitching and I only switched back to my regular foot when zig-zag stitching was required. I made sure to have the IDT system engaged throughout (the Pfaff equivalent of using a walking foot) and used a 70-microtex needle. As the seams are so much smaller than sewing a dress, your bra starts to take shape pretty quickly. One slight area of difficulty was the bulkiness at the top of the bridge, where I had a chunky embroidered bee and two pieces of channelling meeting — damn you, fussy cutting! Luckily, I had my hump-jumper on hand for navigating this unwieldy area, so I did the best I could in terms of neat topstitching.
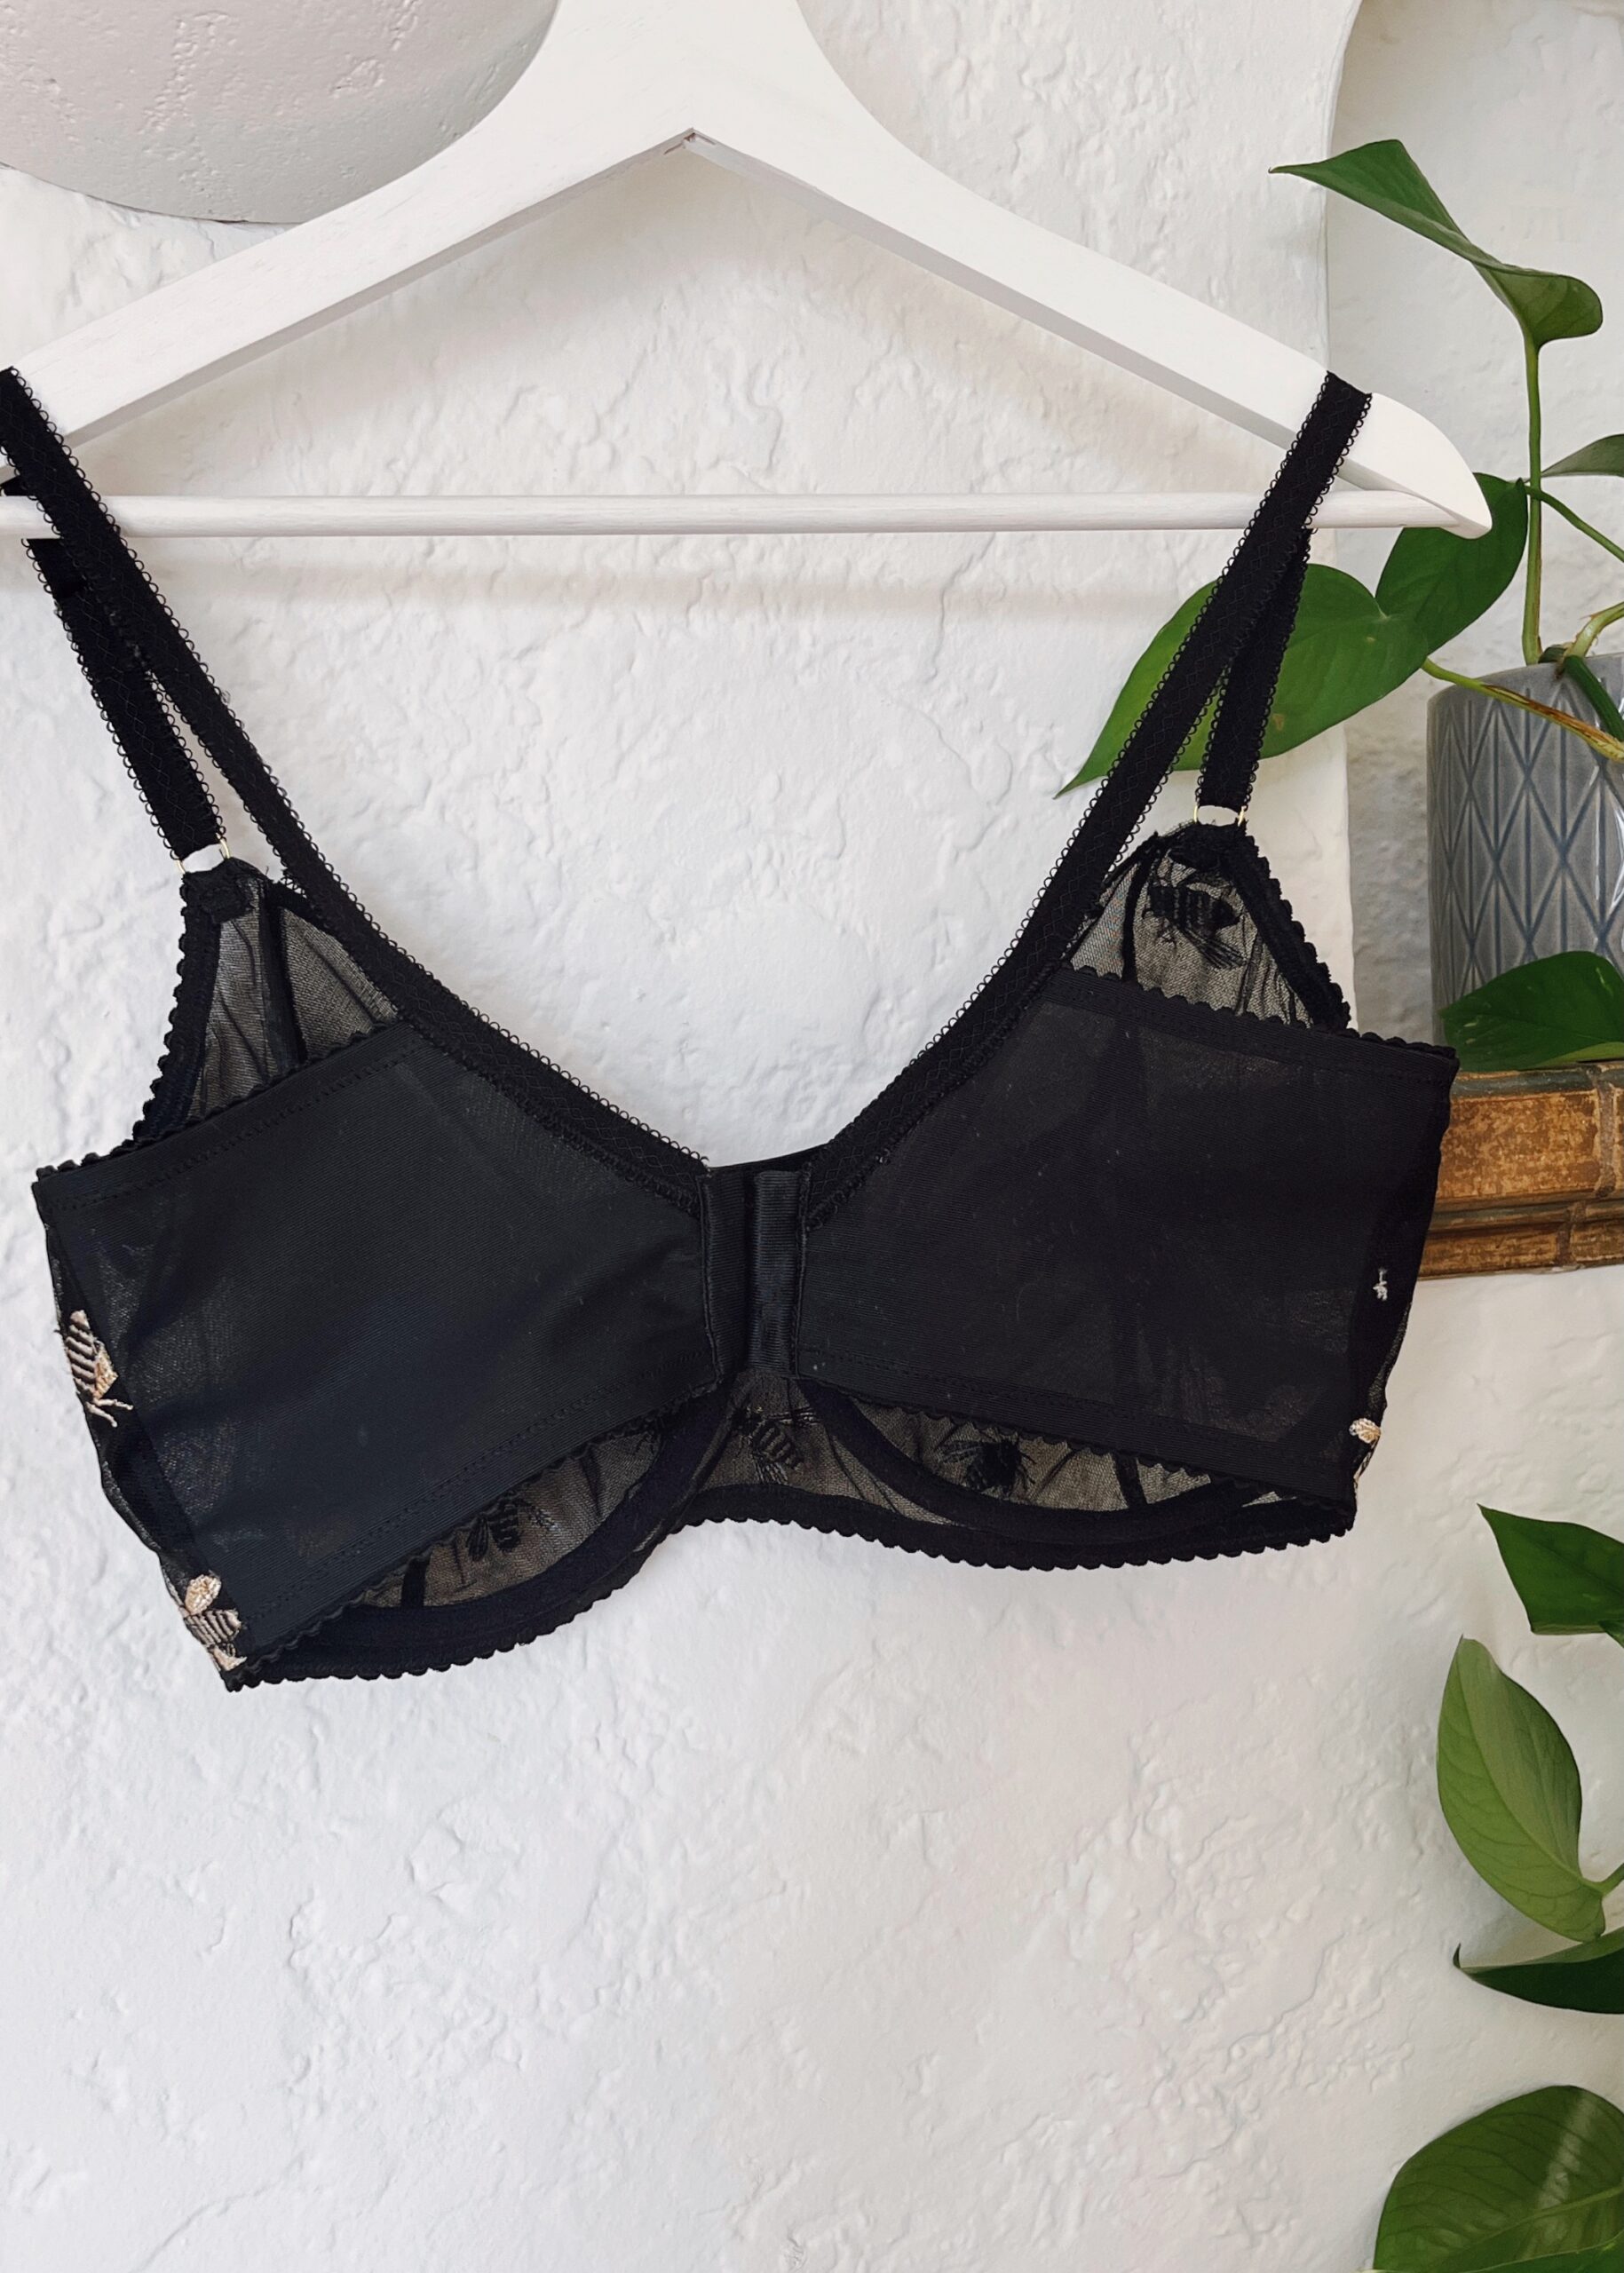
Fortunately, the rest of the construction was a breeze. I read online that people recommend using a basting spray to affix the hooks and eyes, which is a great tip. I tried it on as soon as I finished and just immediately had this huge grin on my face. Now, I know earlier I had a minor rant about only having the choice of black/white/beige bras AND the two bras I have made so far are black and white… But come on, these are SO much better than those sensible bras! And now I have the choice of pretty laces and tulles to make beautiful, perfectly-fitted bras 😊 One particular element I love about sewing is that you make clothes to fit your body; I really believe that beautiful clothing should be accessible for every single body and the more pattern designers who use extended sizing ranges and showcase their products on a range of bodies, the better. One sewist I really admire, Jasika Nicole, has written about how the fashion industry as a whole is known for being inaccessible by design for larger bodies, and the act of making a garment that fits a larger range of bodies feels rather punk rock, and I would also extend this sentiment out to the lingerie fashion industry as well. So Huit Lingerie, while you display beautiful periwinkle blue floral lace bras in a 30B, I am going to go renegade and make my own beautiful version that fits me.

That’s a seriously good looking bra. What gorgeous fabric!
Thank you so much! I am so happy with it and love the little embroidered bees 🐝
Welcome to bra sewing! Liberating isn’t it? My fitting challenge is the polar opposite of yours, but my goal is the same: to have the design I want in a size that fits. Your first bras look amazing. Enjoy your new superpower.
Thank you so much! 😊 It really does feel like a new superpower!