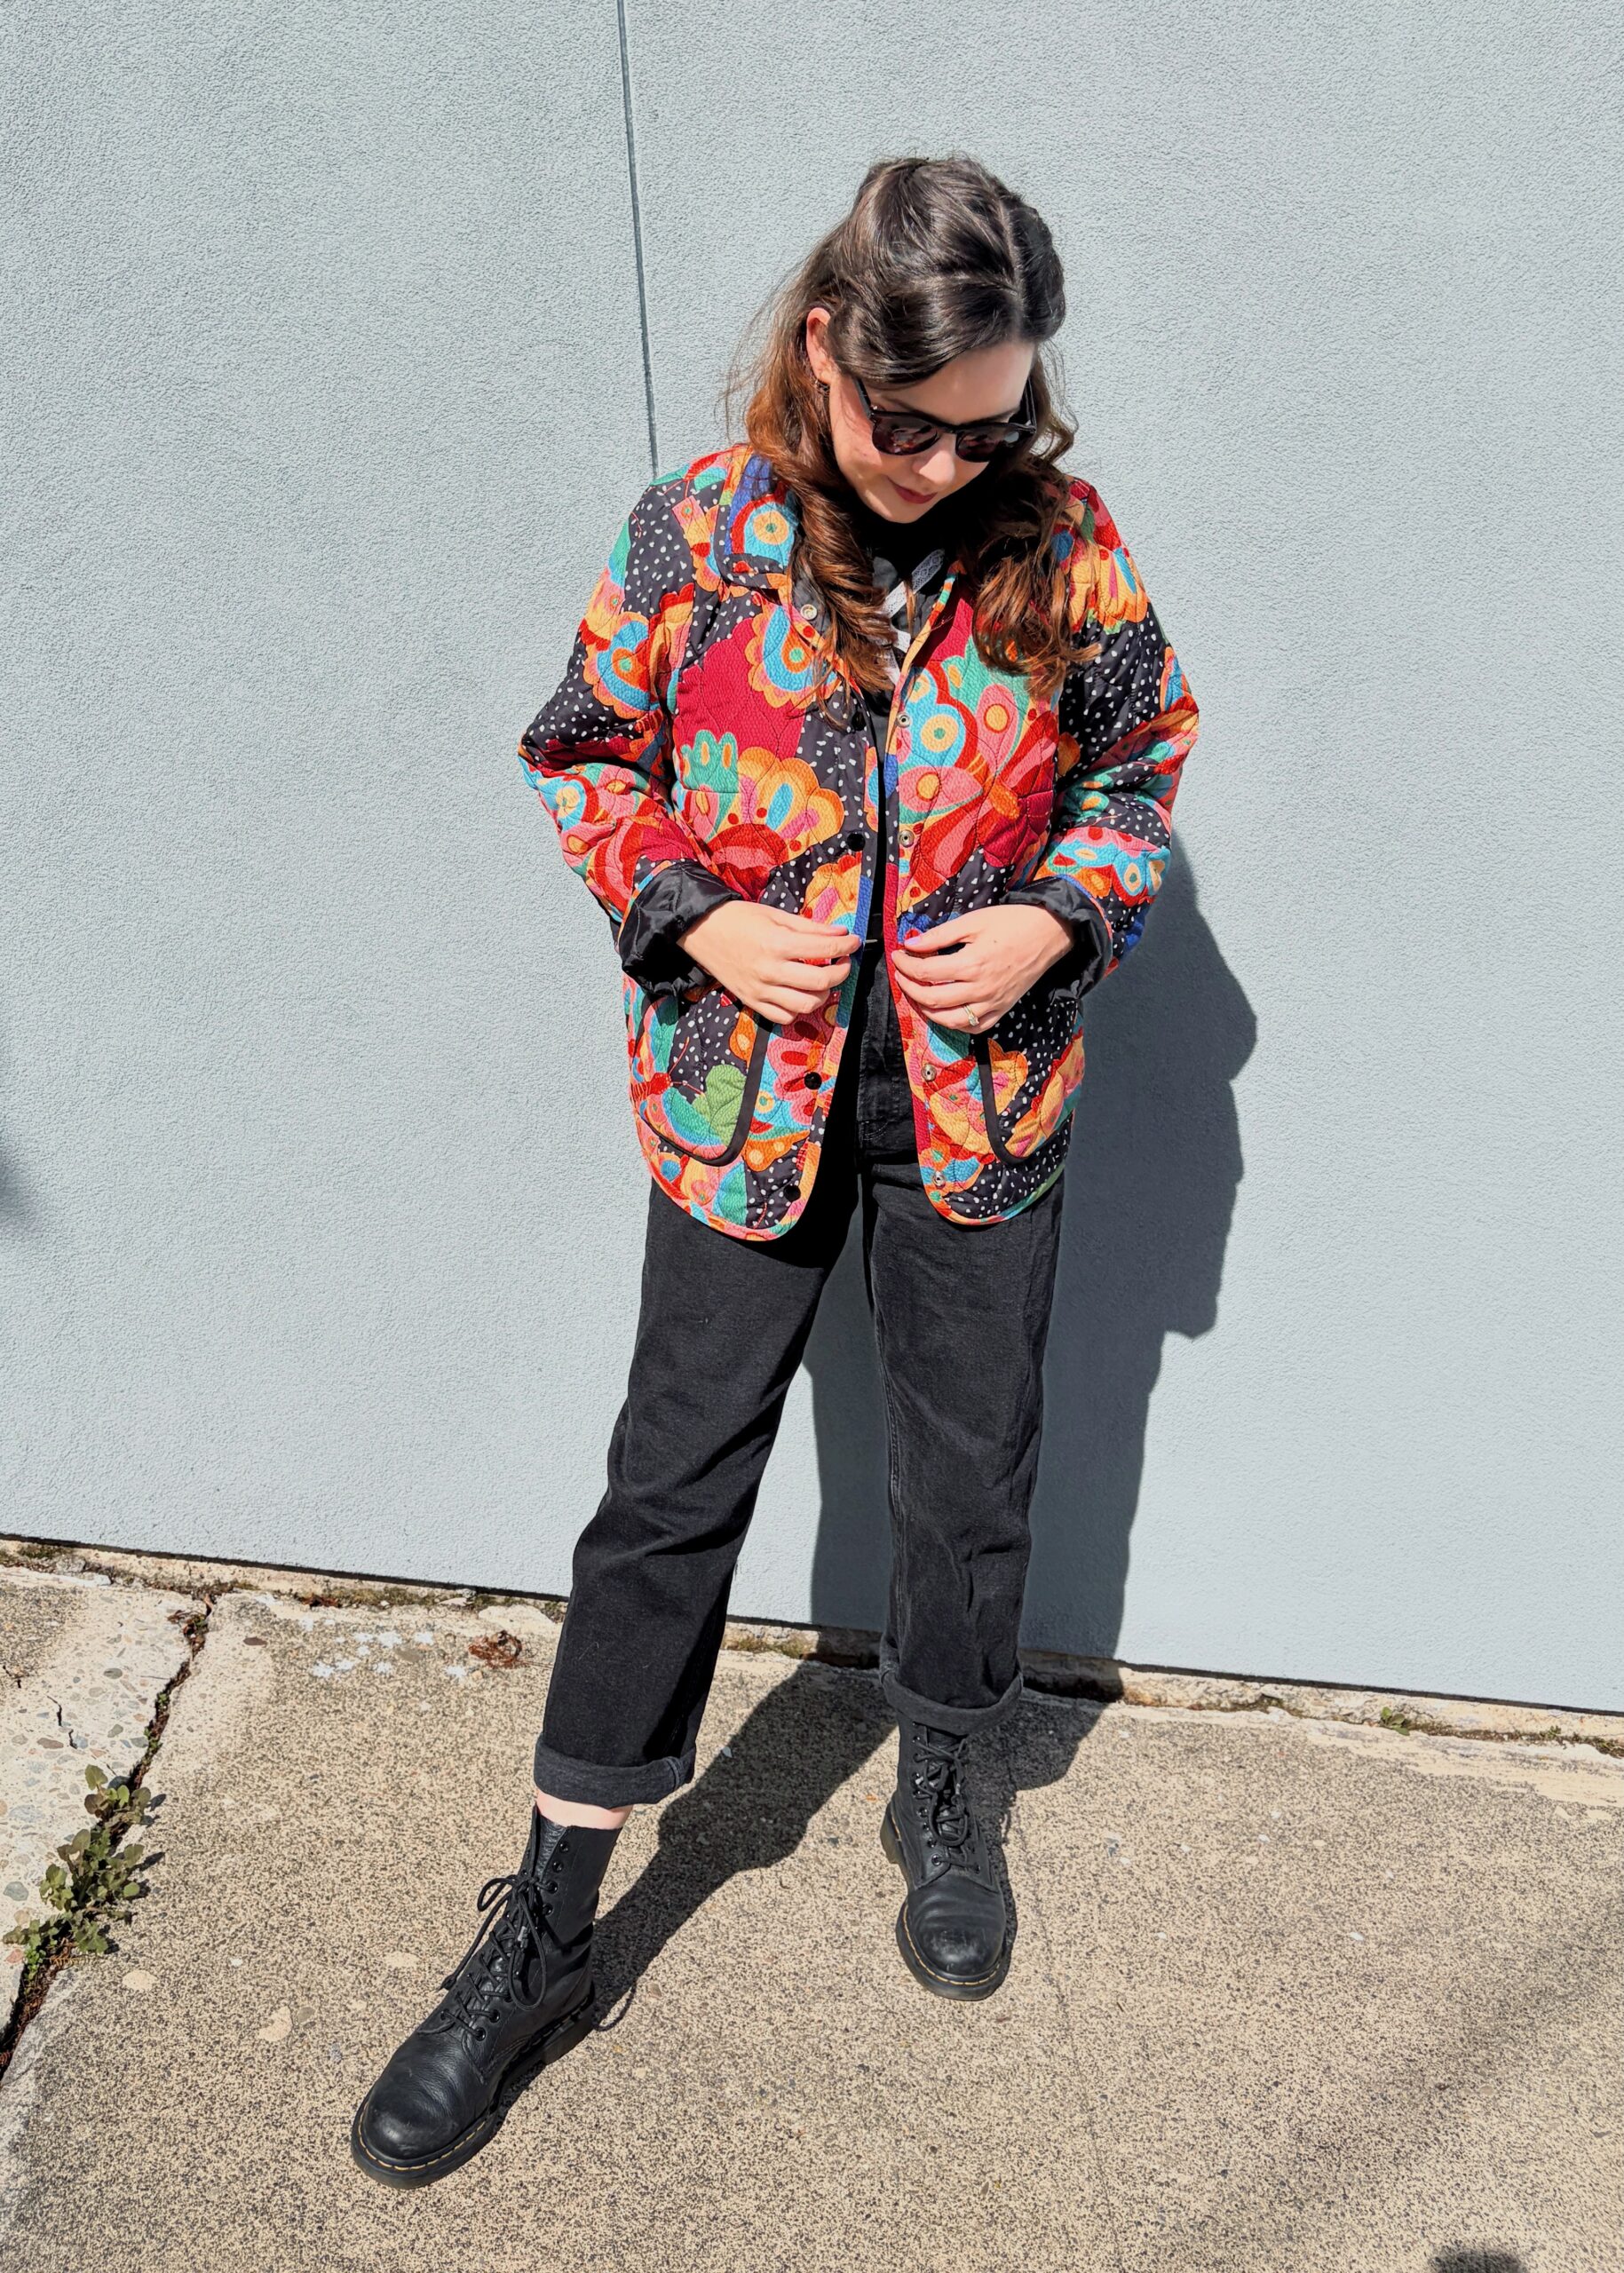
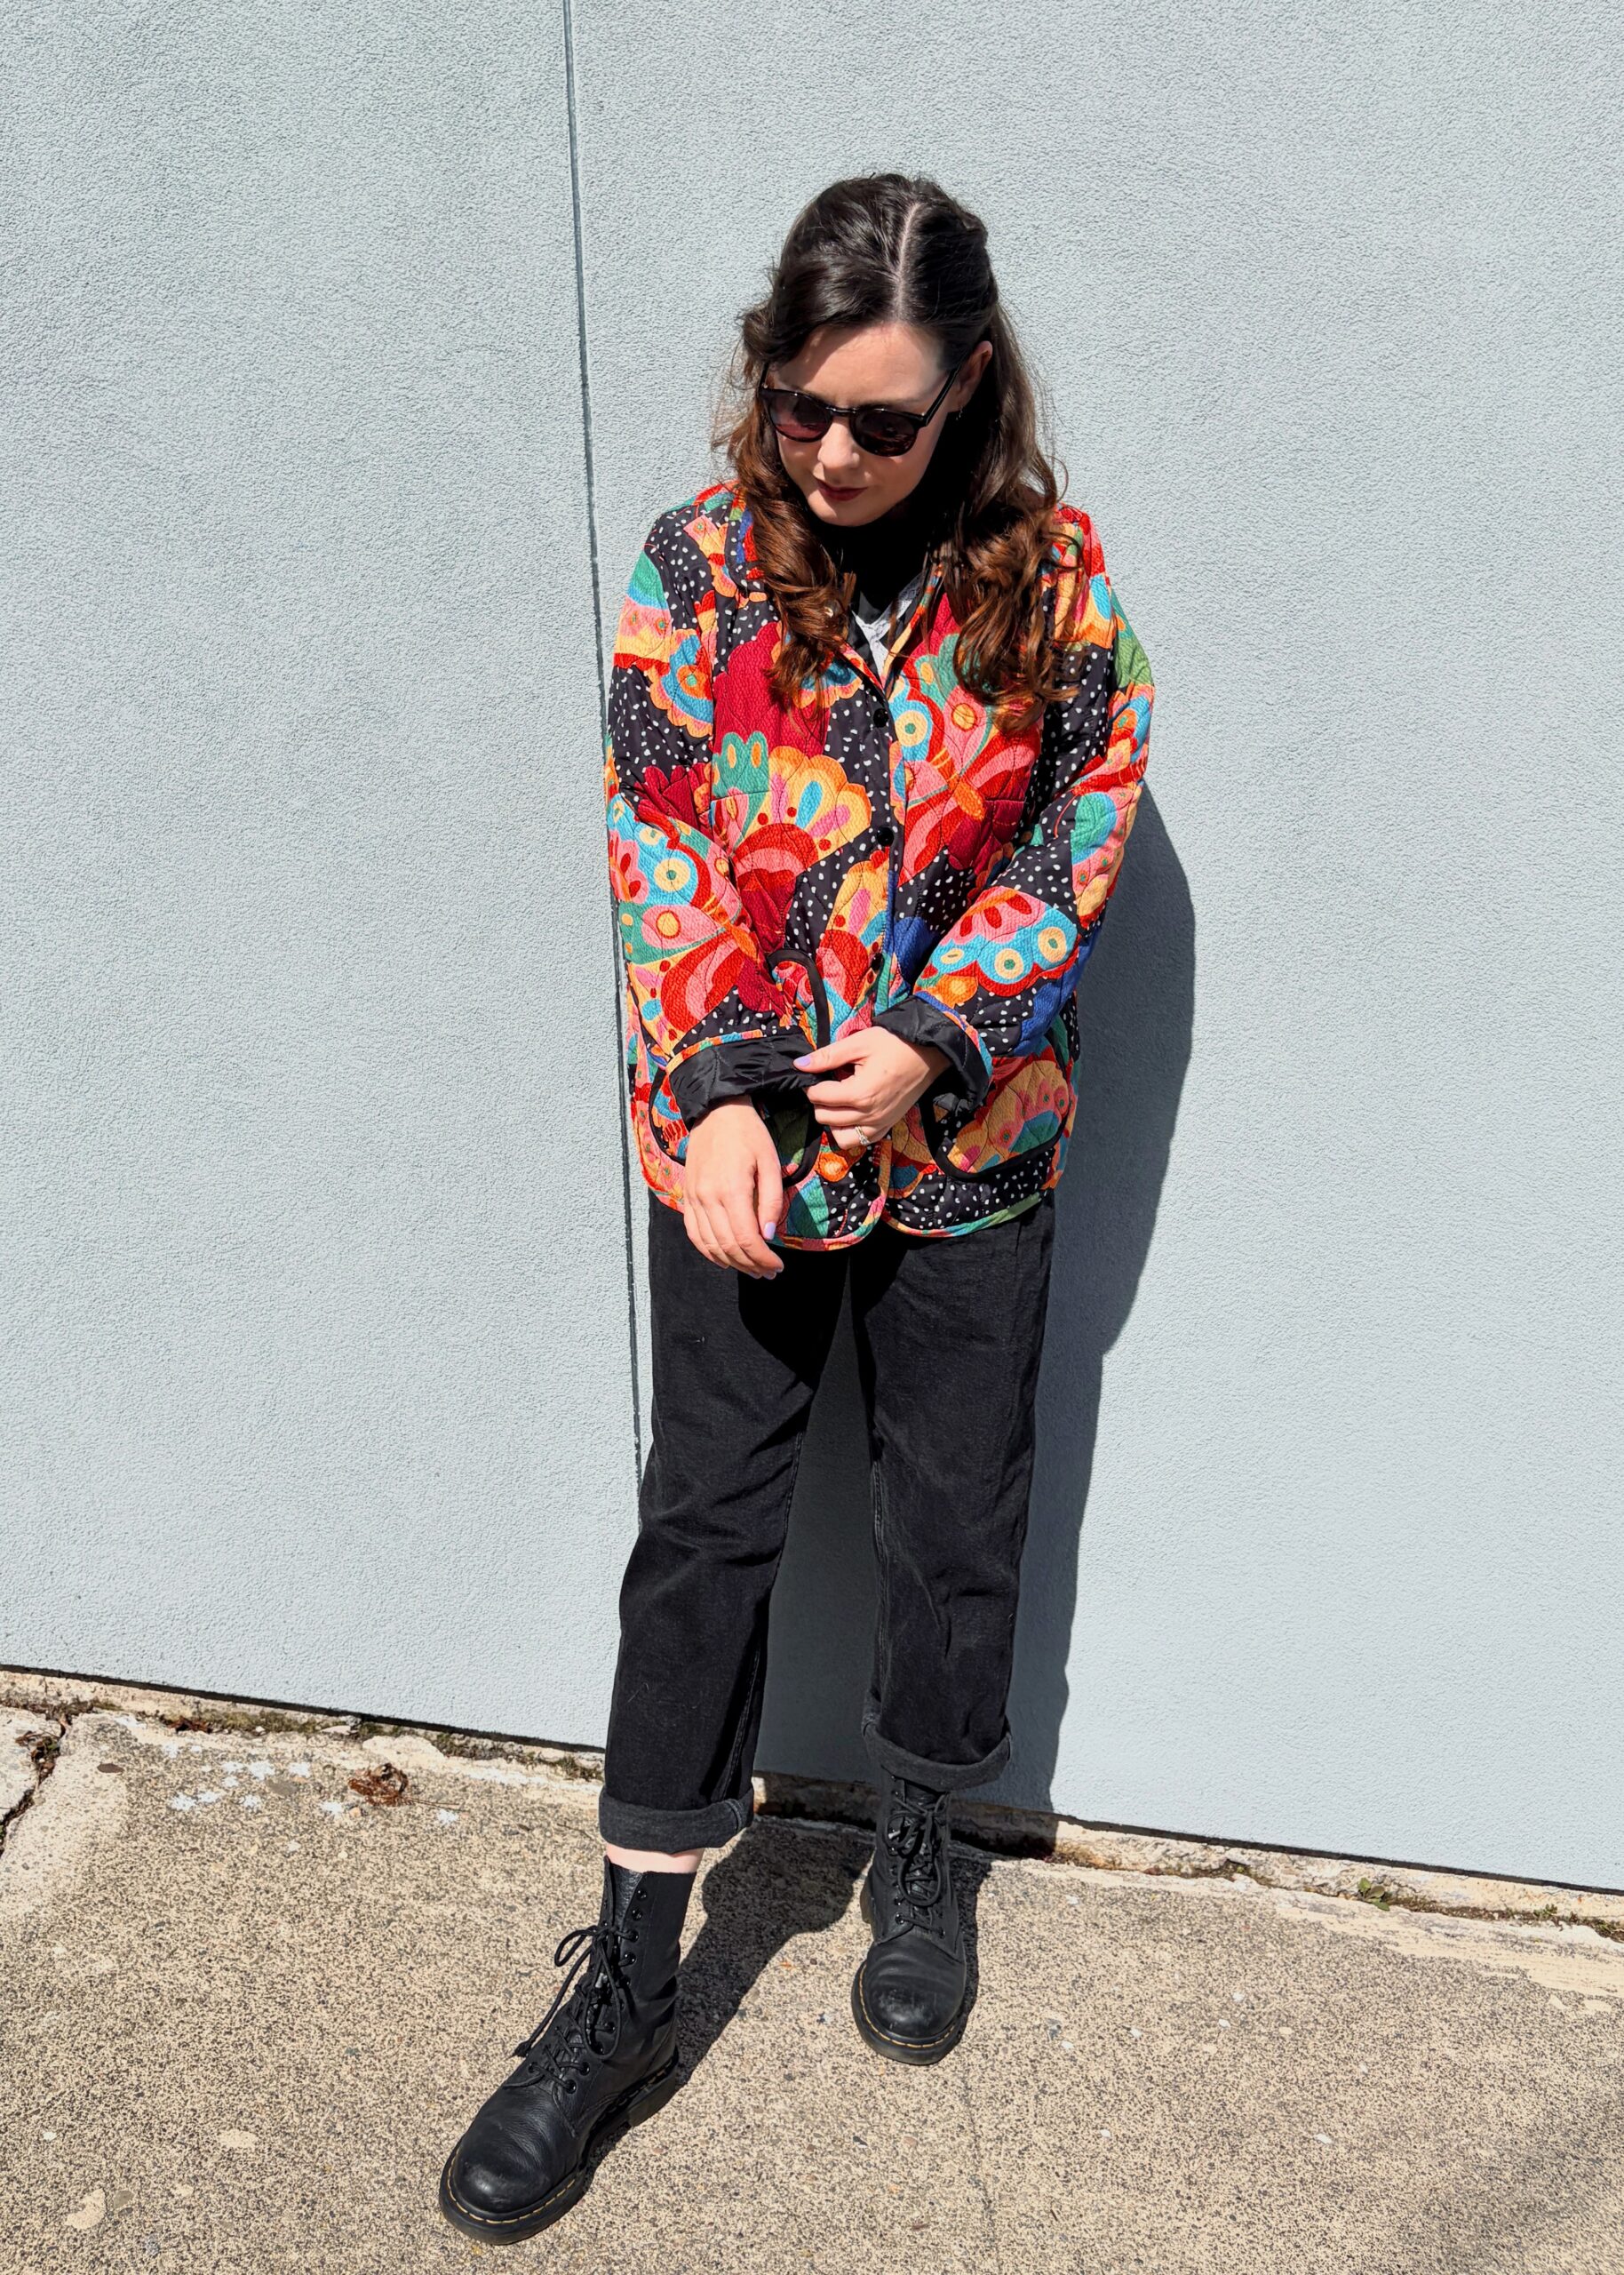
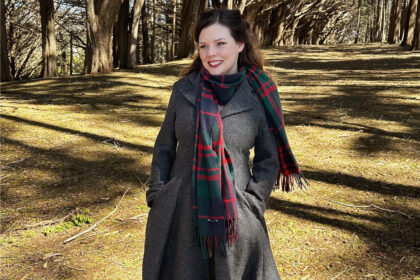
Hey, look at me go — here is one of my finished projects from my Make Nine plans 😊 The microclimates in San Francisco mean there are times when it can be a bit too chilly for a leather jacket, but not so cold to warrant a proper wool coat, so I started hankering after a lightweight quilted puffer jacket. There is a reason why Patagonia quilted jackets are so ubiquitous in the city! I decided on making a quilted puffer jacket, as I wanted something a bit more colourful and unique than wearing the same style of jacket as every tech bro in the neighbourhood… even though this jacket clashes with most of my rainbow wardrobe! This was a real sew-jo boosting project; I really struggled with my sewing last year, so this jacket was the perfect antidote in the new year.
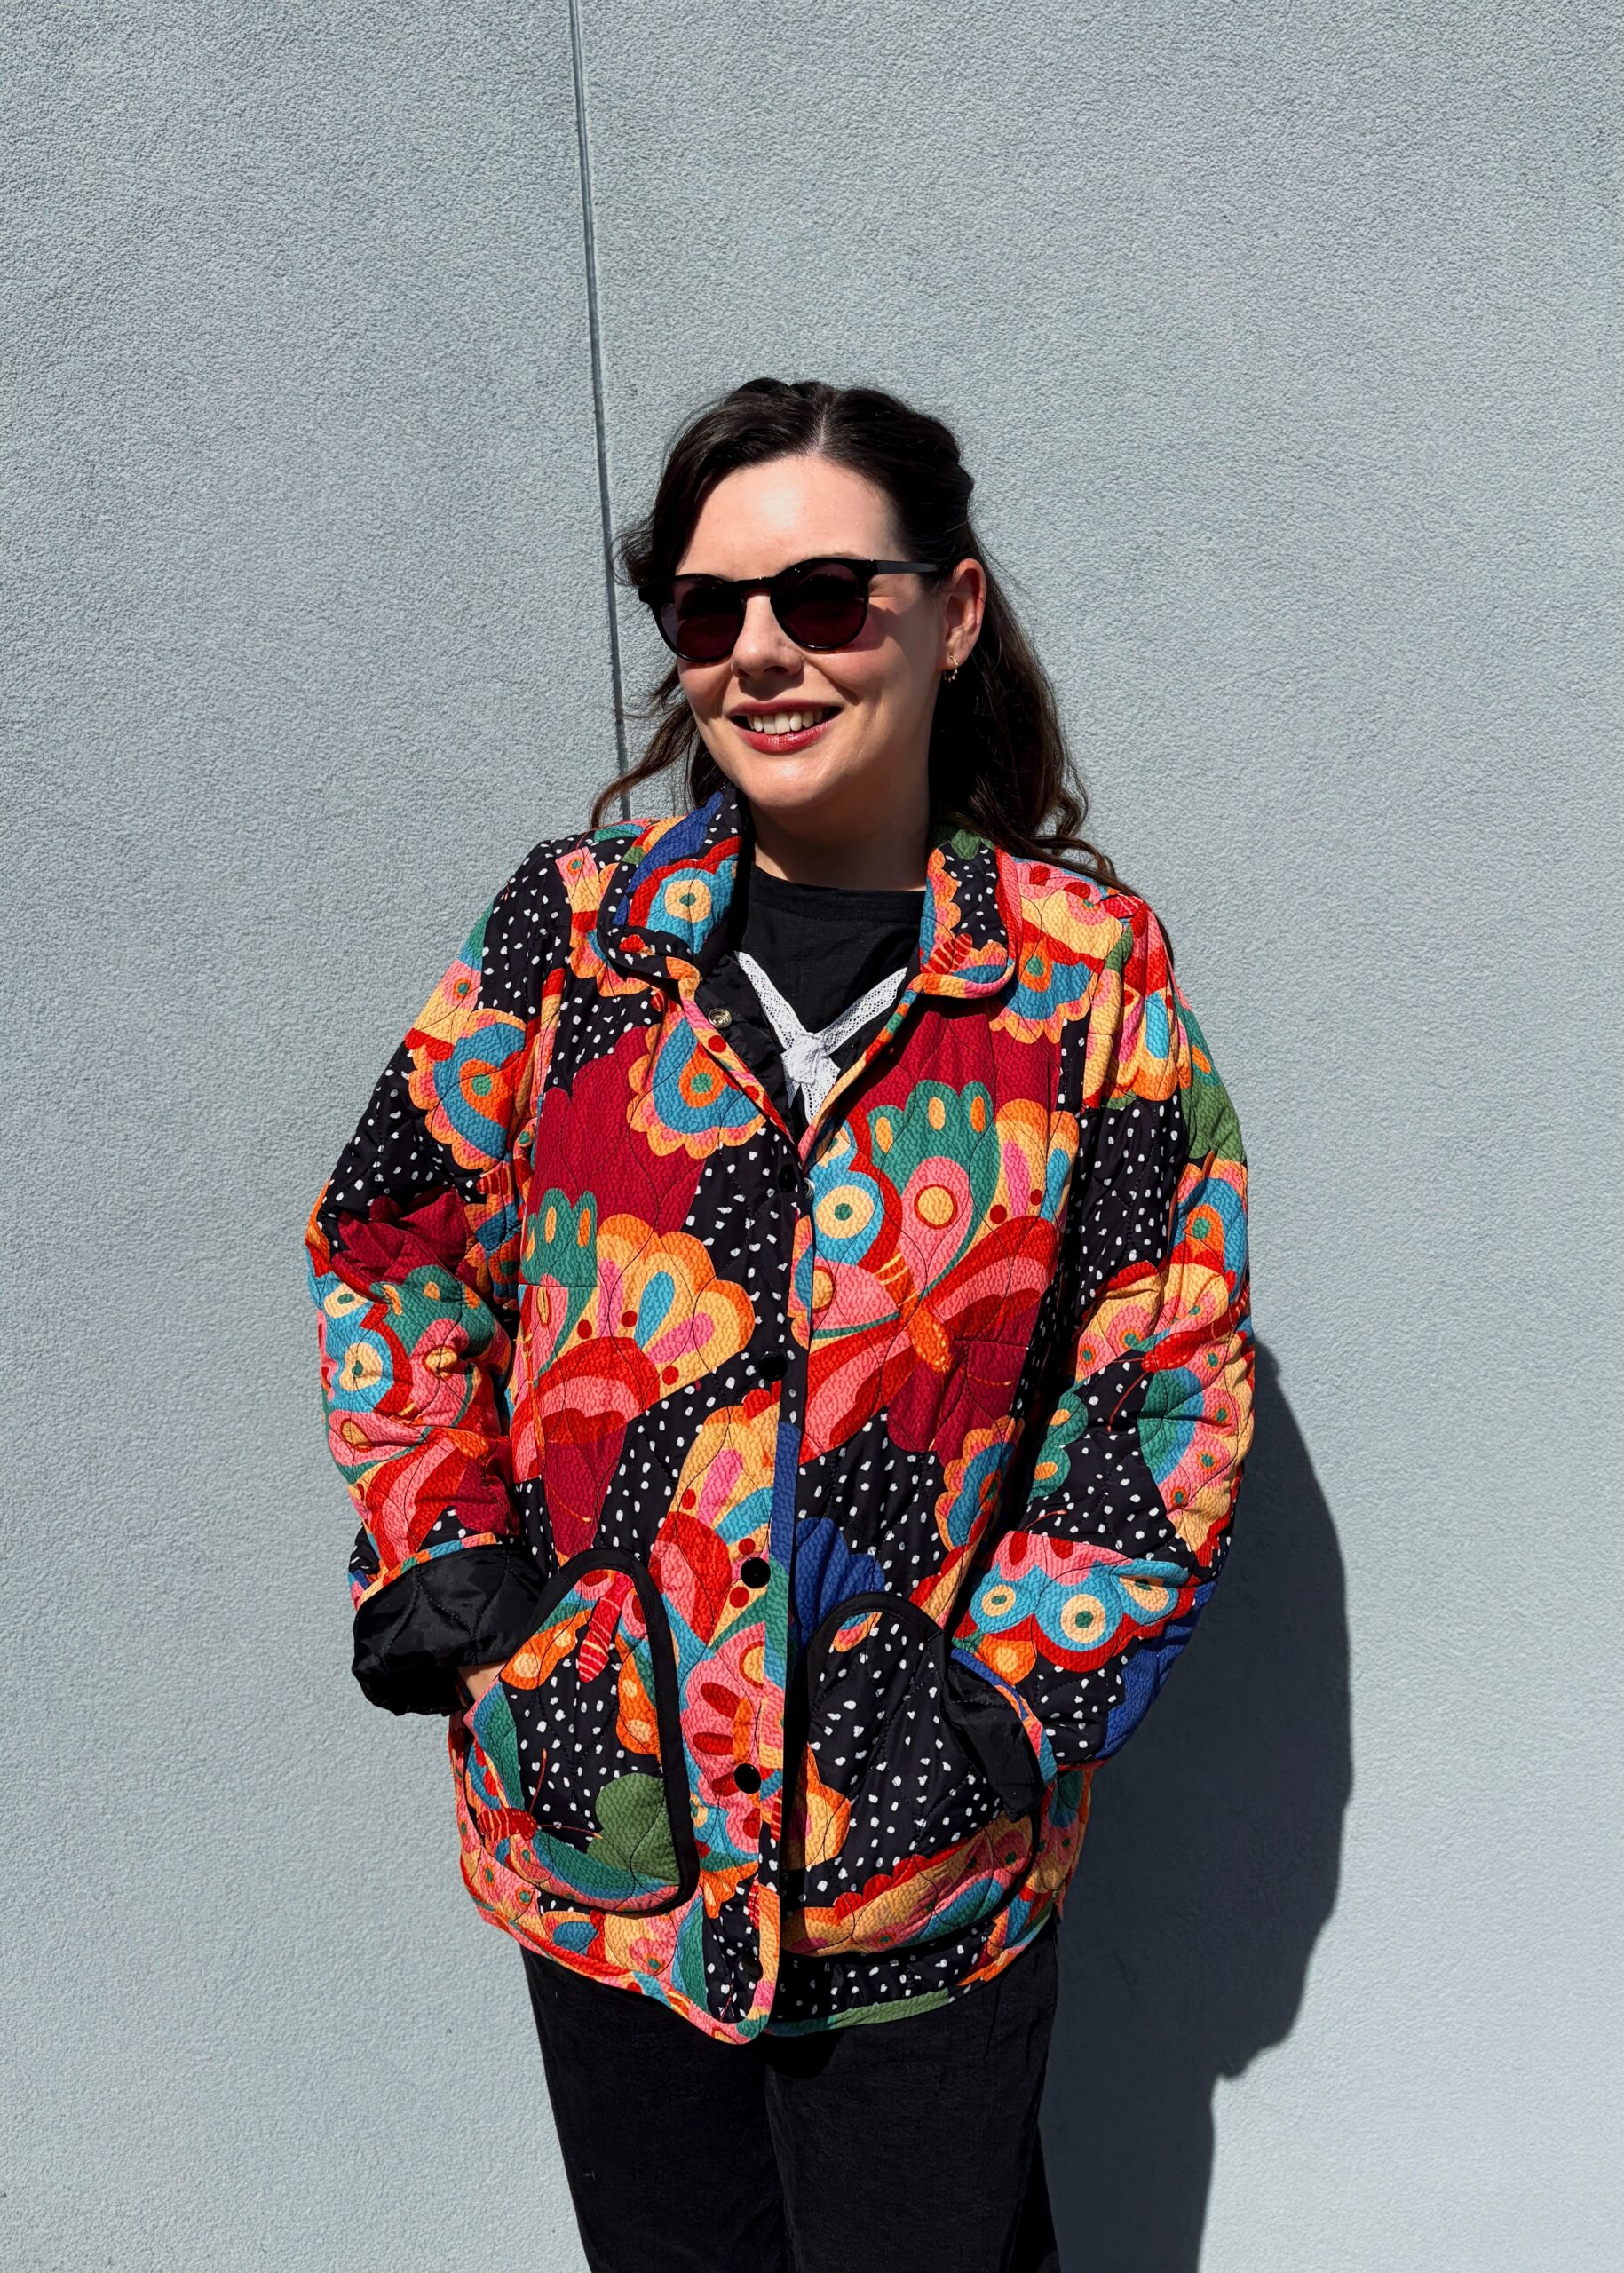
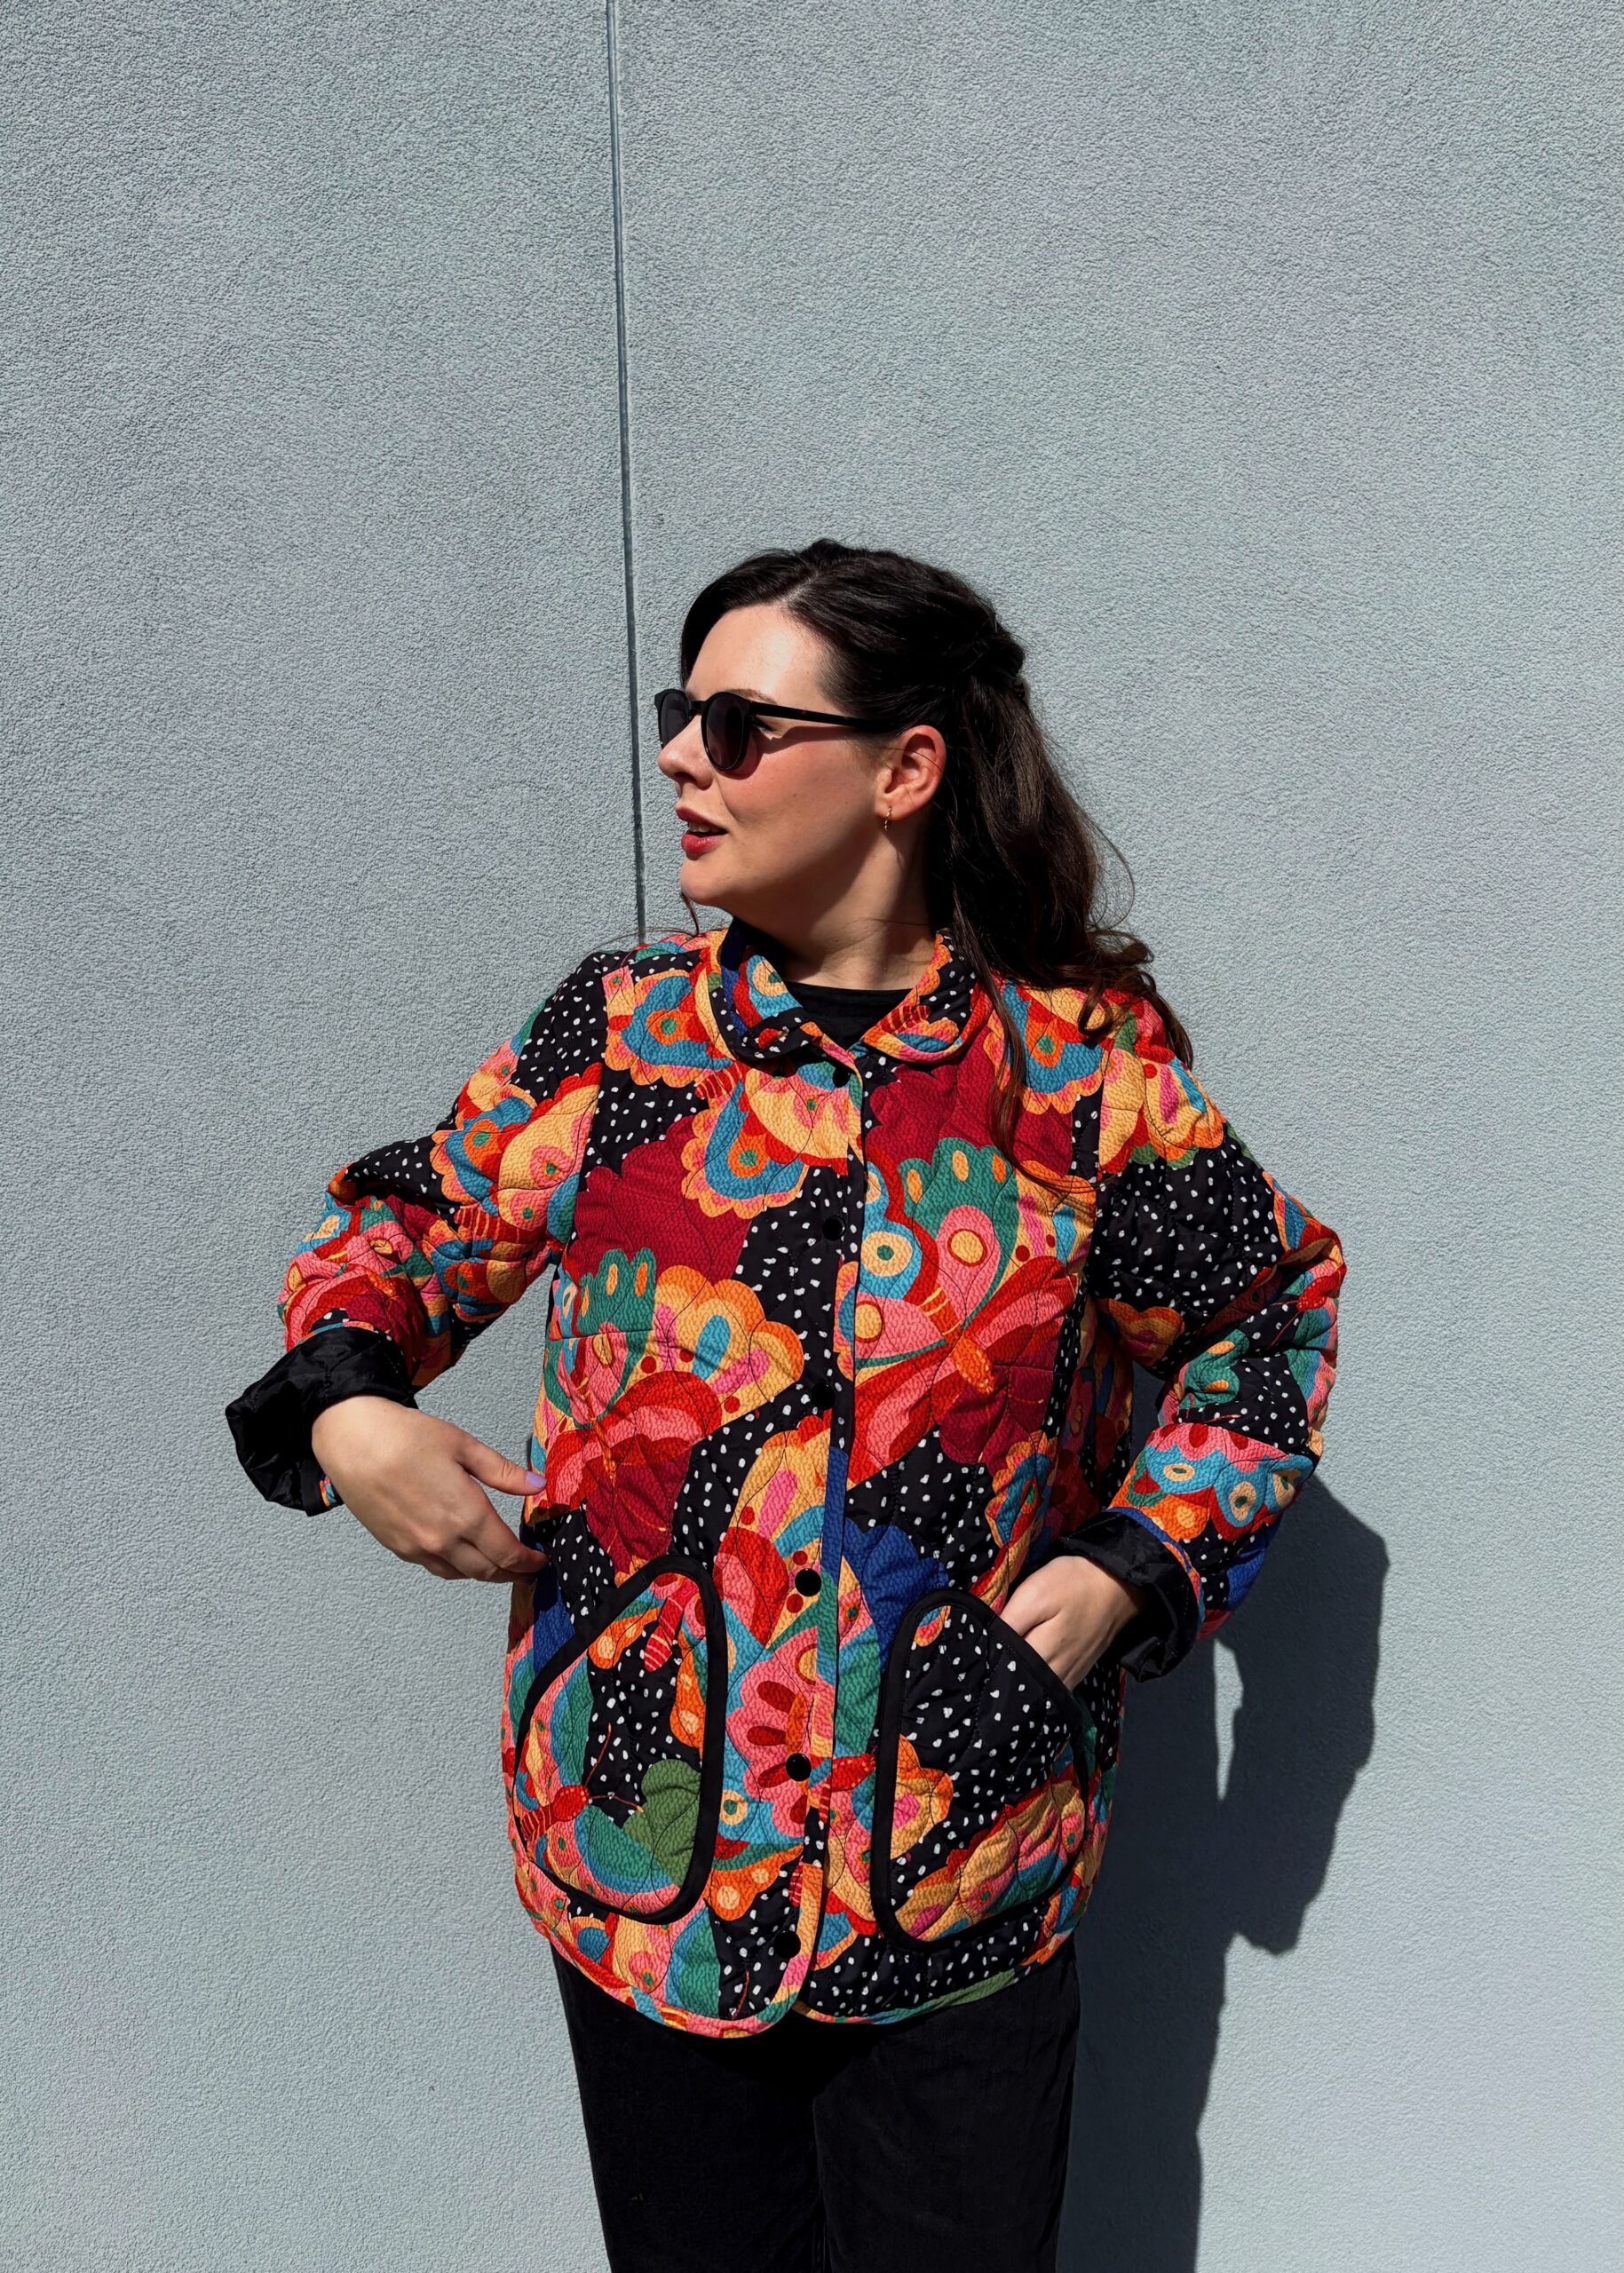
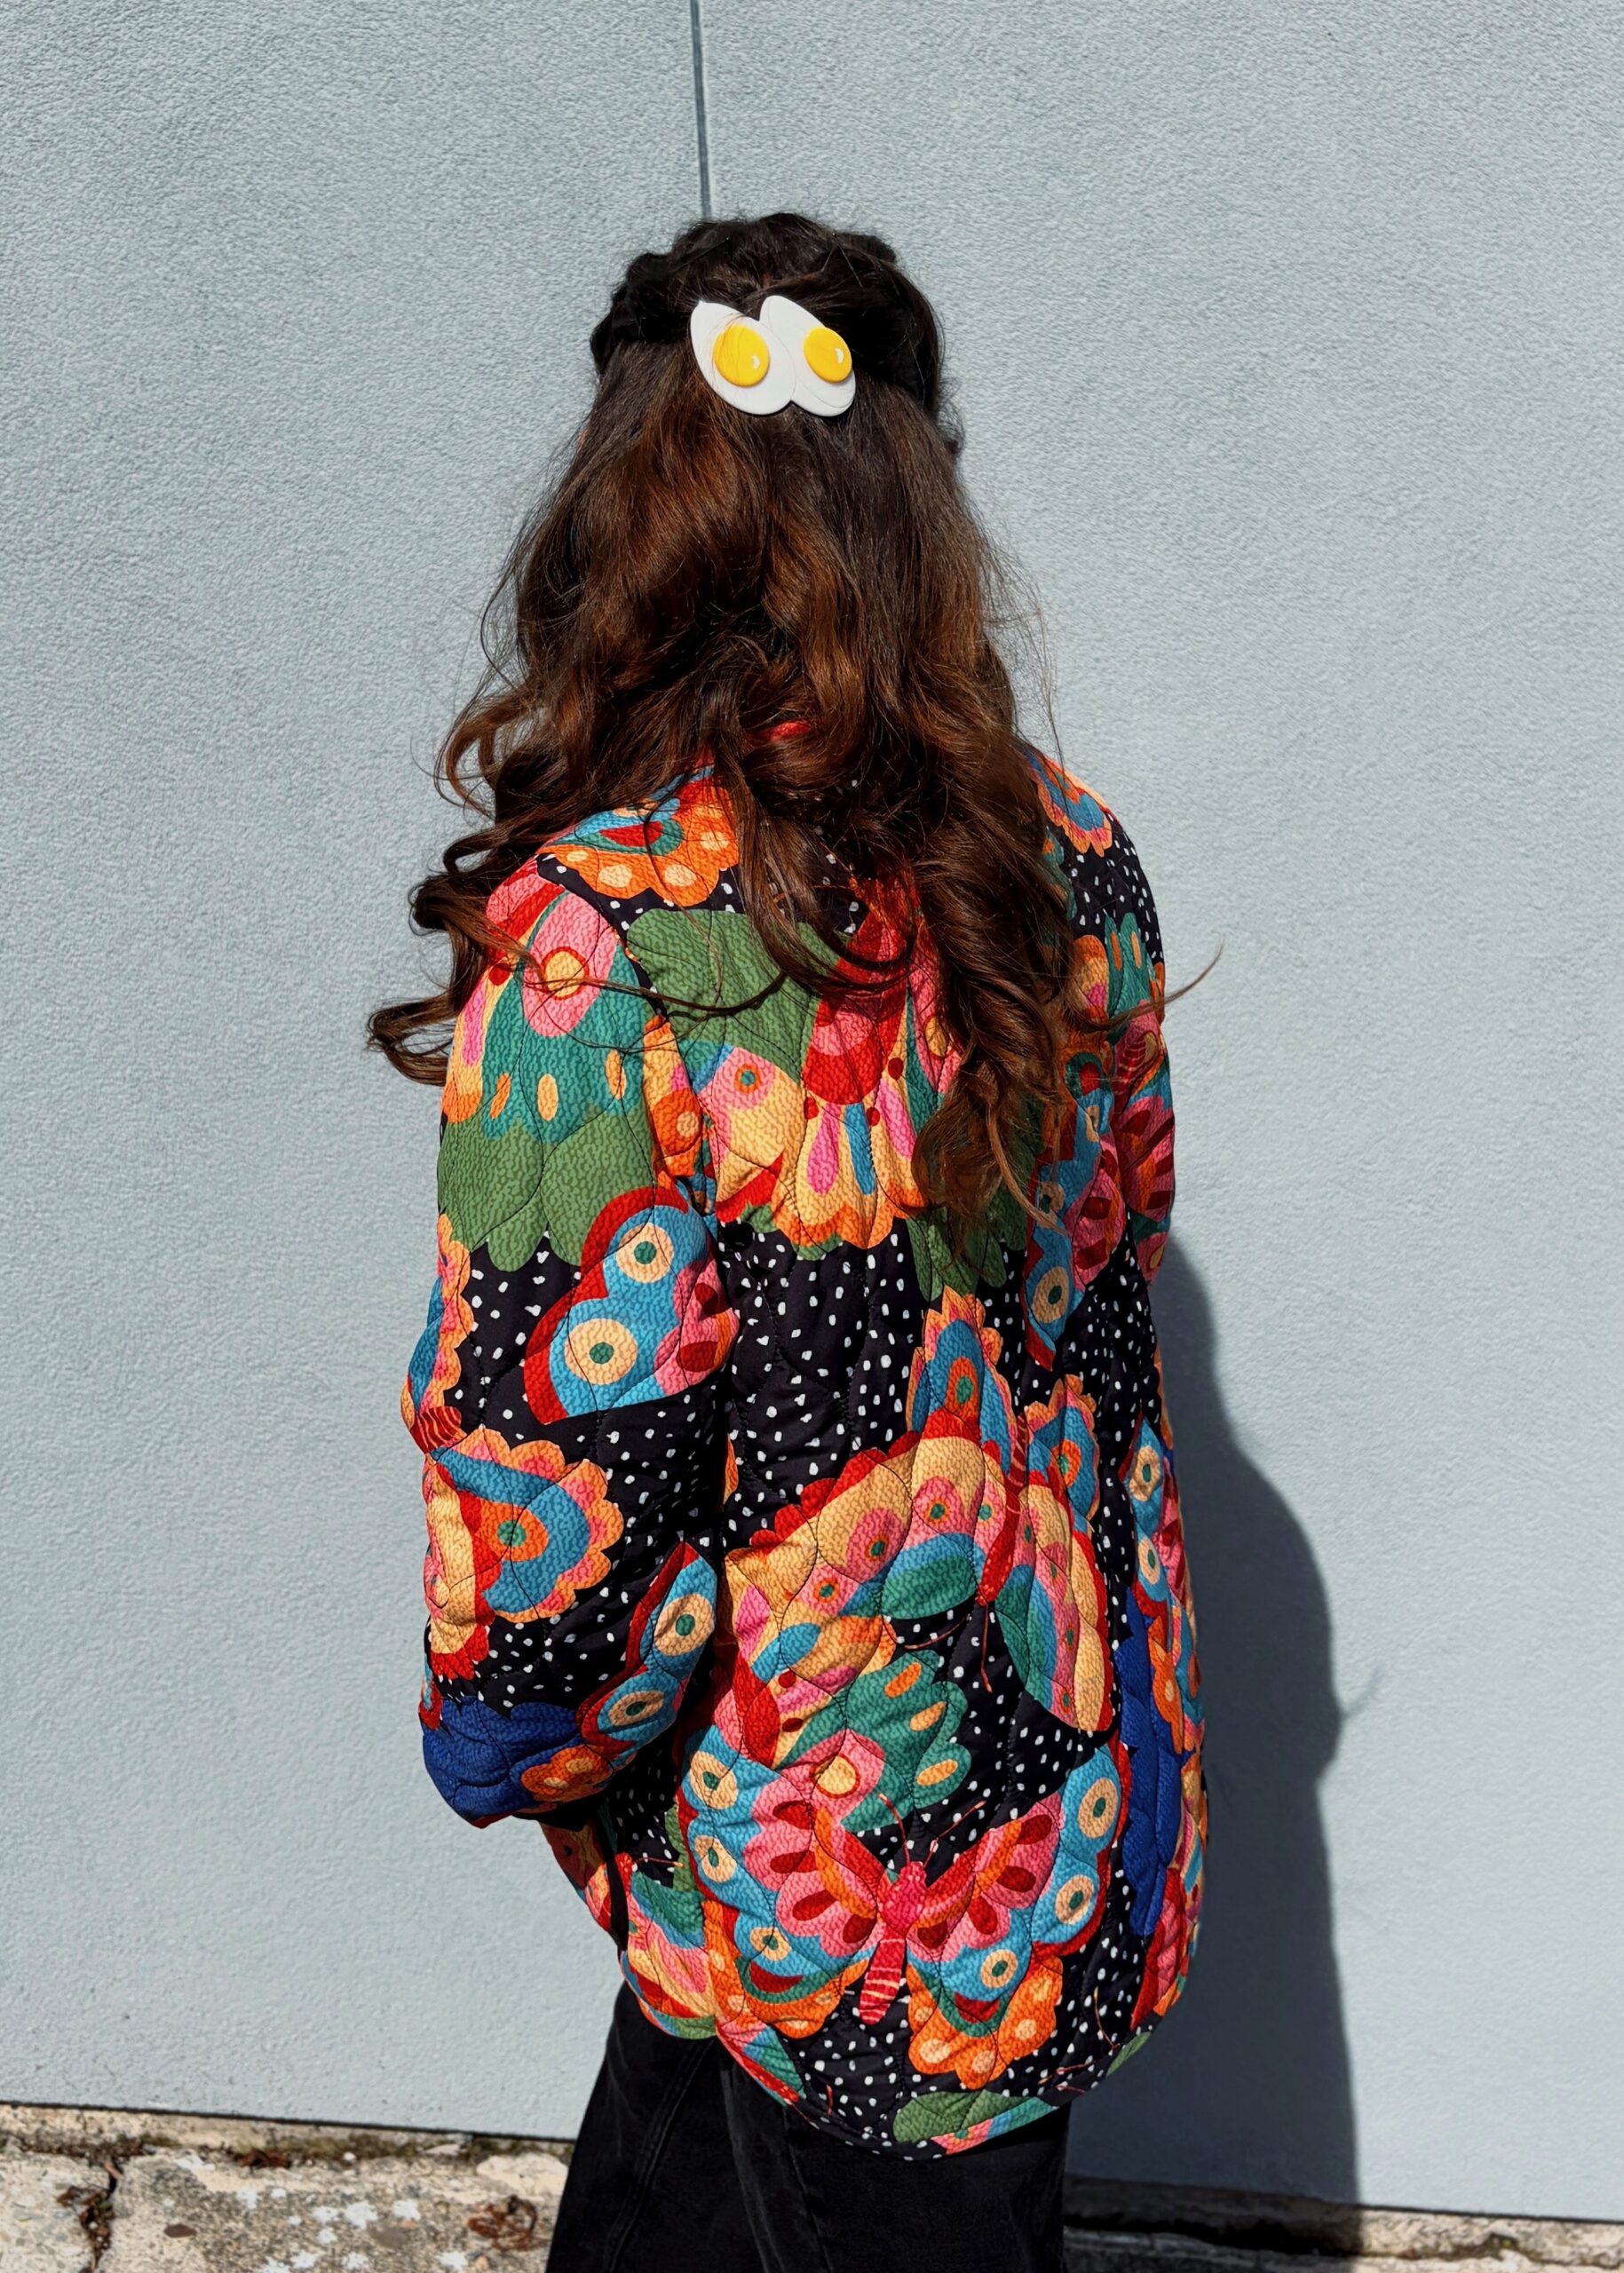
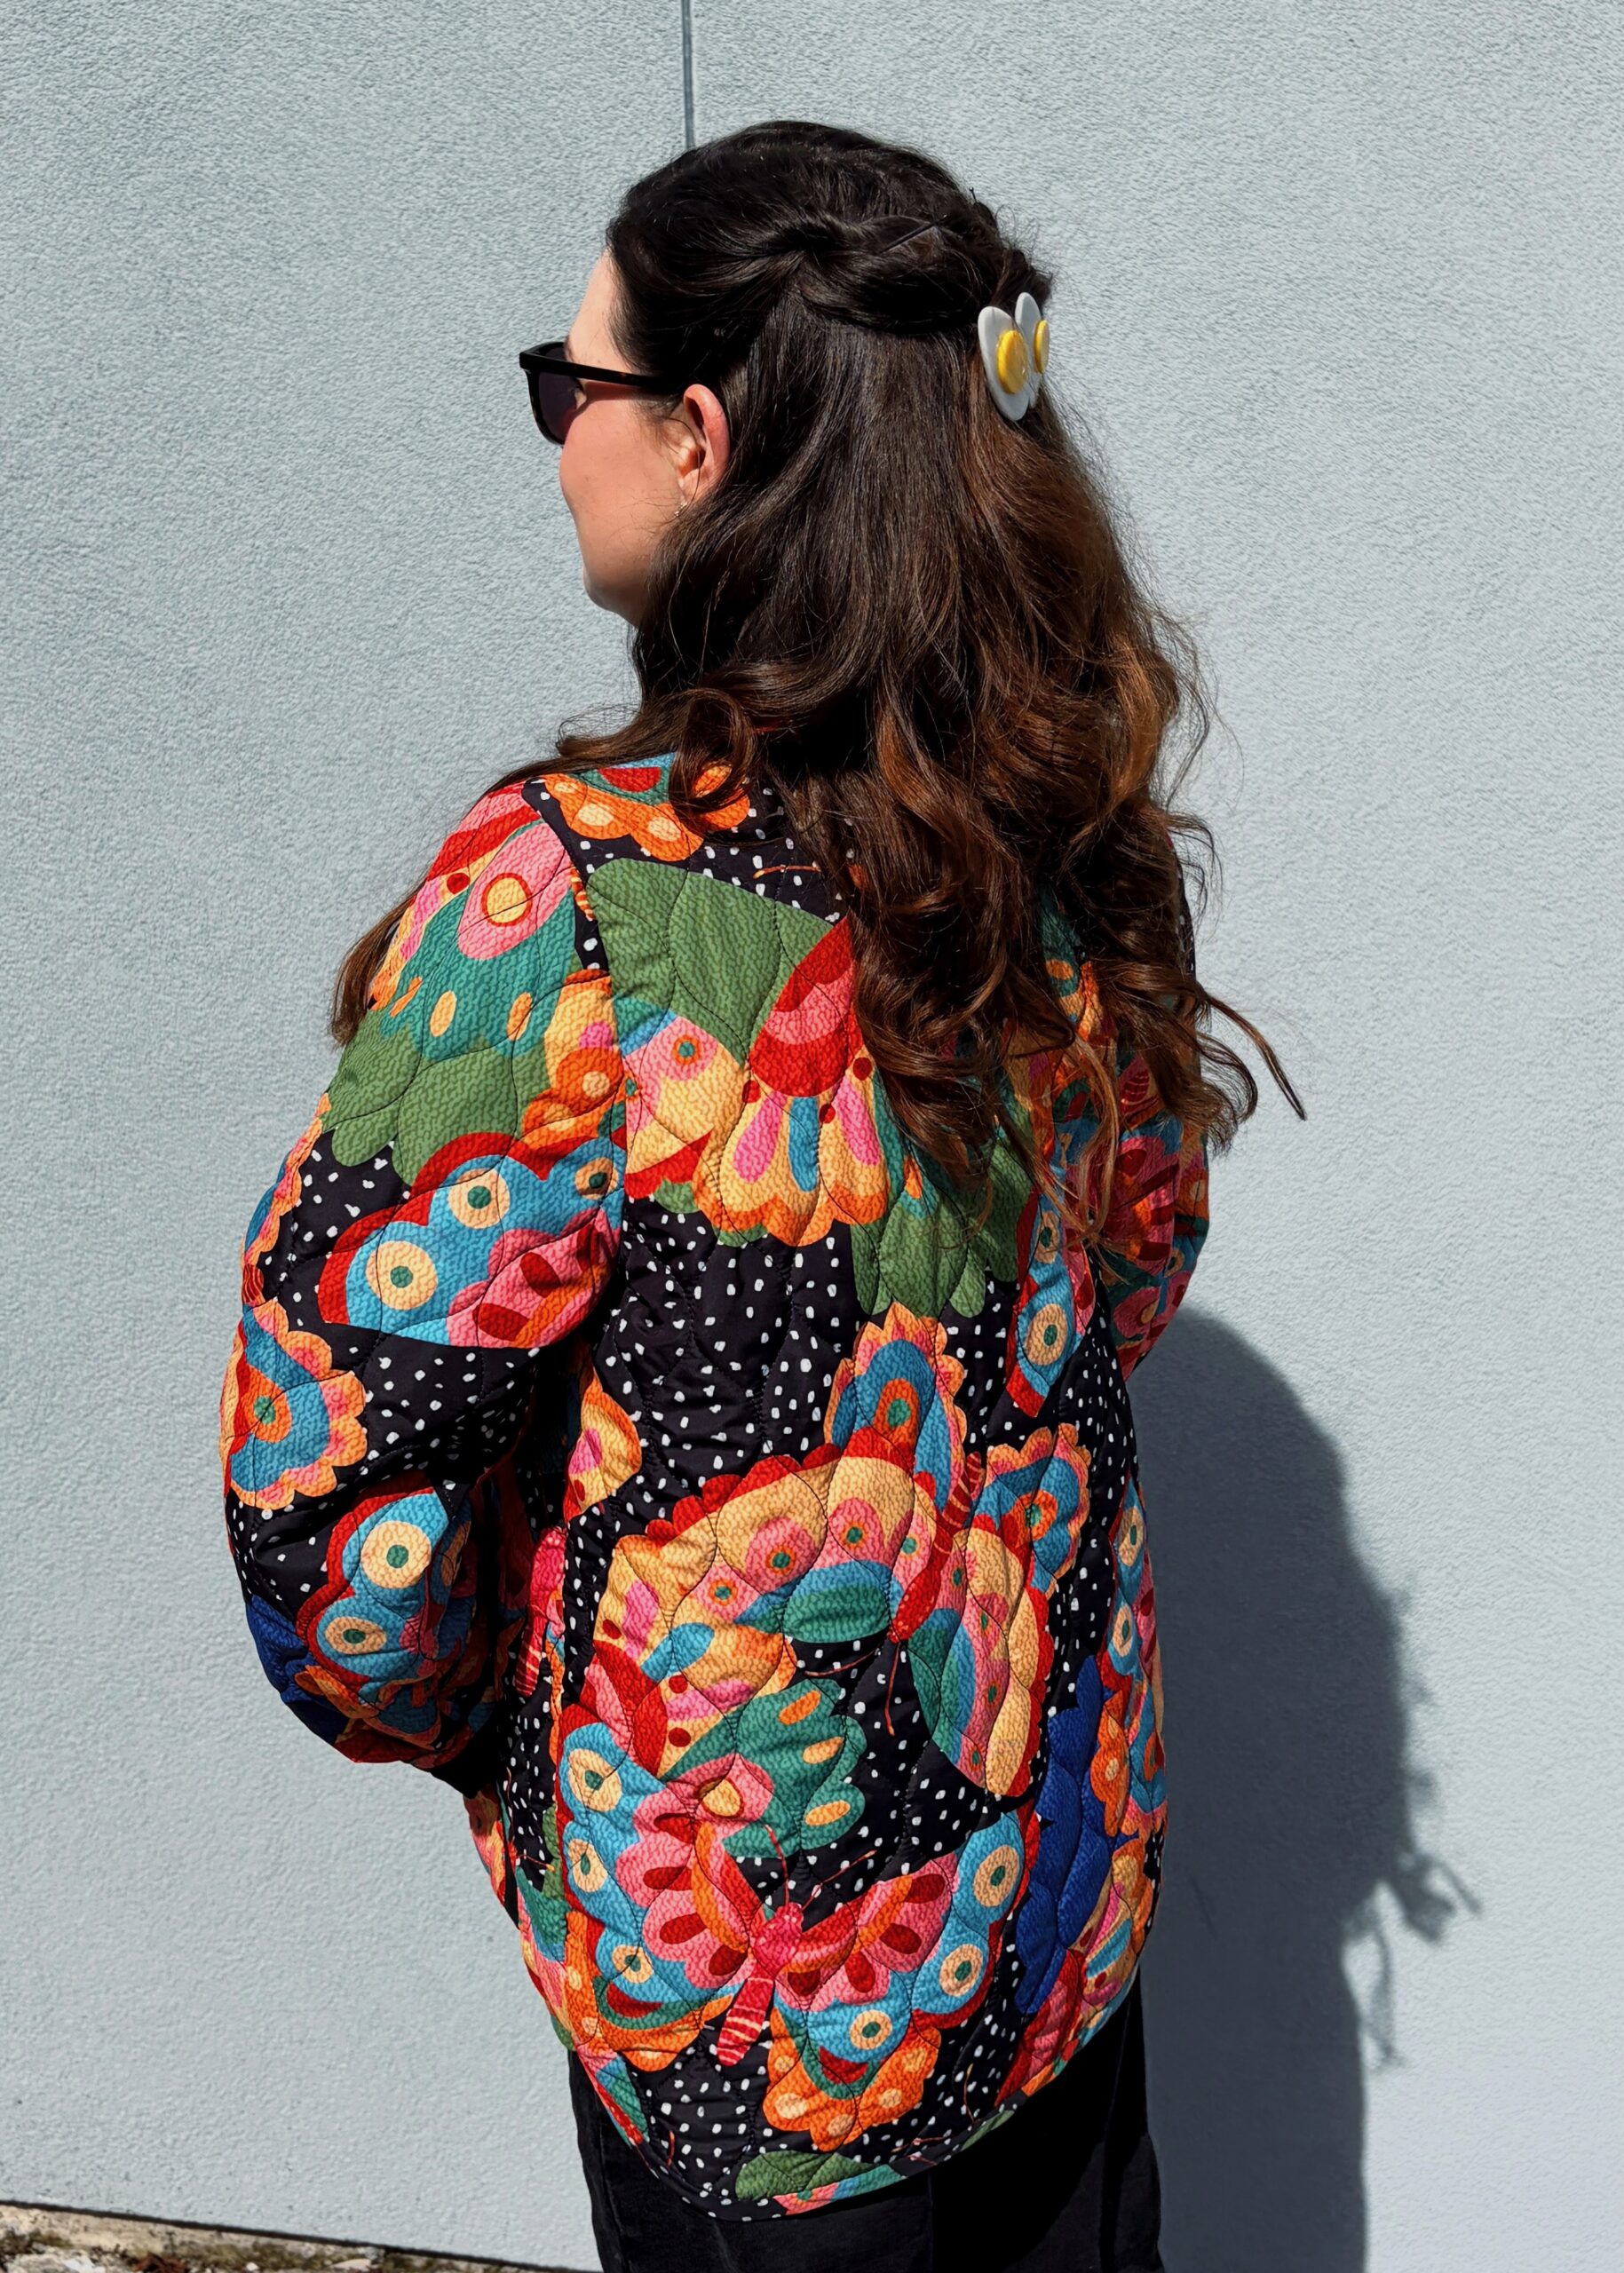
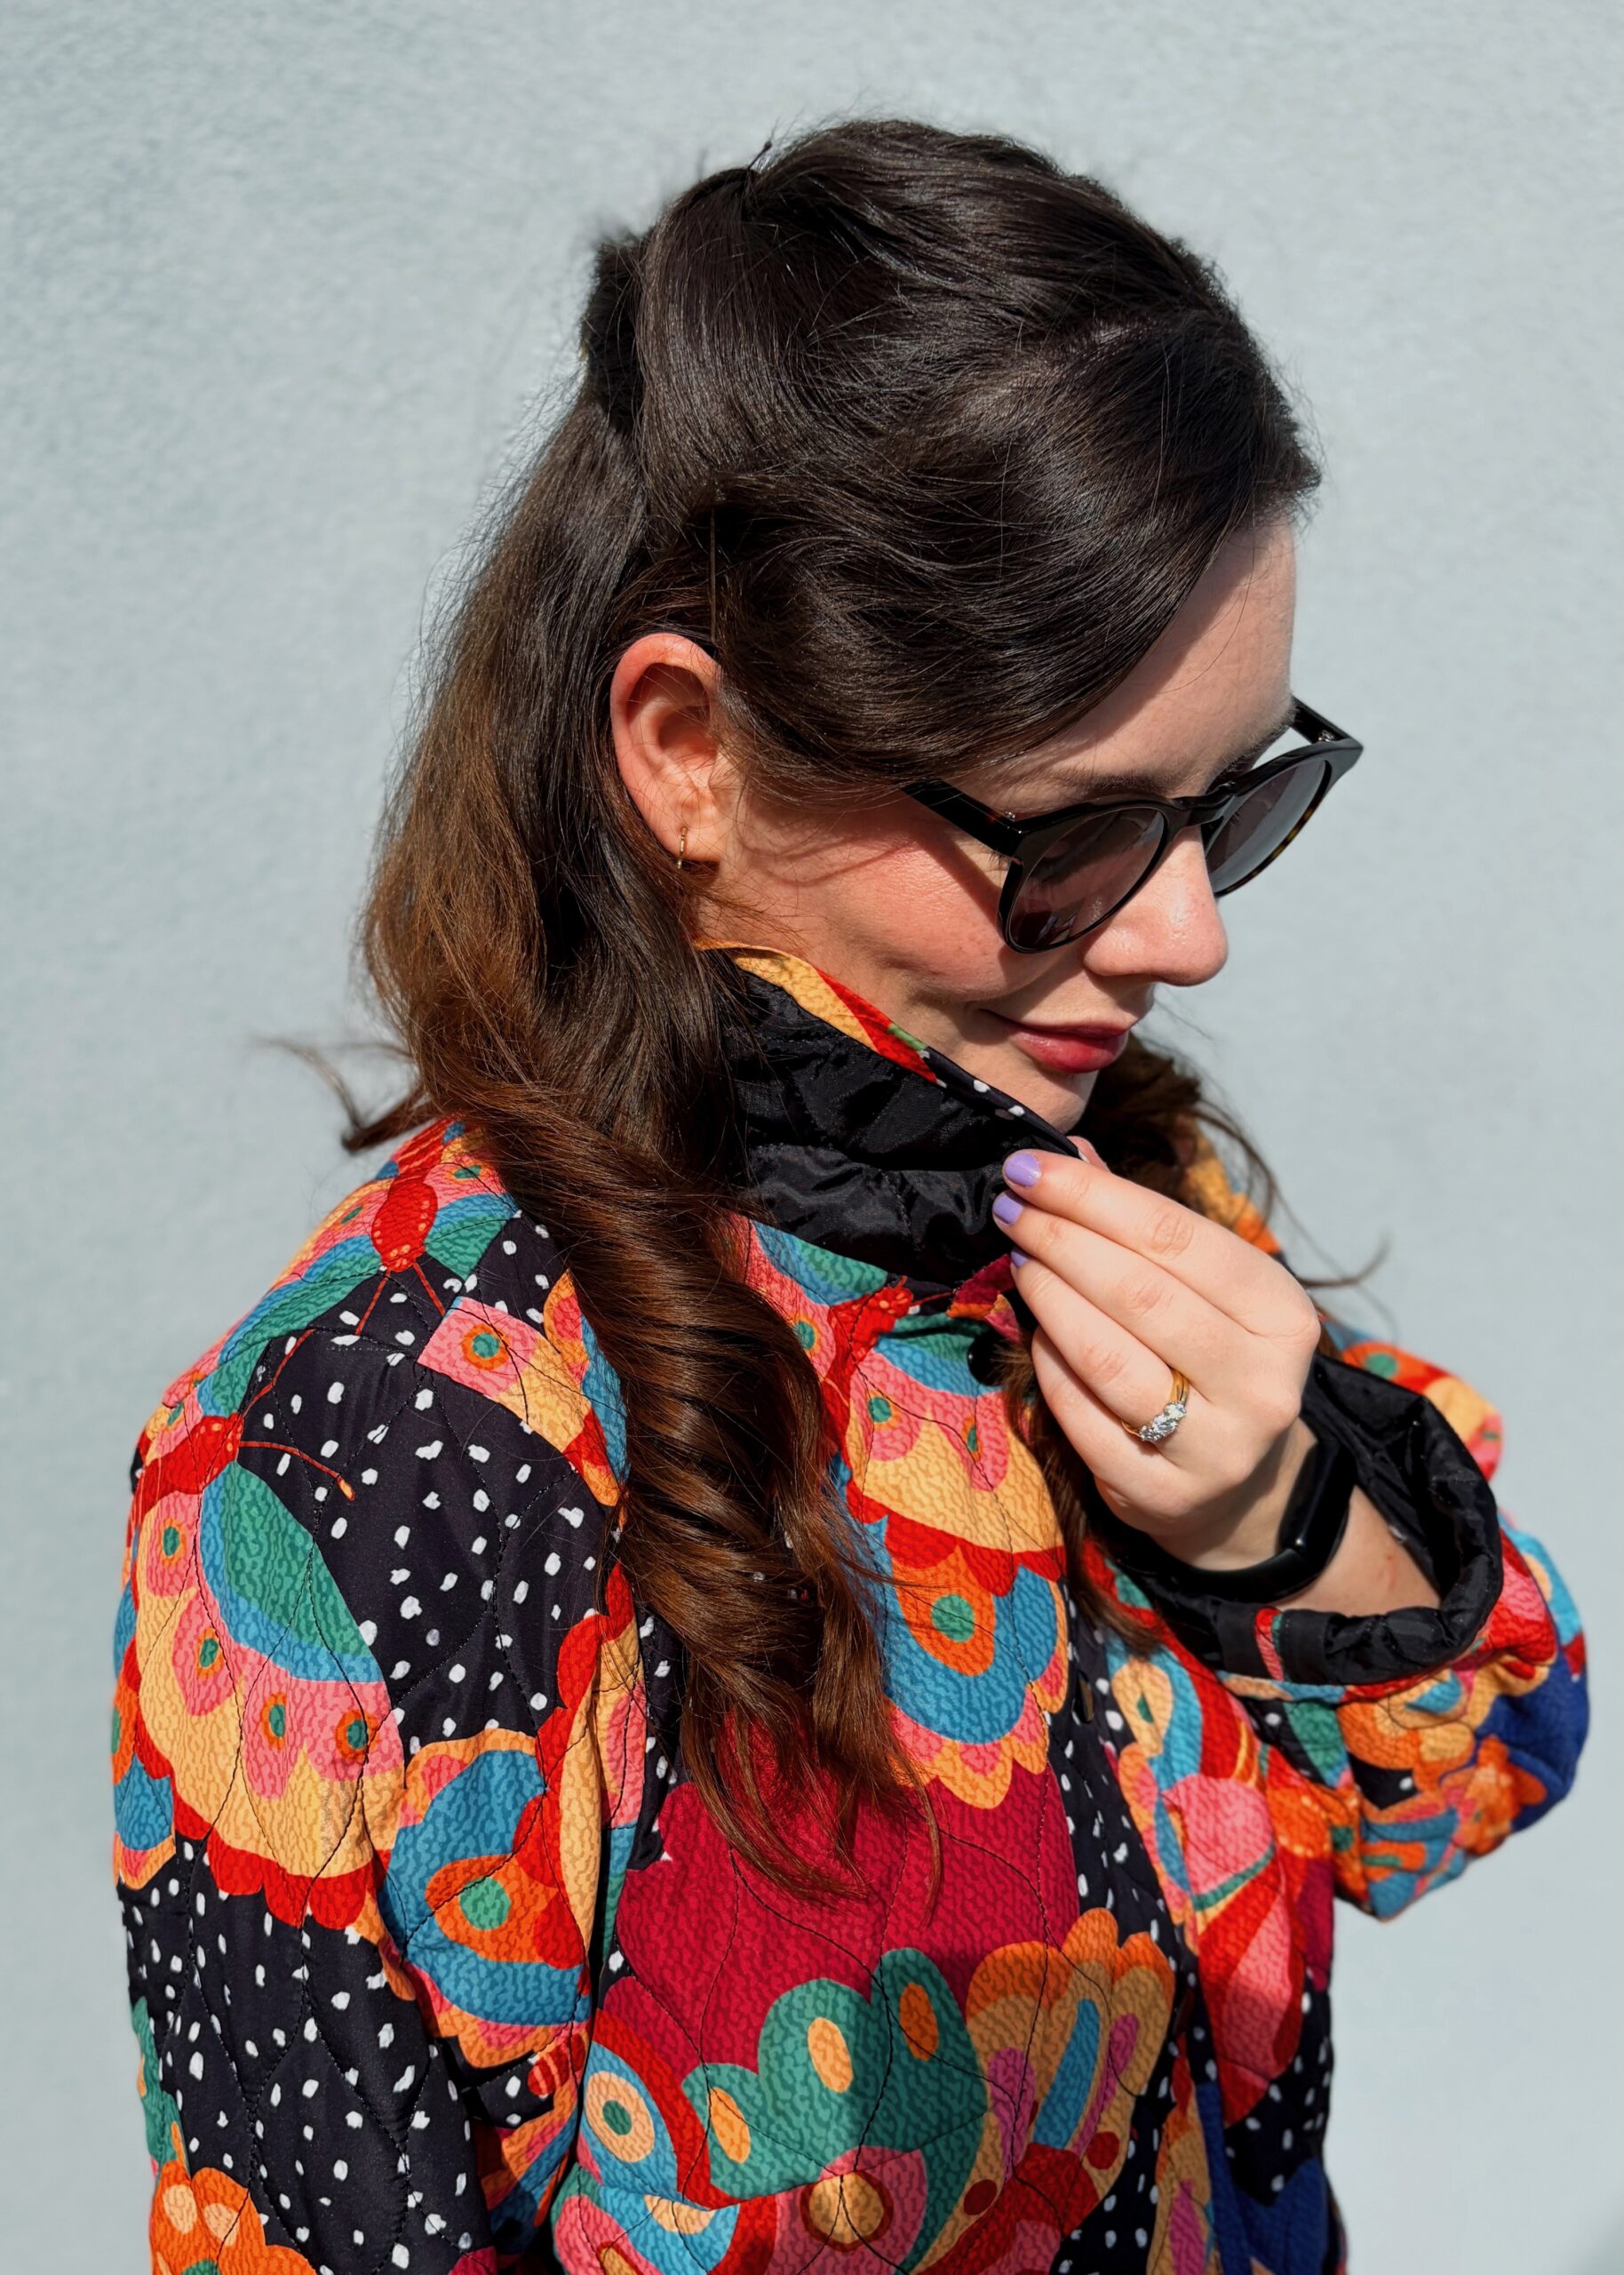
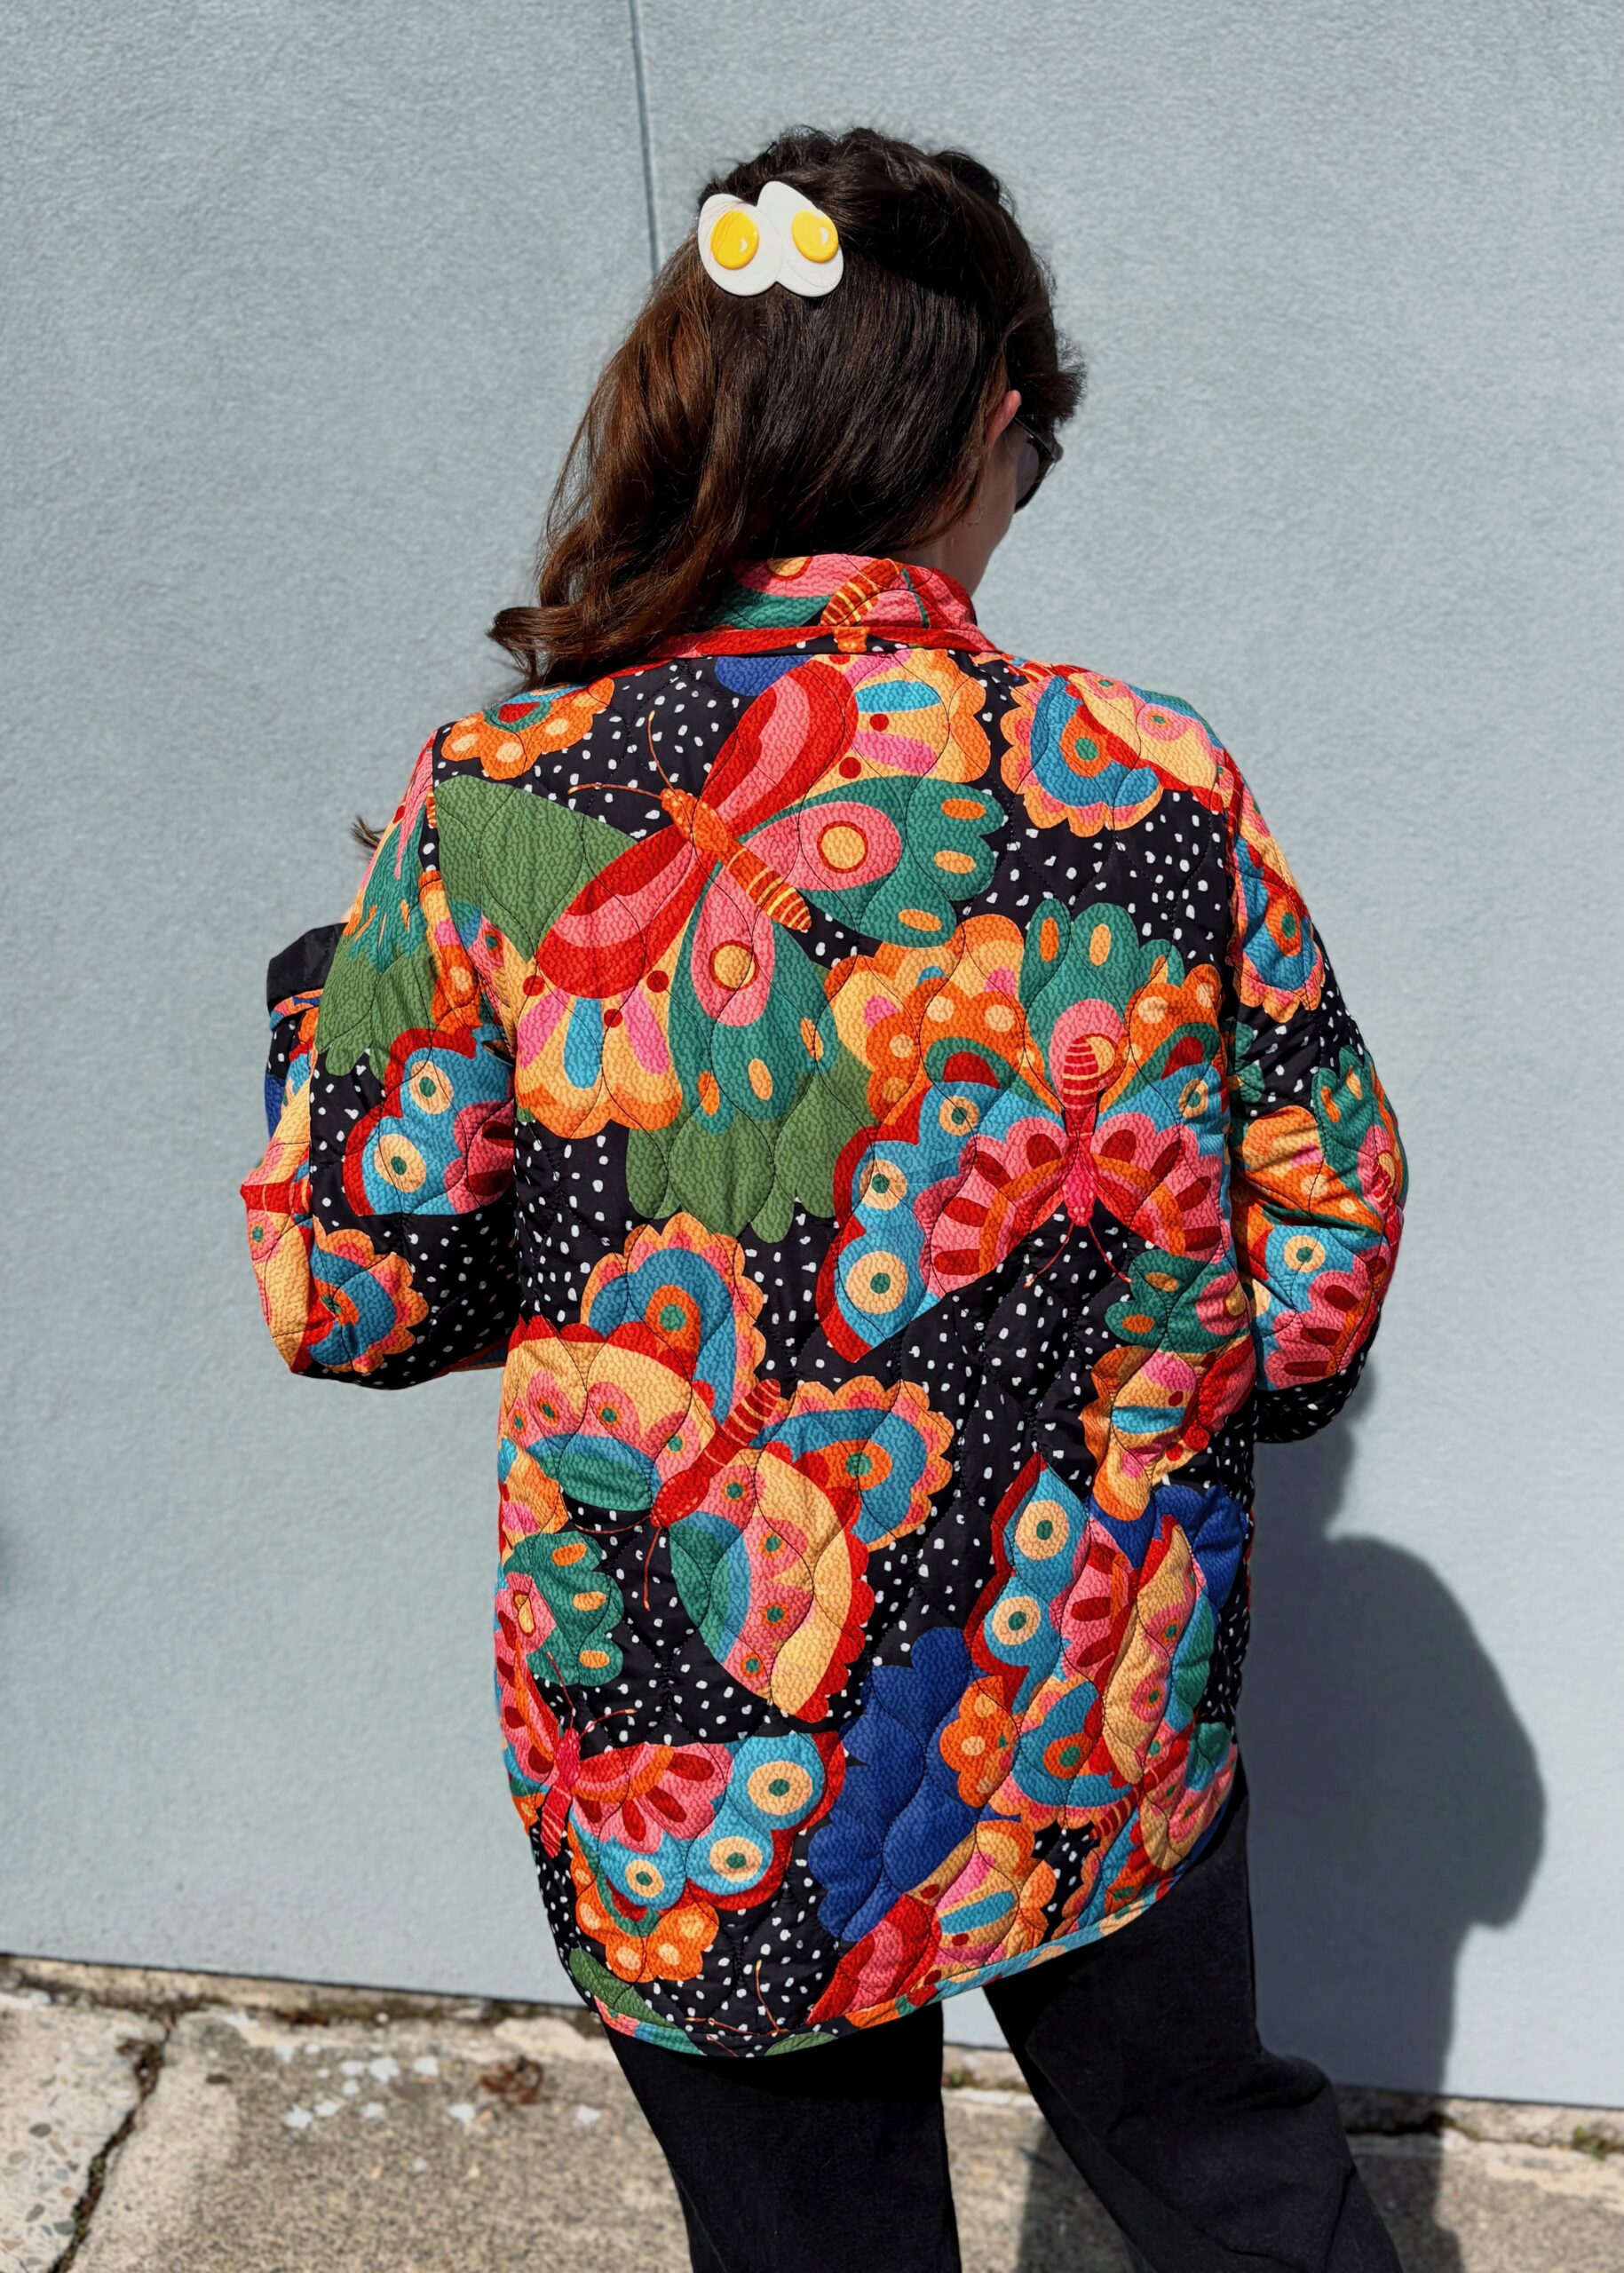
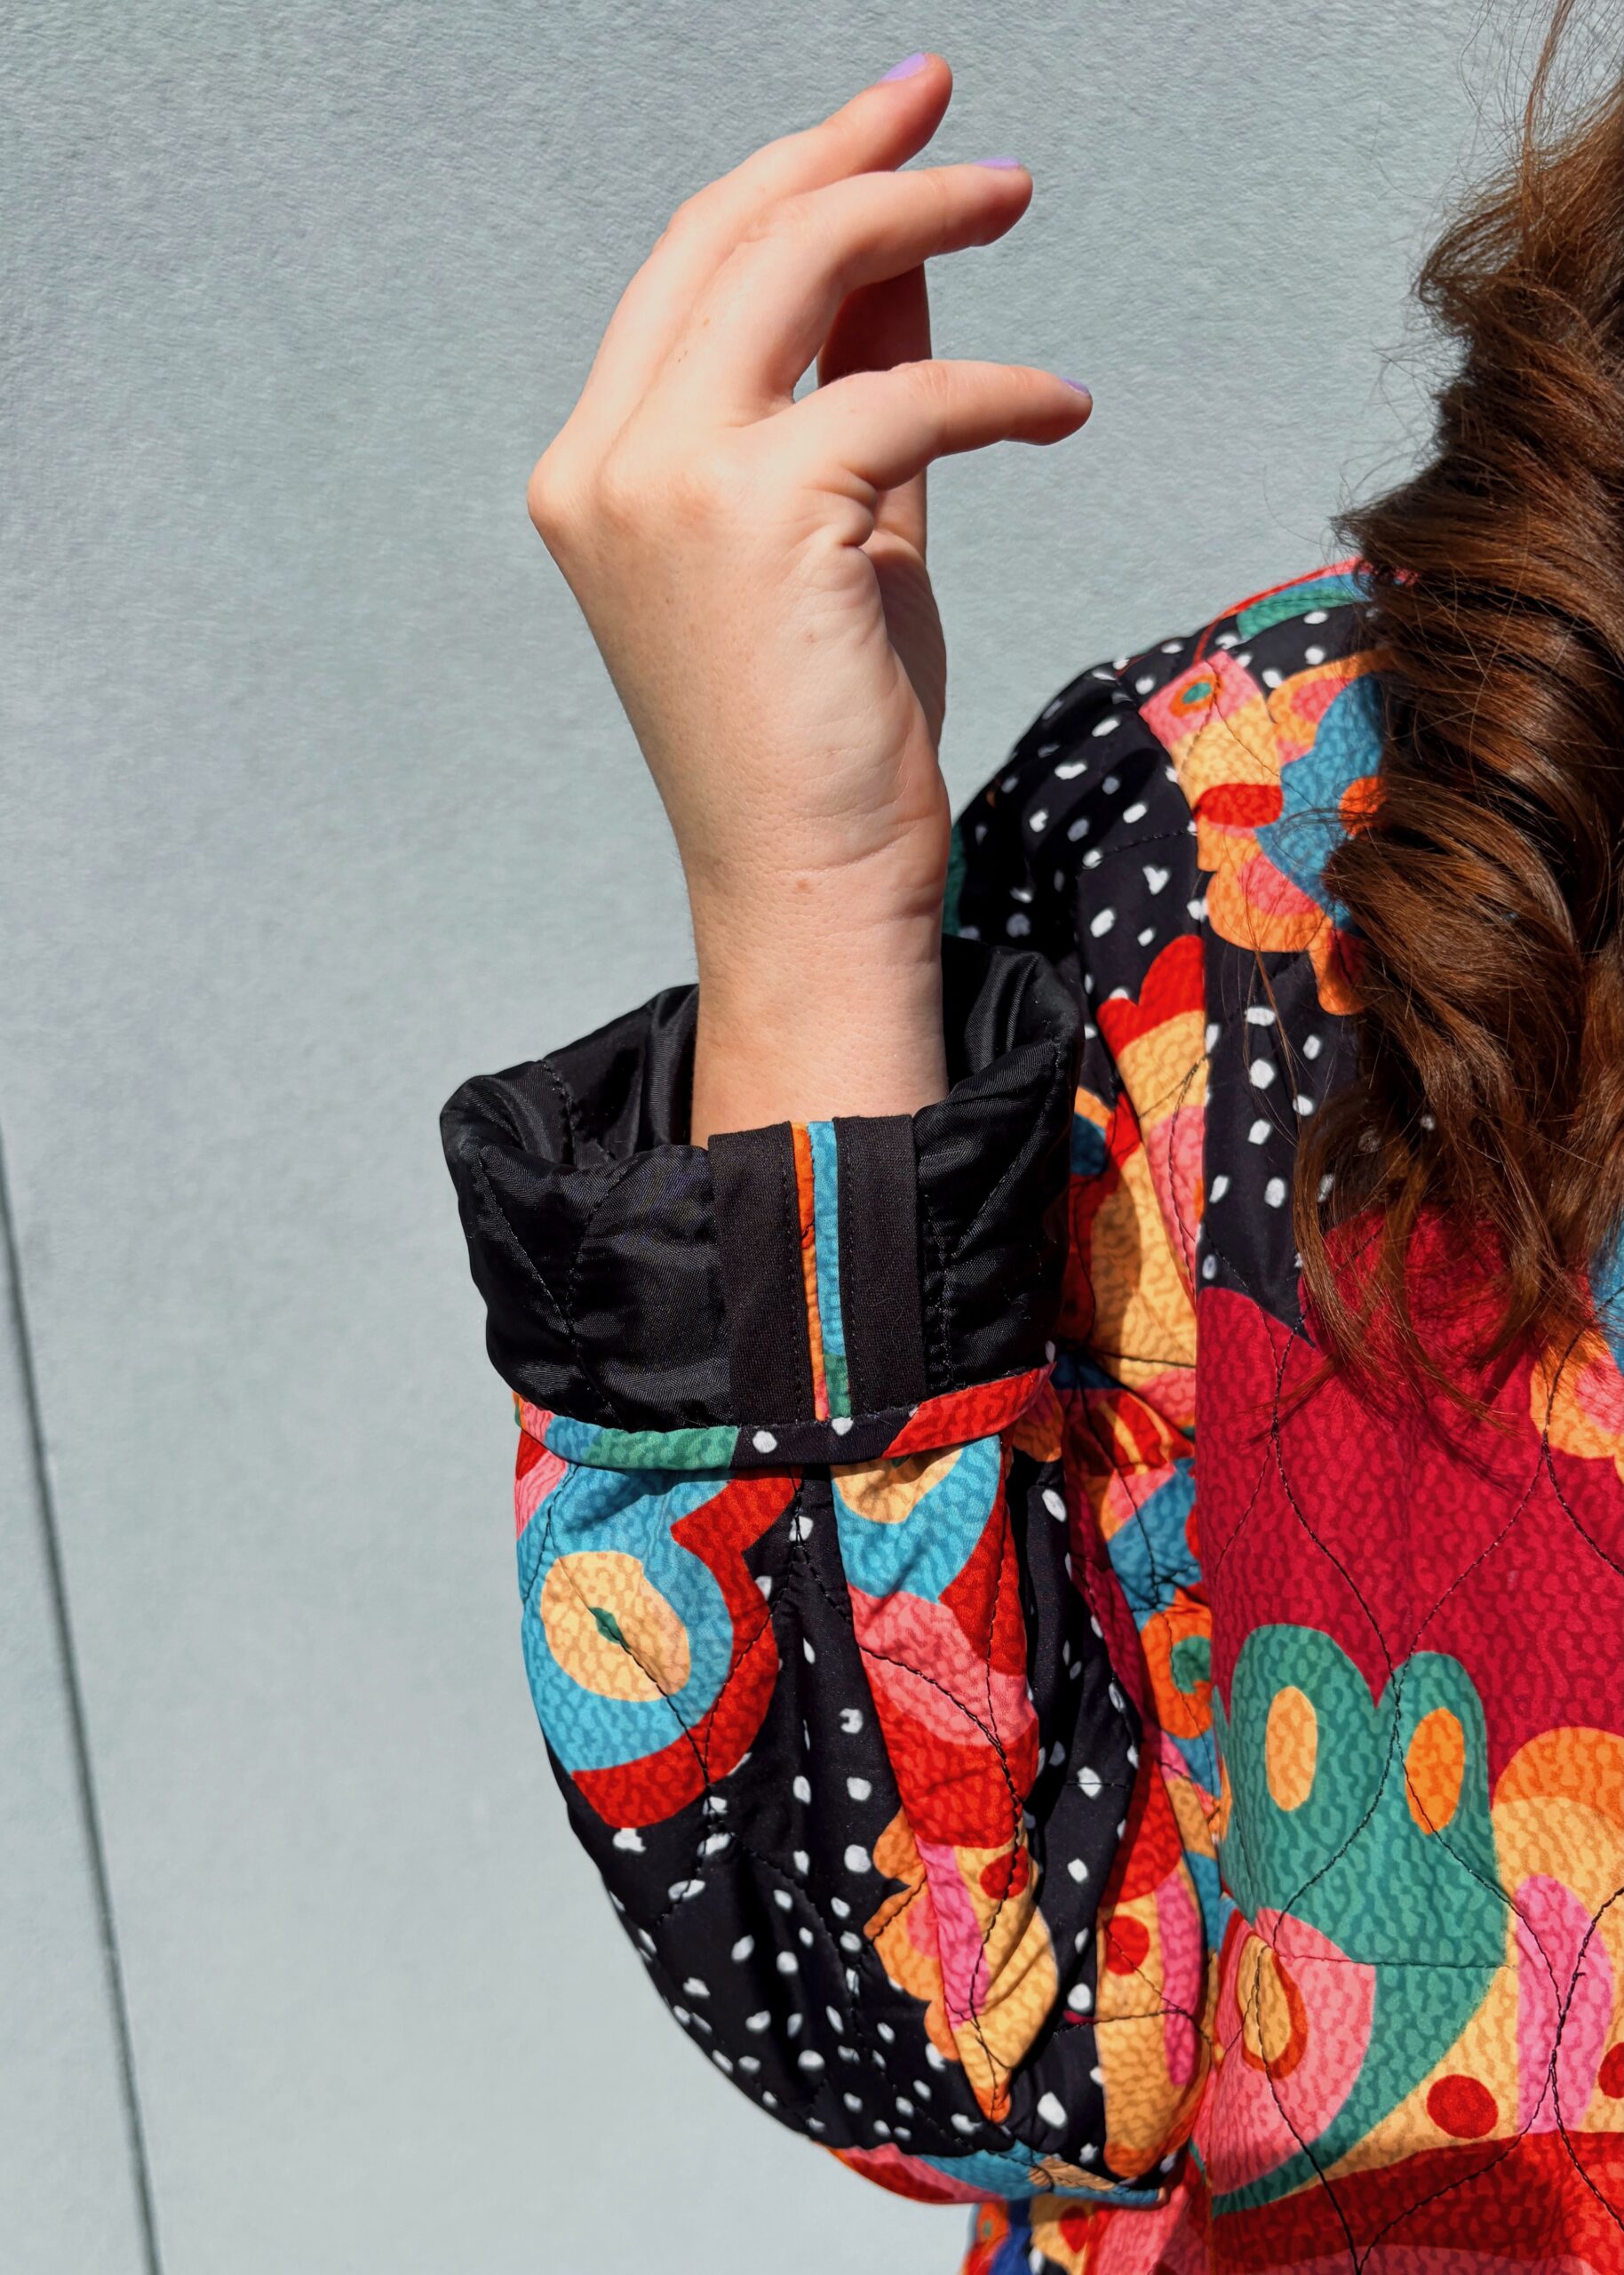
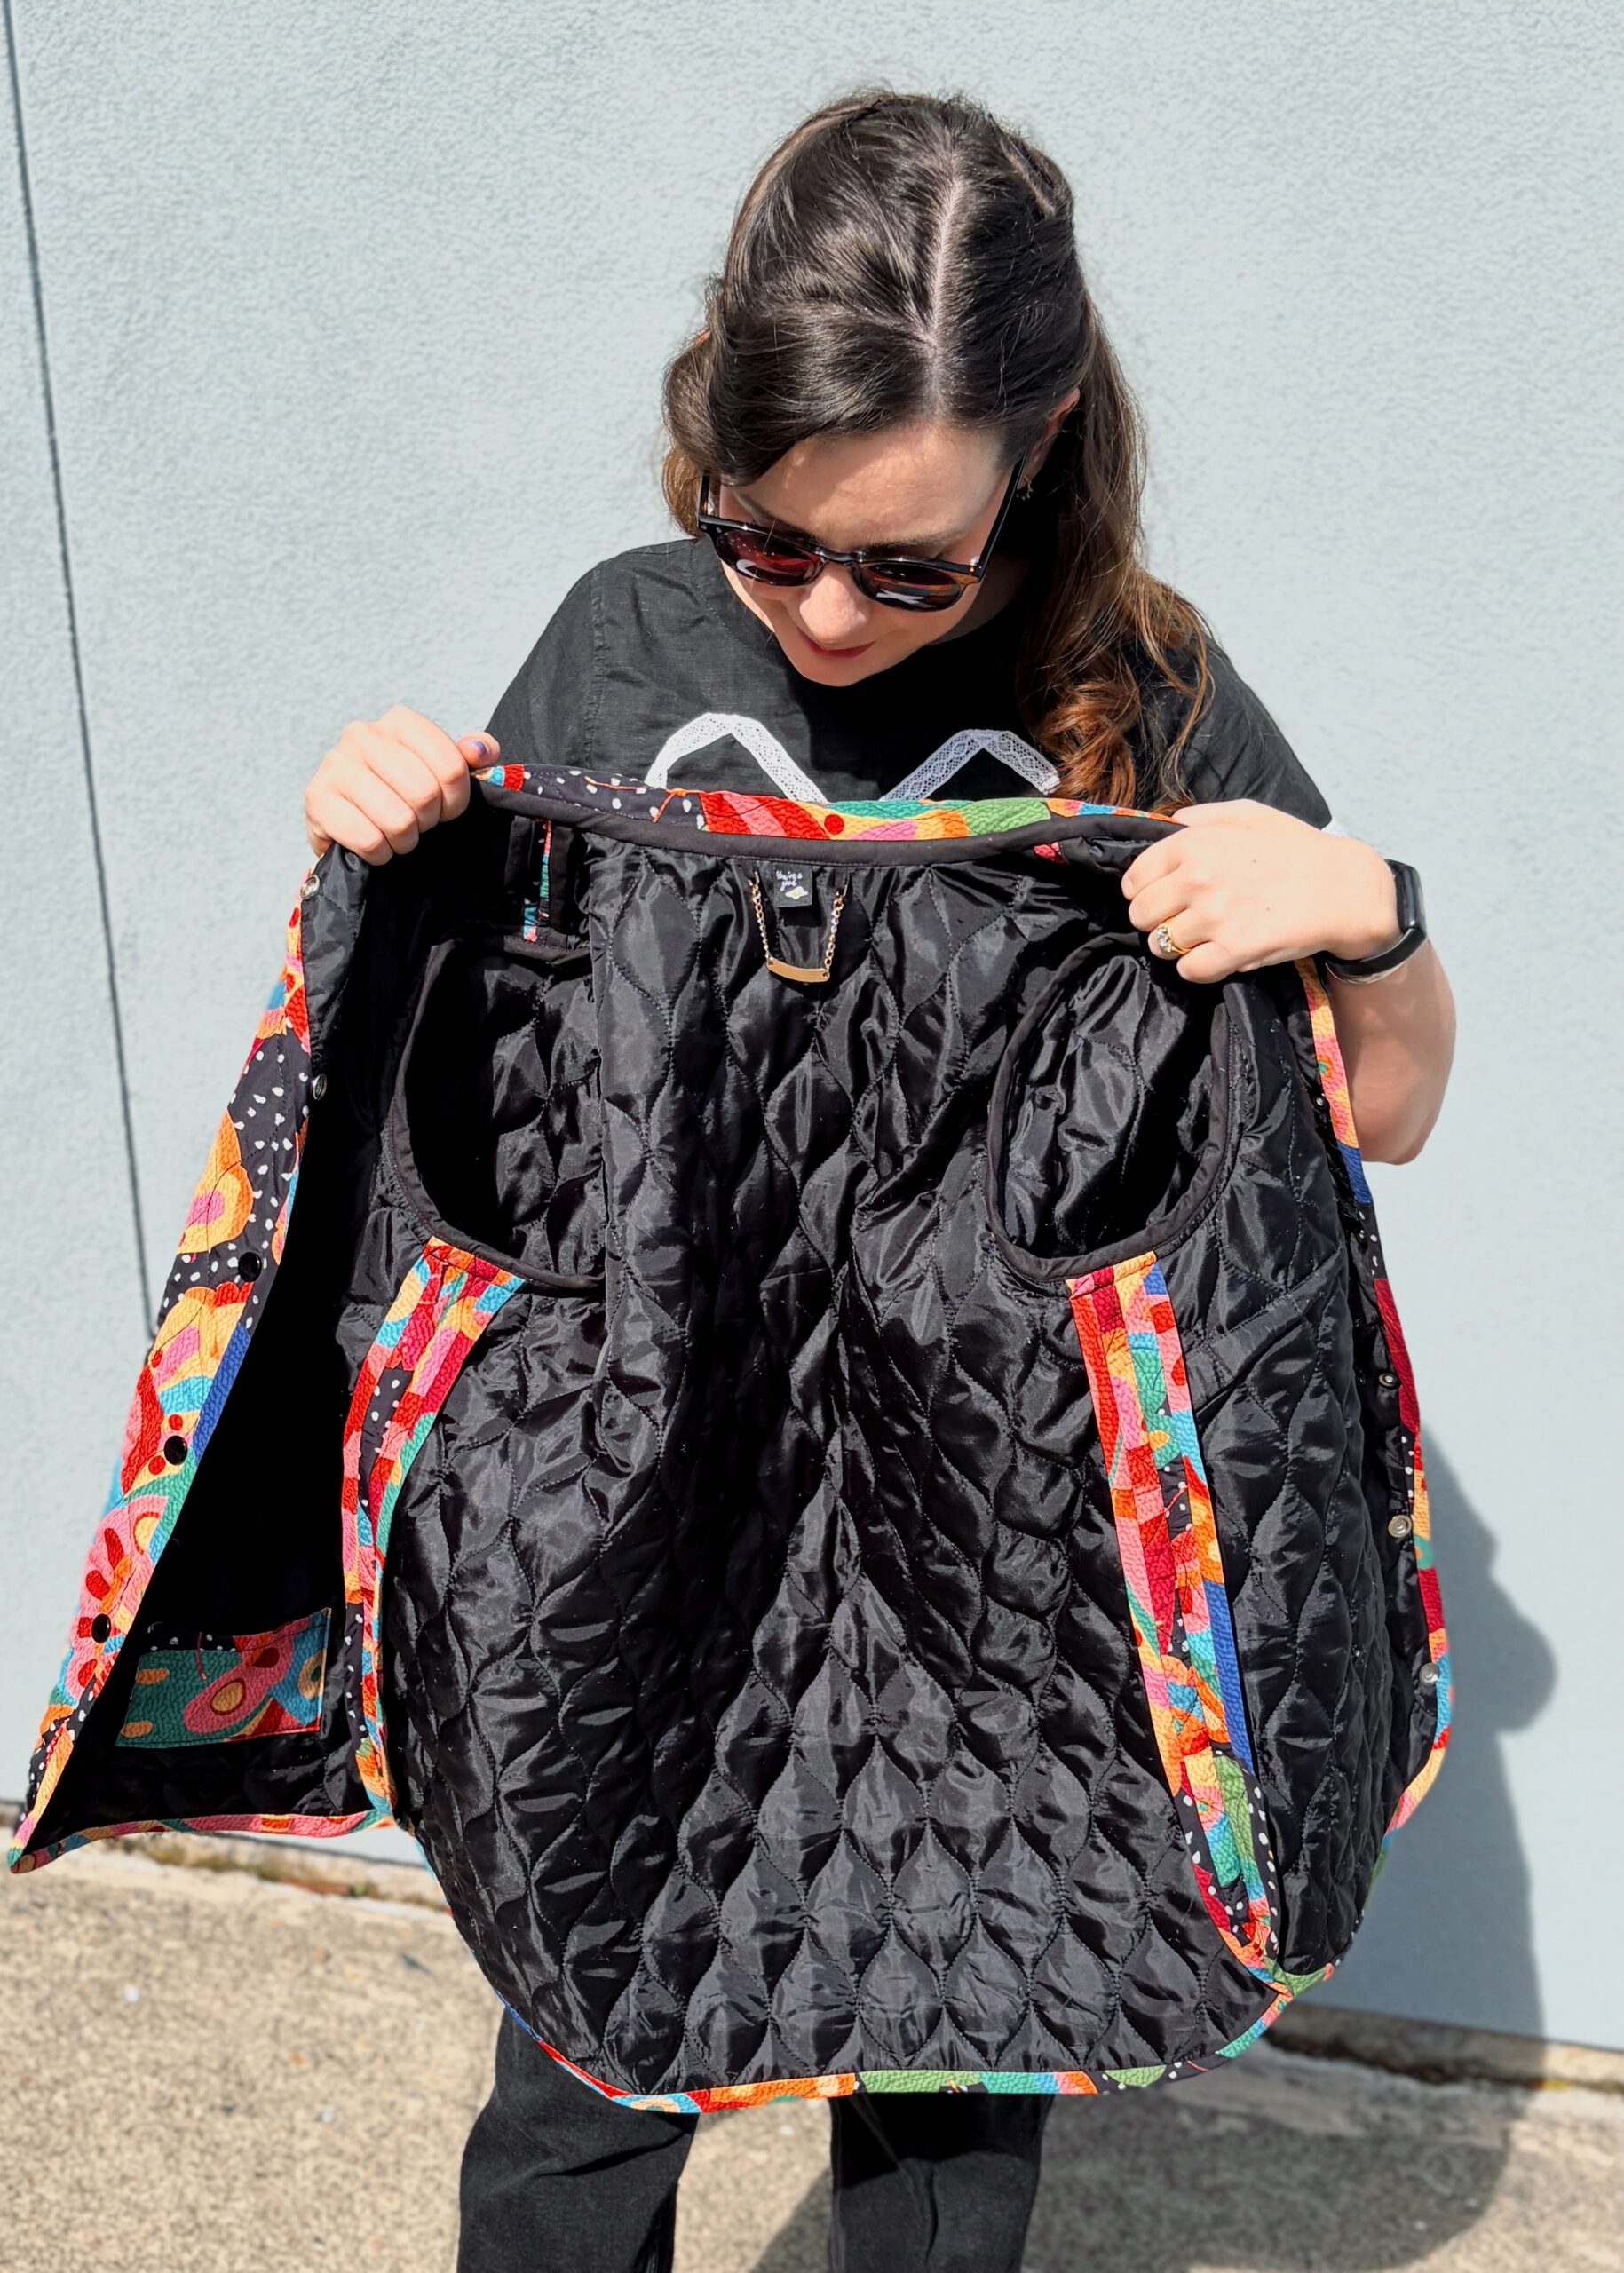
Firstly, let’s talk about this lovely fabric! This fabric came pre-quilted in water-resistant nylon with polyester batting sandwiched between the two nylon layers. It is a Fabric Godmother exclusive print, with vivid butterflies against an irregular polka dot background. The reverse of the fabric is plain black, which you can see with my rolled sleeve cuffs. The fabric is light- to mediumweight, and very lofty. I also ordered the coordinated water-resistant nylon fabric to make the external bias binding and black quilting cotton to make contrast binding on my pockets and interior sleeve seams.
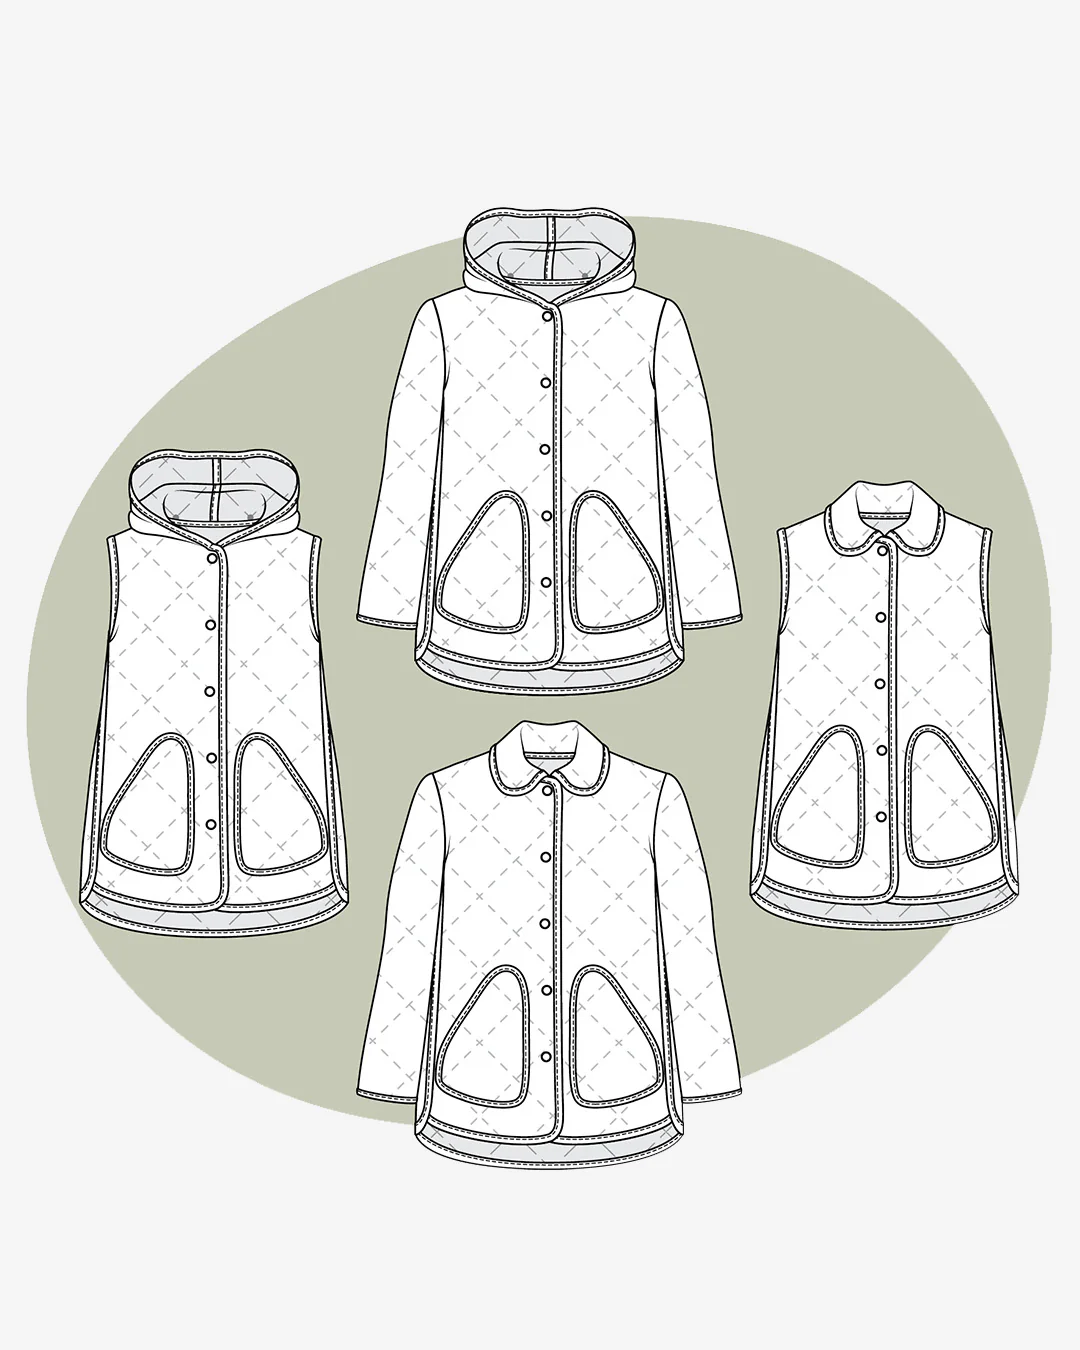
I spent quite a while deciding which pattern to use. I knew I wanted a jacket with some form of closure, a silhouette that was not excessively oversized, no raglan sleeves, and not a deeply dropped shoulder. After comparing several patterns on Threadloop, I decided on the Helen’s Closet Wildwood Jacket with the collar add-on. I liked the proportions of the collar, the low-hip length, the set-in sleeves, and the roomy patch pockets in the technical drawings. This was my first time using a Helen’s Closet sewing pattern and I was really impressed! The add-on pack includes a new neckline and shoulder, drafted especially to accommodate the collar/hood pattern pieces. This is a detail I appreciate, as it shows thoughtful drafting. The step-by-step instructions are very clearly illustrated, with large diagrams to highlight more tricky areas. While I did need to switch between the main pattern booklet and the add-on pack instructions, the instructions make it easy to know exactly when to switch and where to pick up. As a result, moving between the two booklets wasn’t an issue. There are also clear instructions early on in the booklet about how to make continuous bias tape and how to attach bias tape, plus how to quilt your main fabric, batting and lining together. I was using a pre-quilted fabric, which definitely cut down the difficulty, but I can imagine these steps would be indispensable if you were quilting your own fabric. You do need to pay attention when sewing, as the standard seam allowance of 5/8″ applies, but several pieces do not have seam allowance included (by design). This pattern is rated as suitable for intermediates, which I agree with — this is a more involved sewing project than most, with various points of highly precise sewing.
Judging by the size chart, I opted to make a size 12 and then do a 1″ FBA to add a bust dart. Luckily, the Helen’s Closet blog has a post on how to do an FBA on the Wildwood Jacket, so I followed that tutorial. This additional 2″ at the bust gave me both a little more shaping and room, but I found the darts were quite bulky in this pre-quilted fabric. I catch-stitched the darts down into place and I am satisfied with this.
In terms of the preparation before sewing, I wanted to cut all my pieces on a single layer, so I traced the back bodice as one piece rather than on the fold. The lofty fabric was very stable, so I used a rotary cutter and pattern weights rather than pins, as I didn’t want to mark my fabric with little holes. I was pretty wary about pressing, given the fabric composition — the last thing I wanted was a melted mess on my iron 😅 I pressed using low heat and low steam, with a silk organza pressing cloth to help protect my fabric. This seemed to work a treat!
Details!
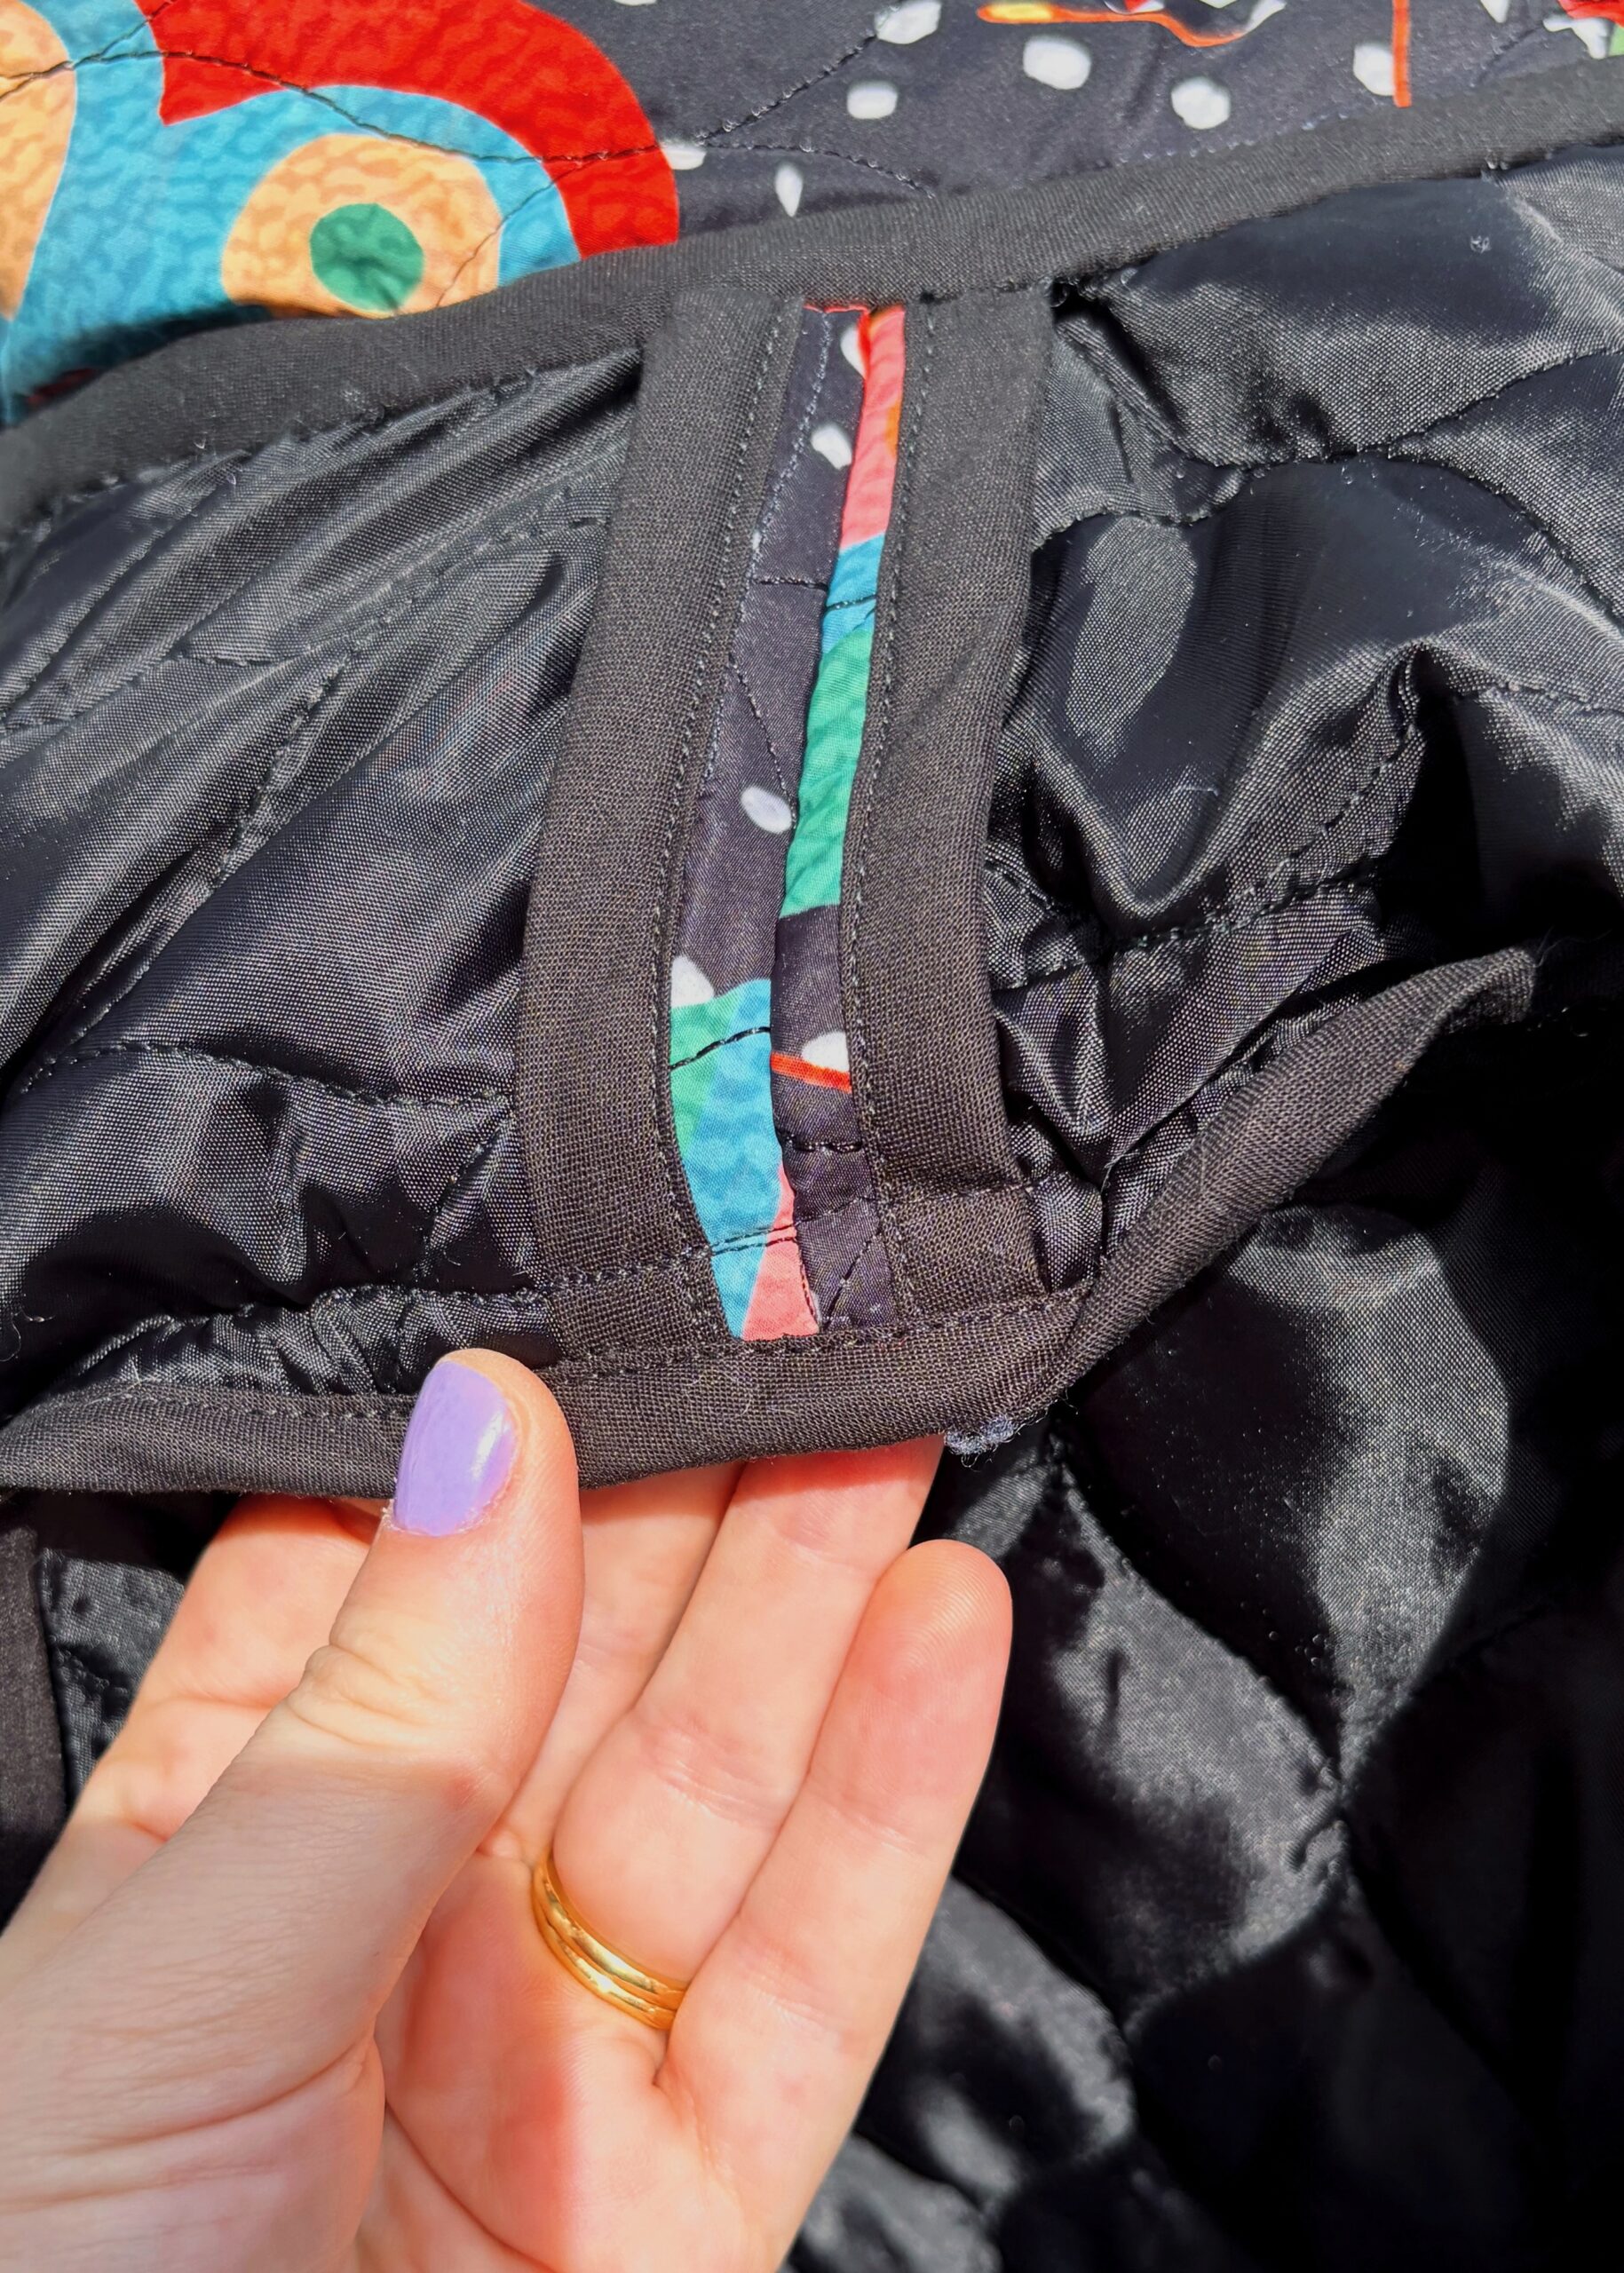

Sewing was quite the labour of love. I found that I needed to reduce my presser foot pressure, use a lower tension and a longer stitch length to keep the sewing process flowing nicely. Instead of pinning, I used clips whenever necessary. I found that my duck-bill scissors were an especially helpful tool, in particular when grading the fabric underneath the bias tape to reduce bulk. I also my hump-jumper when going over several layers and also used an awl to help guide the bias tape around the curves on the first pass.
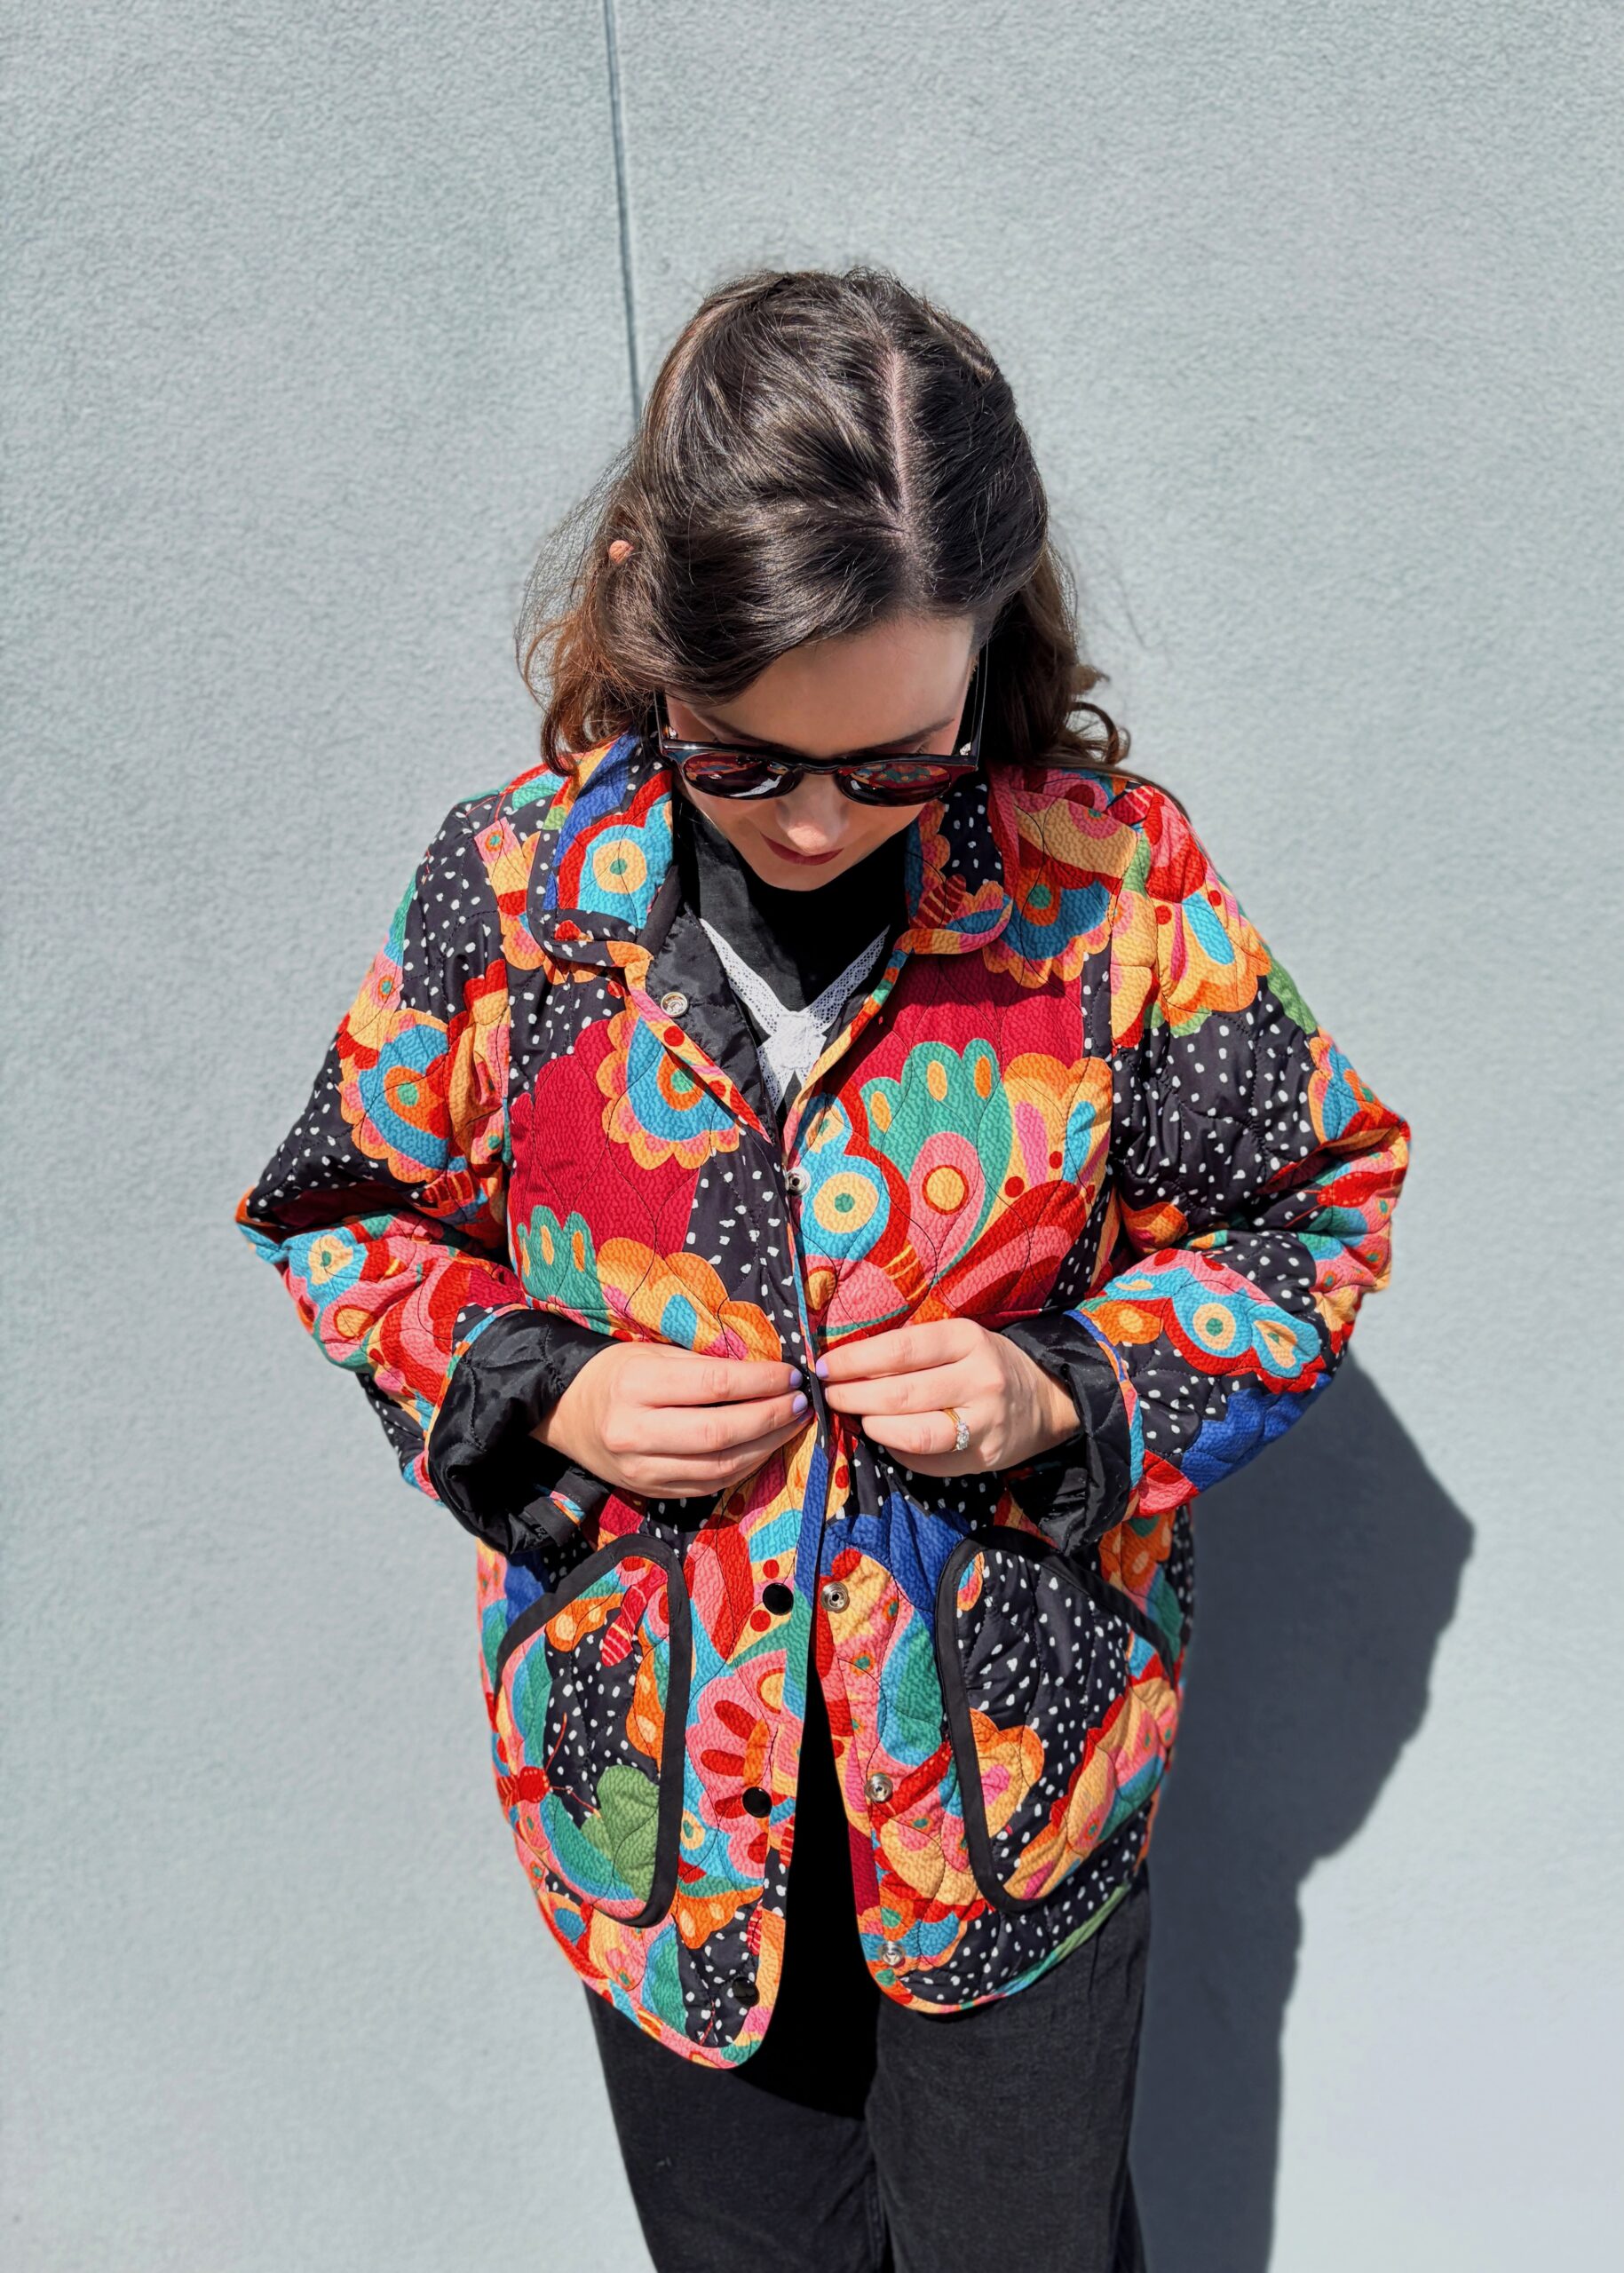
I deviated from the instructions in one majorly time-consuming way! The instructions sensibly ask you to edge-stitch the bias binding with your machine on the second pass; however, I chose to hand-sew all of my external bias tape in place with a blind stitch. If you use a bias tape made from a stable woven, edge-stitching would be the quickest and easiest way to finish this jacket, but I found that my self-made nylon bias tape was pretty wriggly to sew and also refused to keep its shape when pressed (granted, I was using very low heat to press the bias tape folds). My initial test swatches on manipulating the nylon bias tape around curves showed some very unsightly rippling! So hand-sewing won out, which admittedly took a long time, but I breezed along by listening to several podcast episodes!
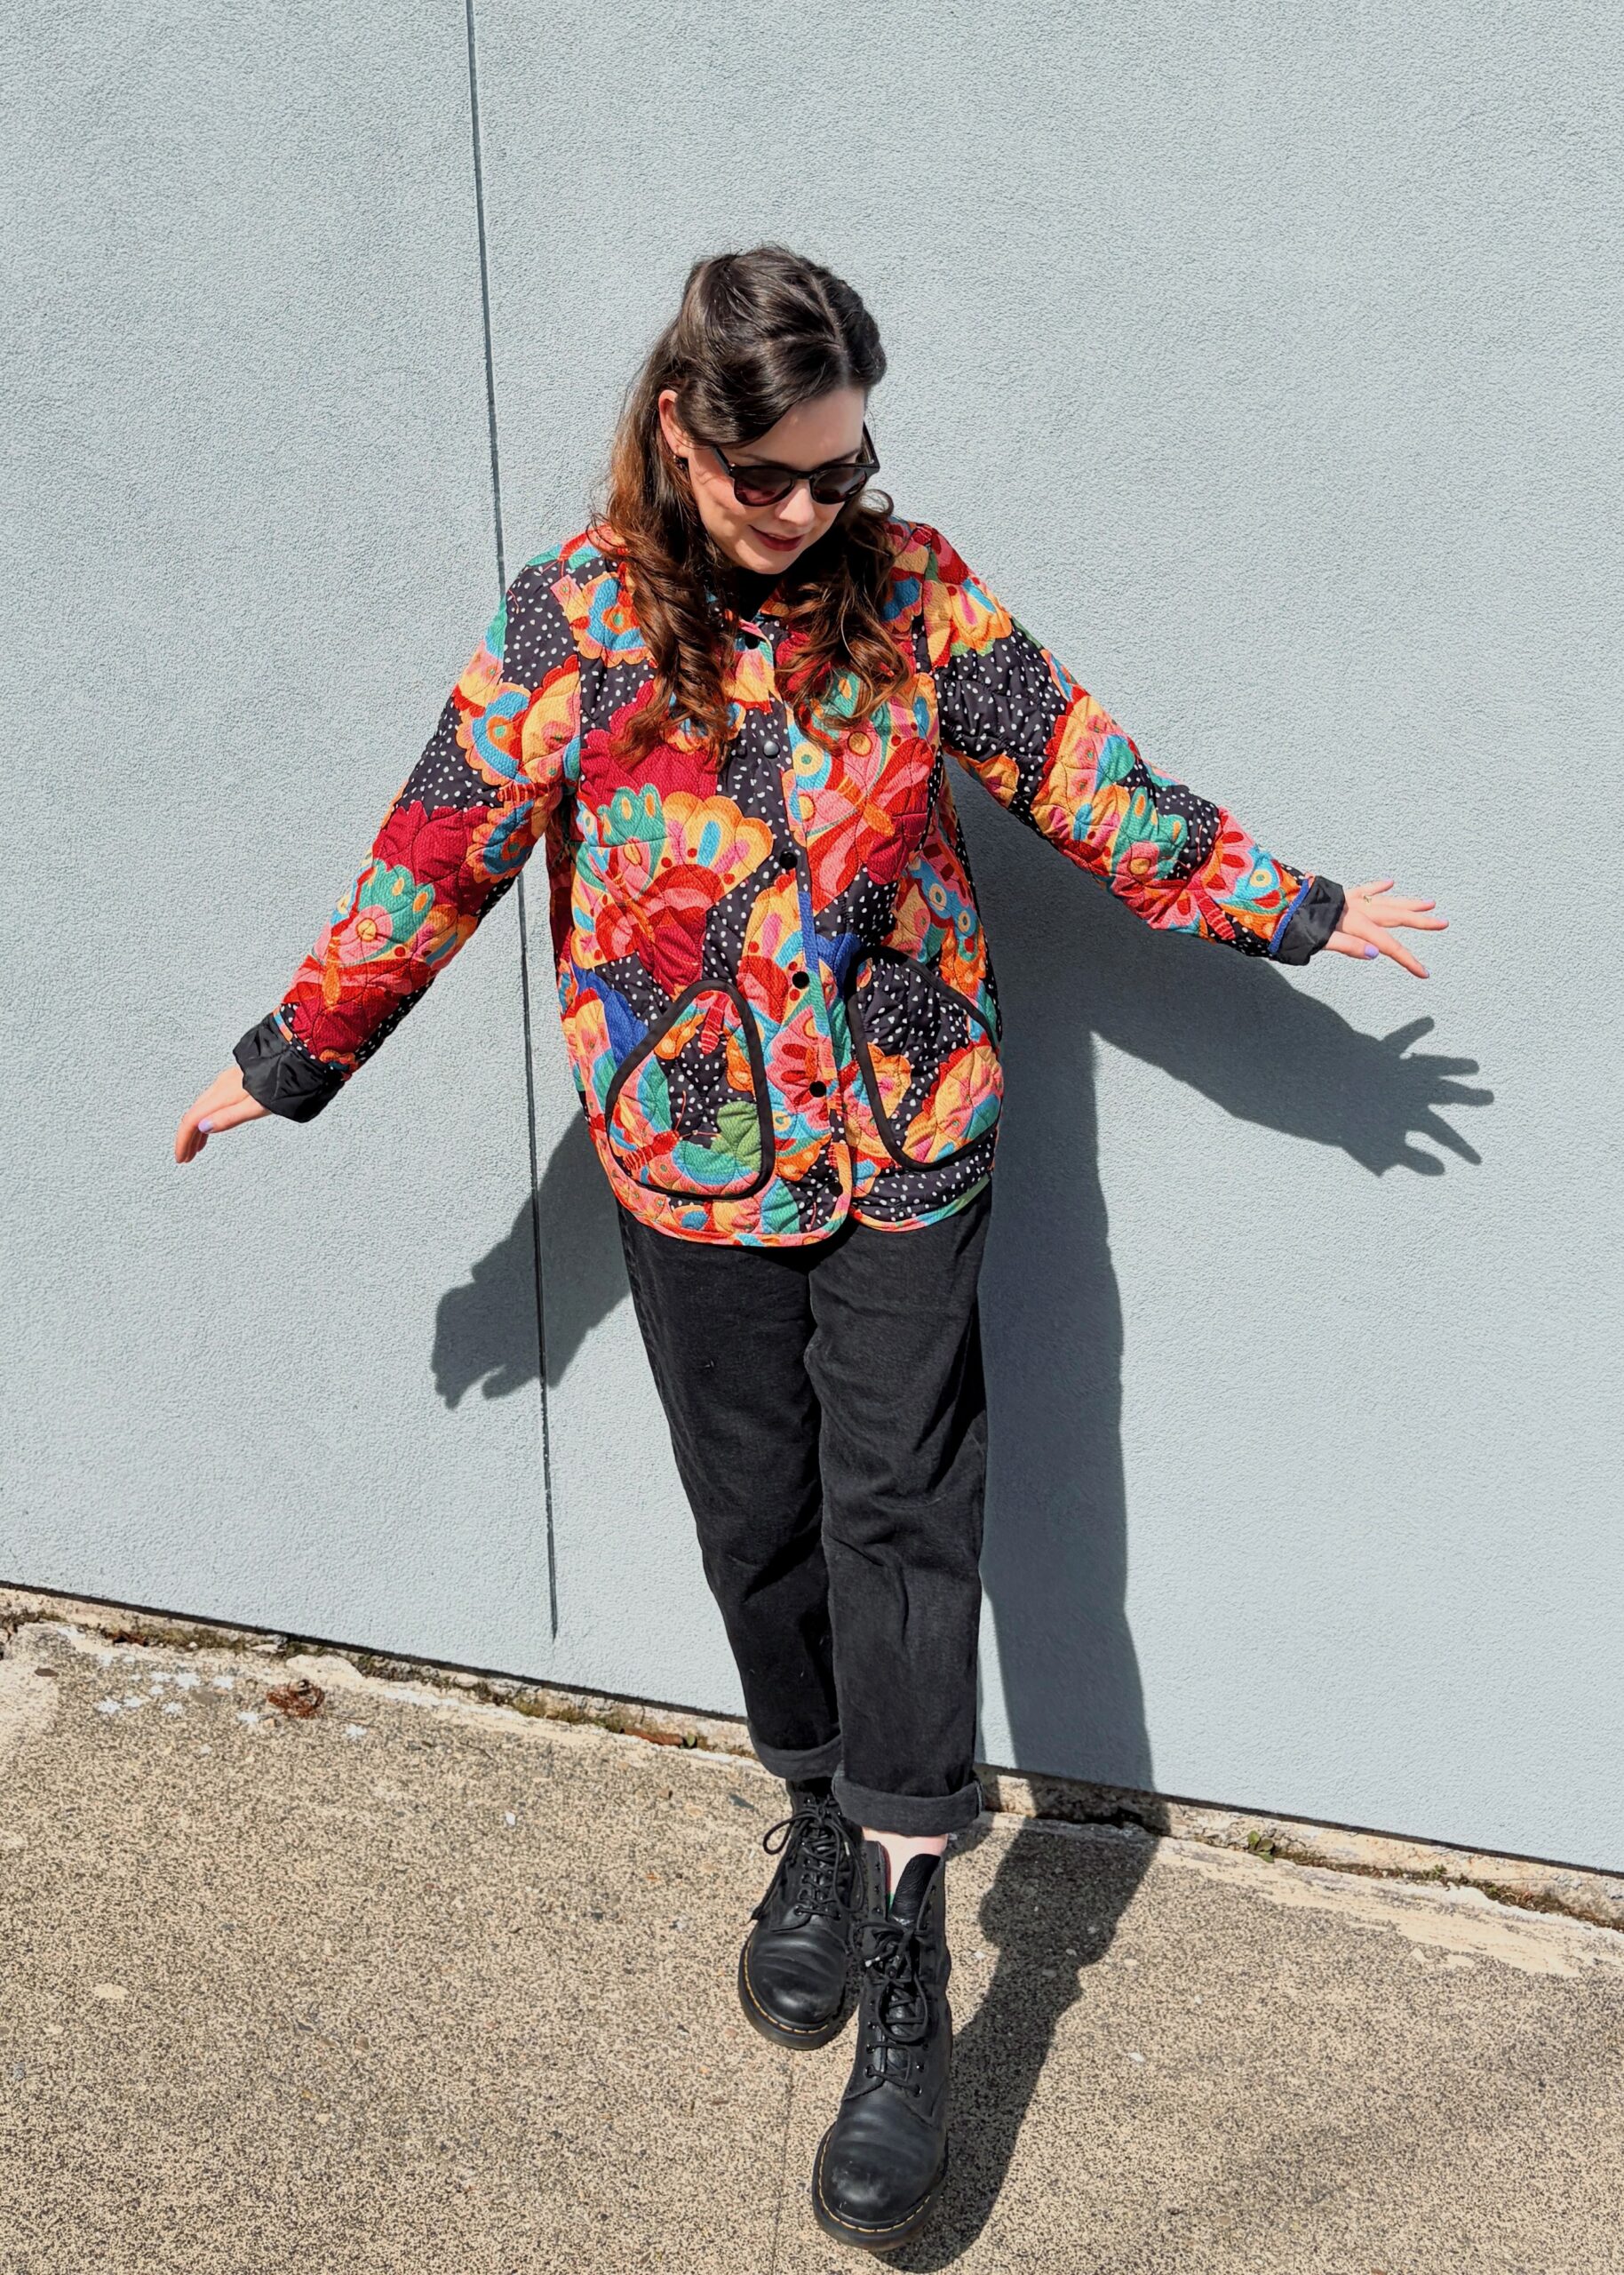
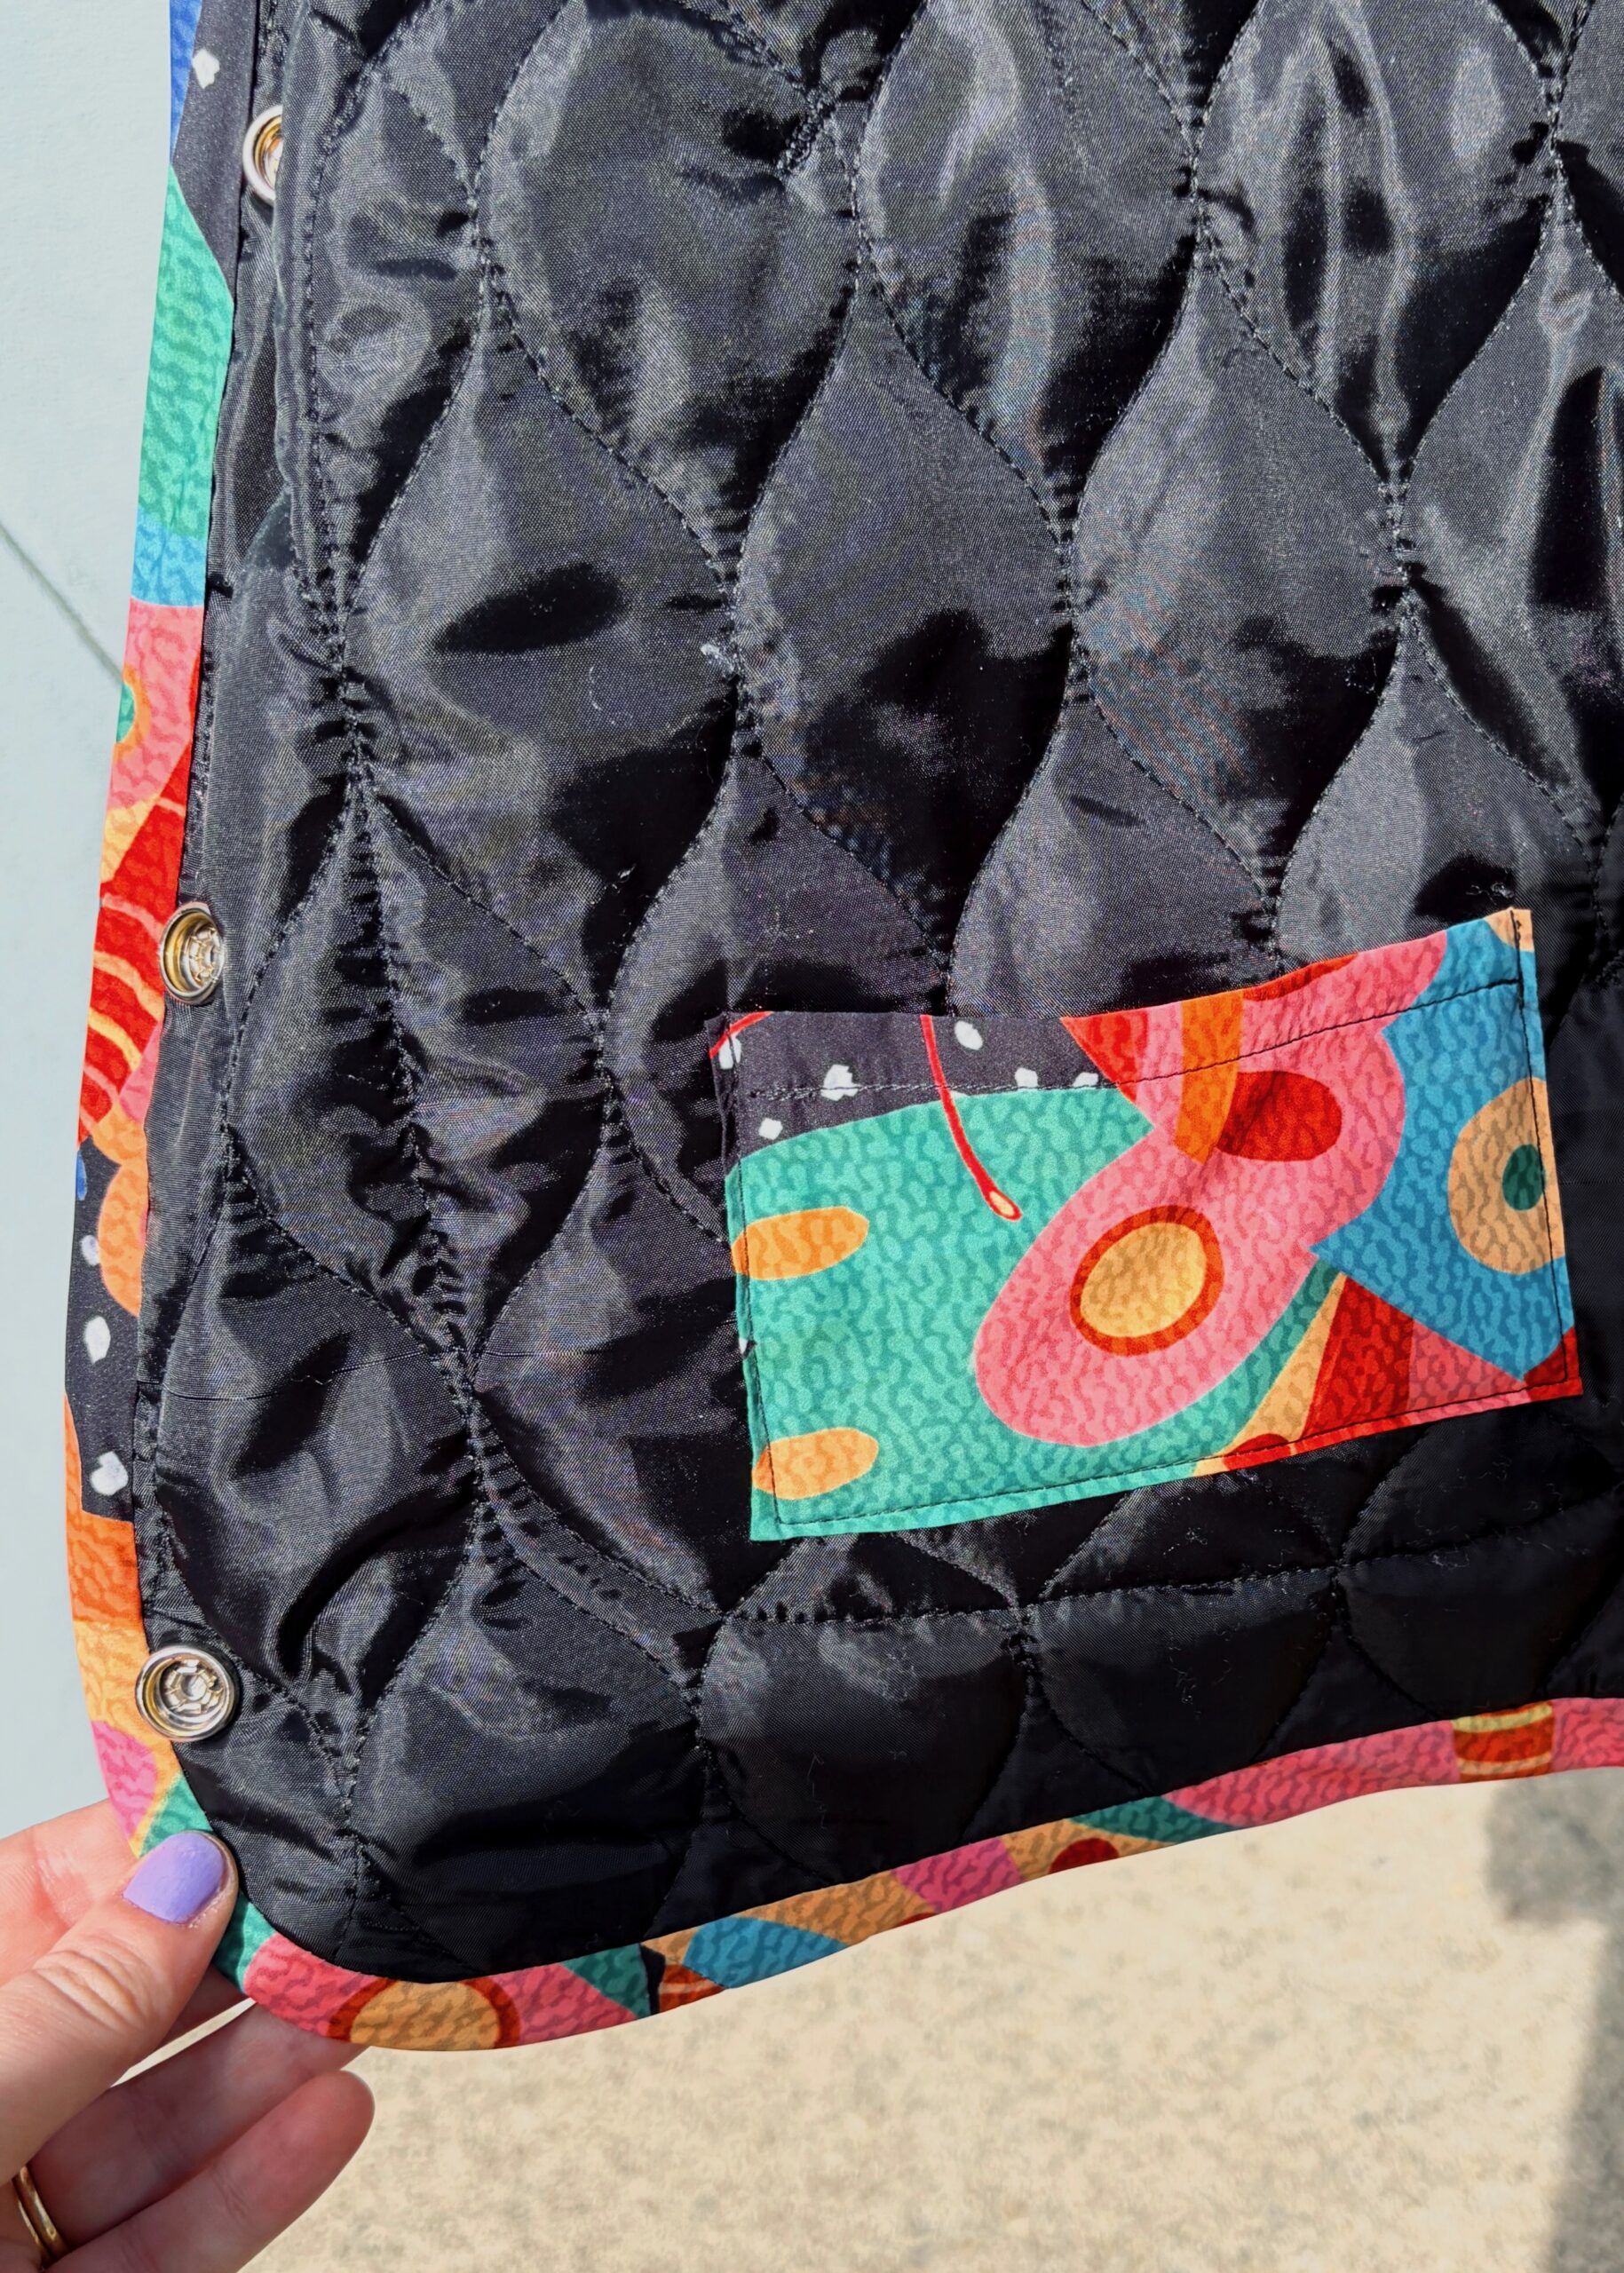
The last step was attaching the black heavy-duty snaps, which is quite methodical to do — you just have to really wollop them with a hammer, otherwise the insides won’t crimp and they won’t snap closed tightly. You cannot daintily tap them, ask me how I know 😅 I am happy with how my snaps look on this jacket and that they look cohesive with the black background colour of the fabric and the black bias tape.
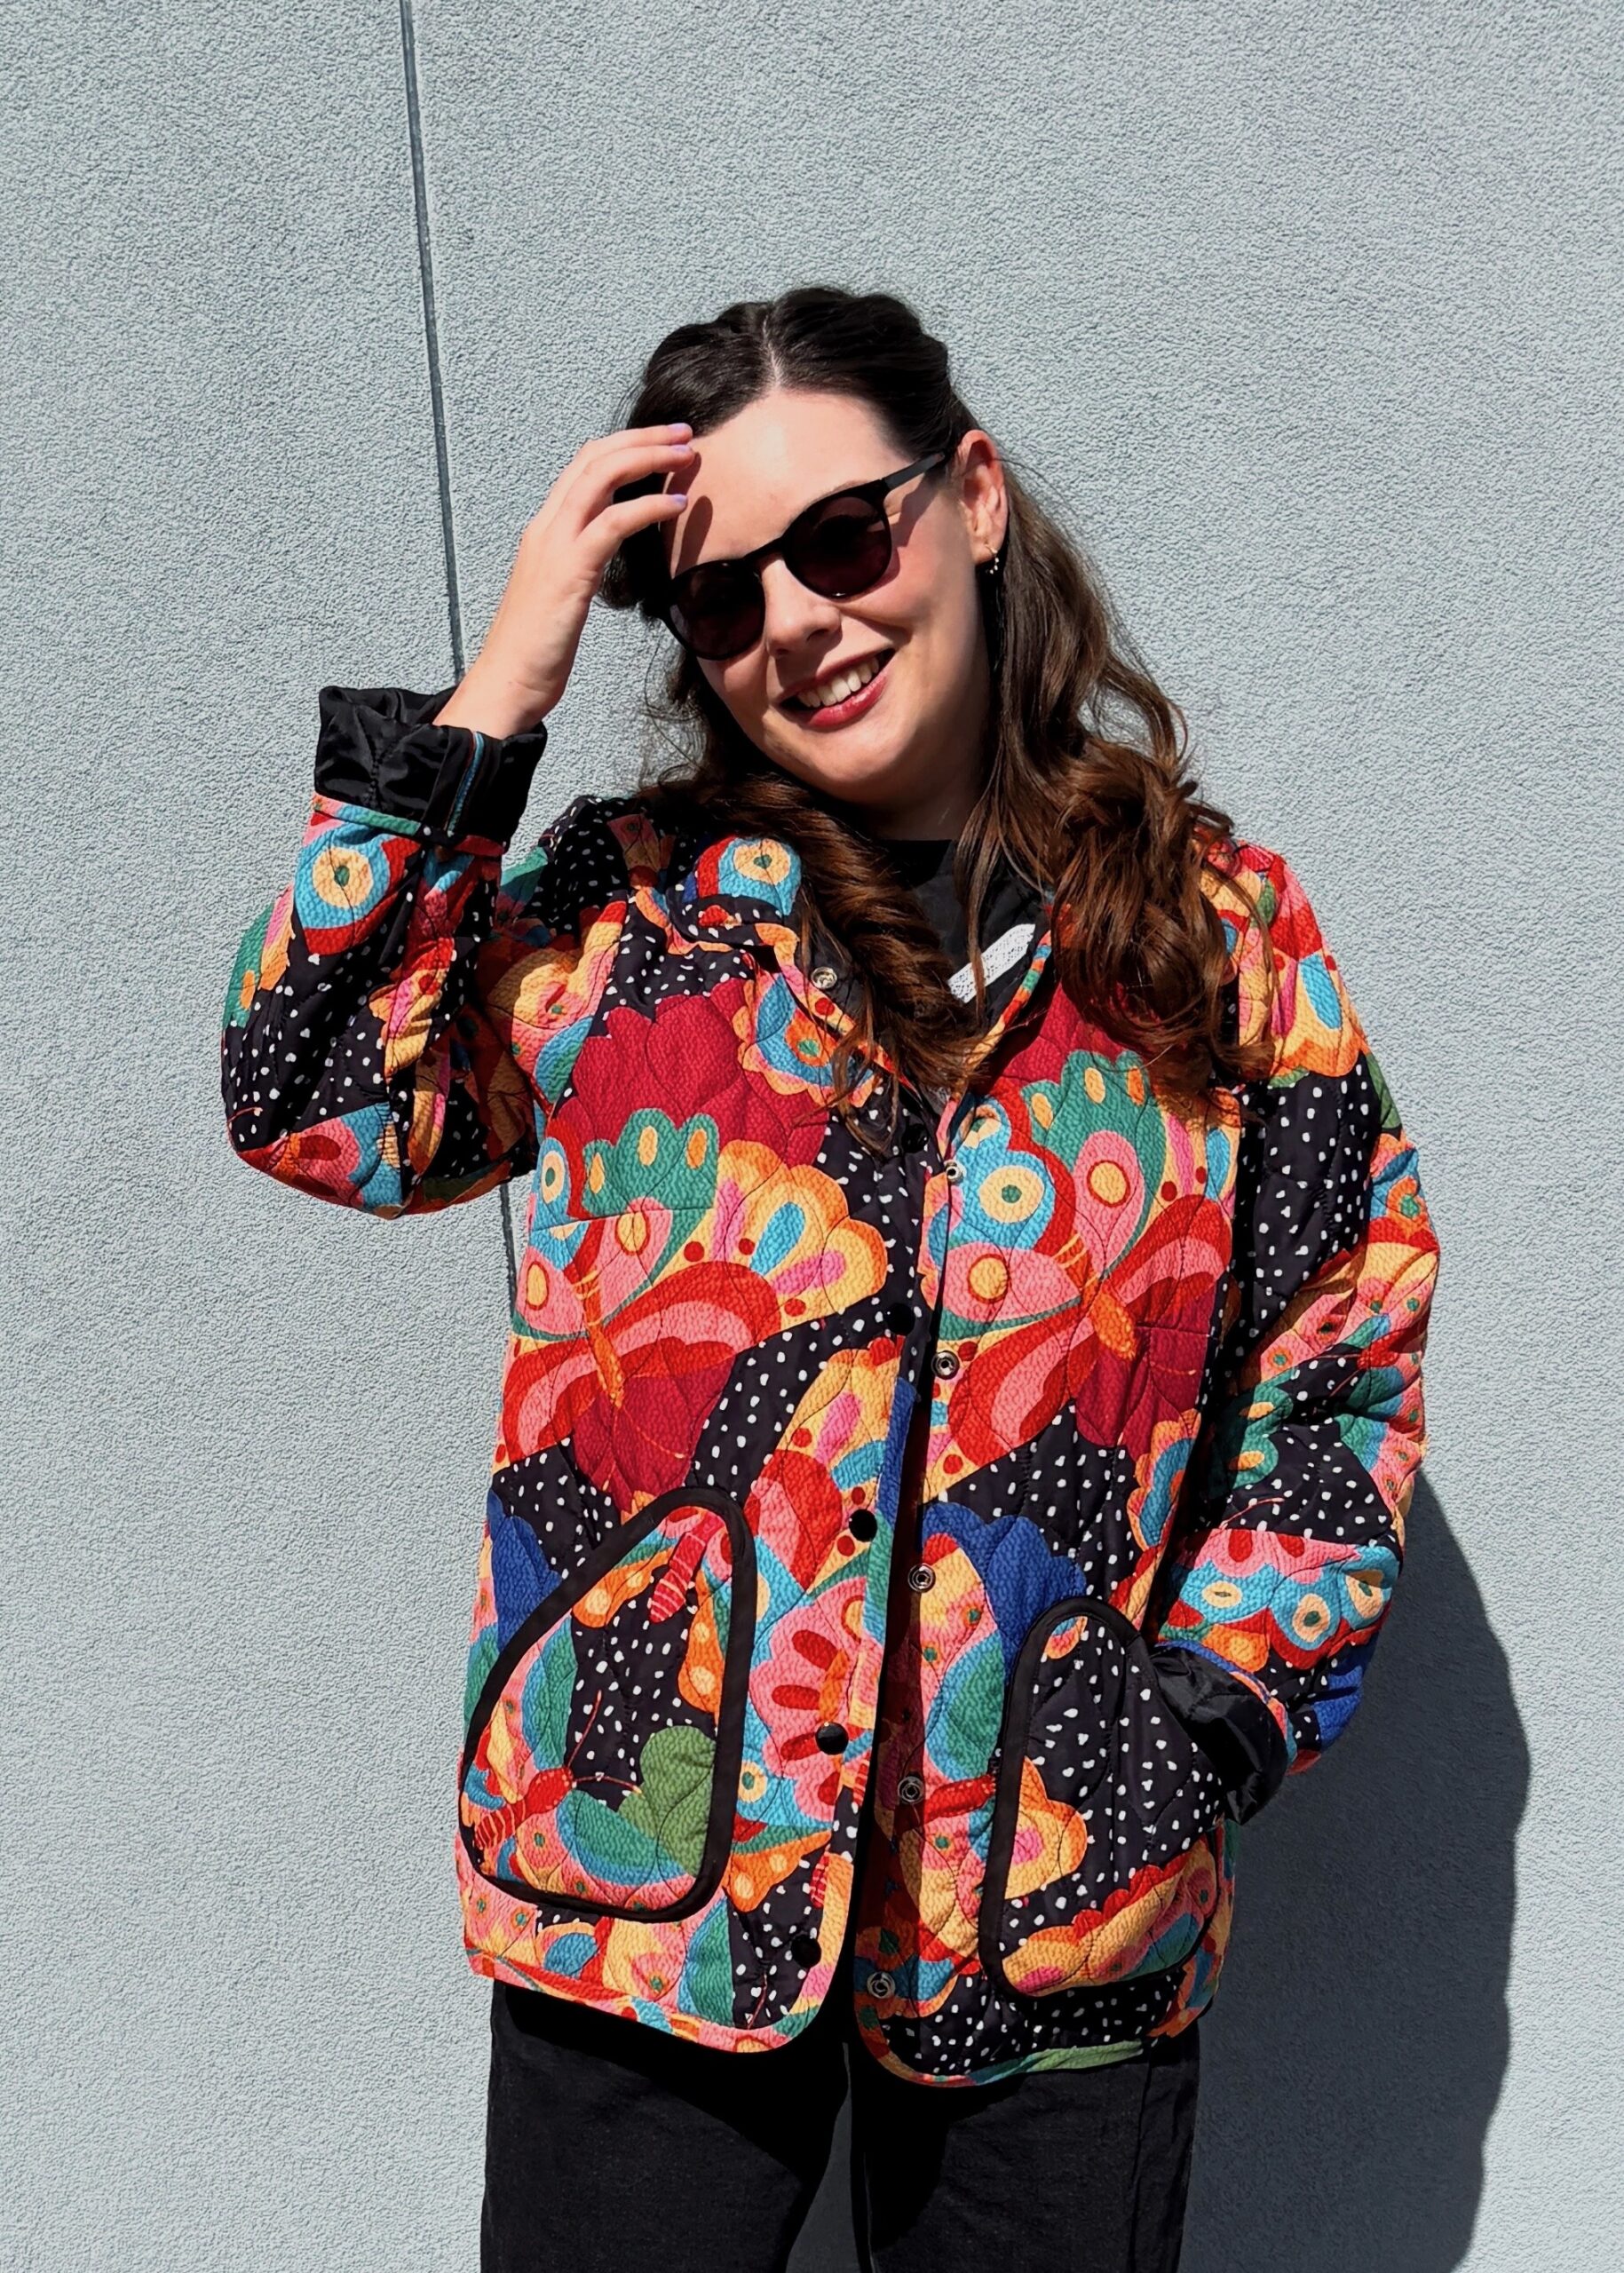
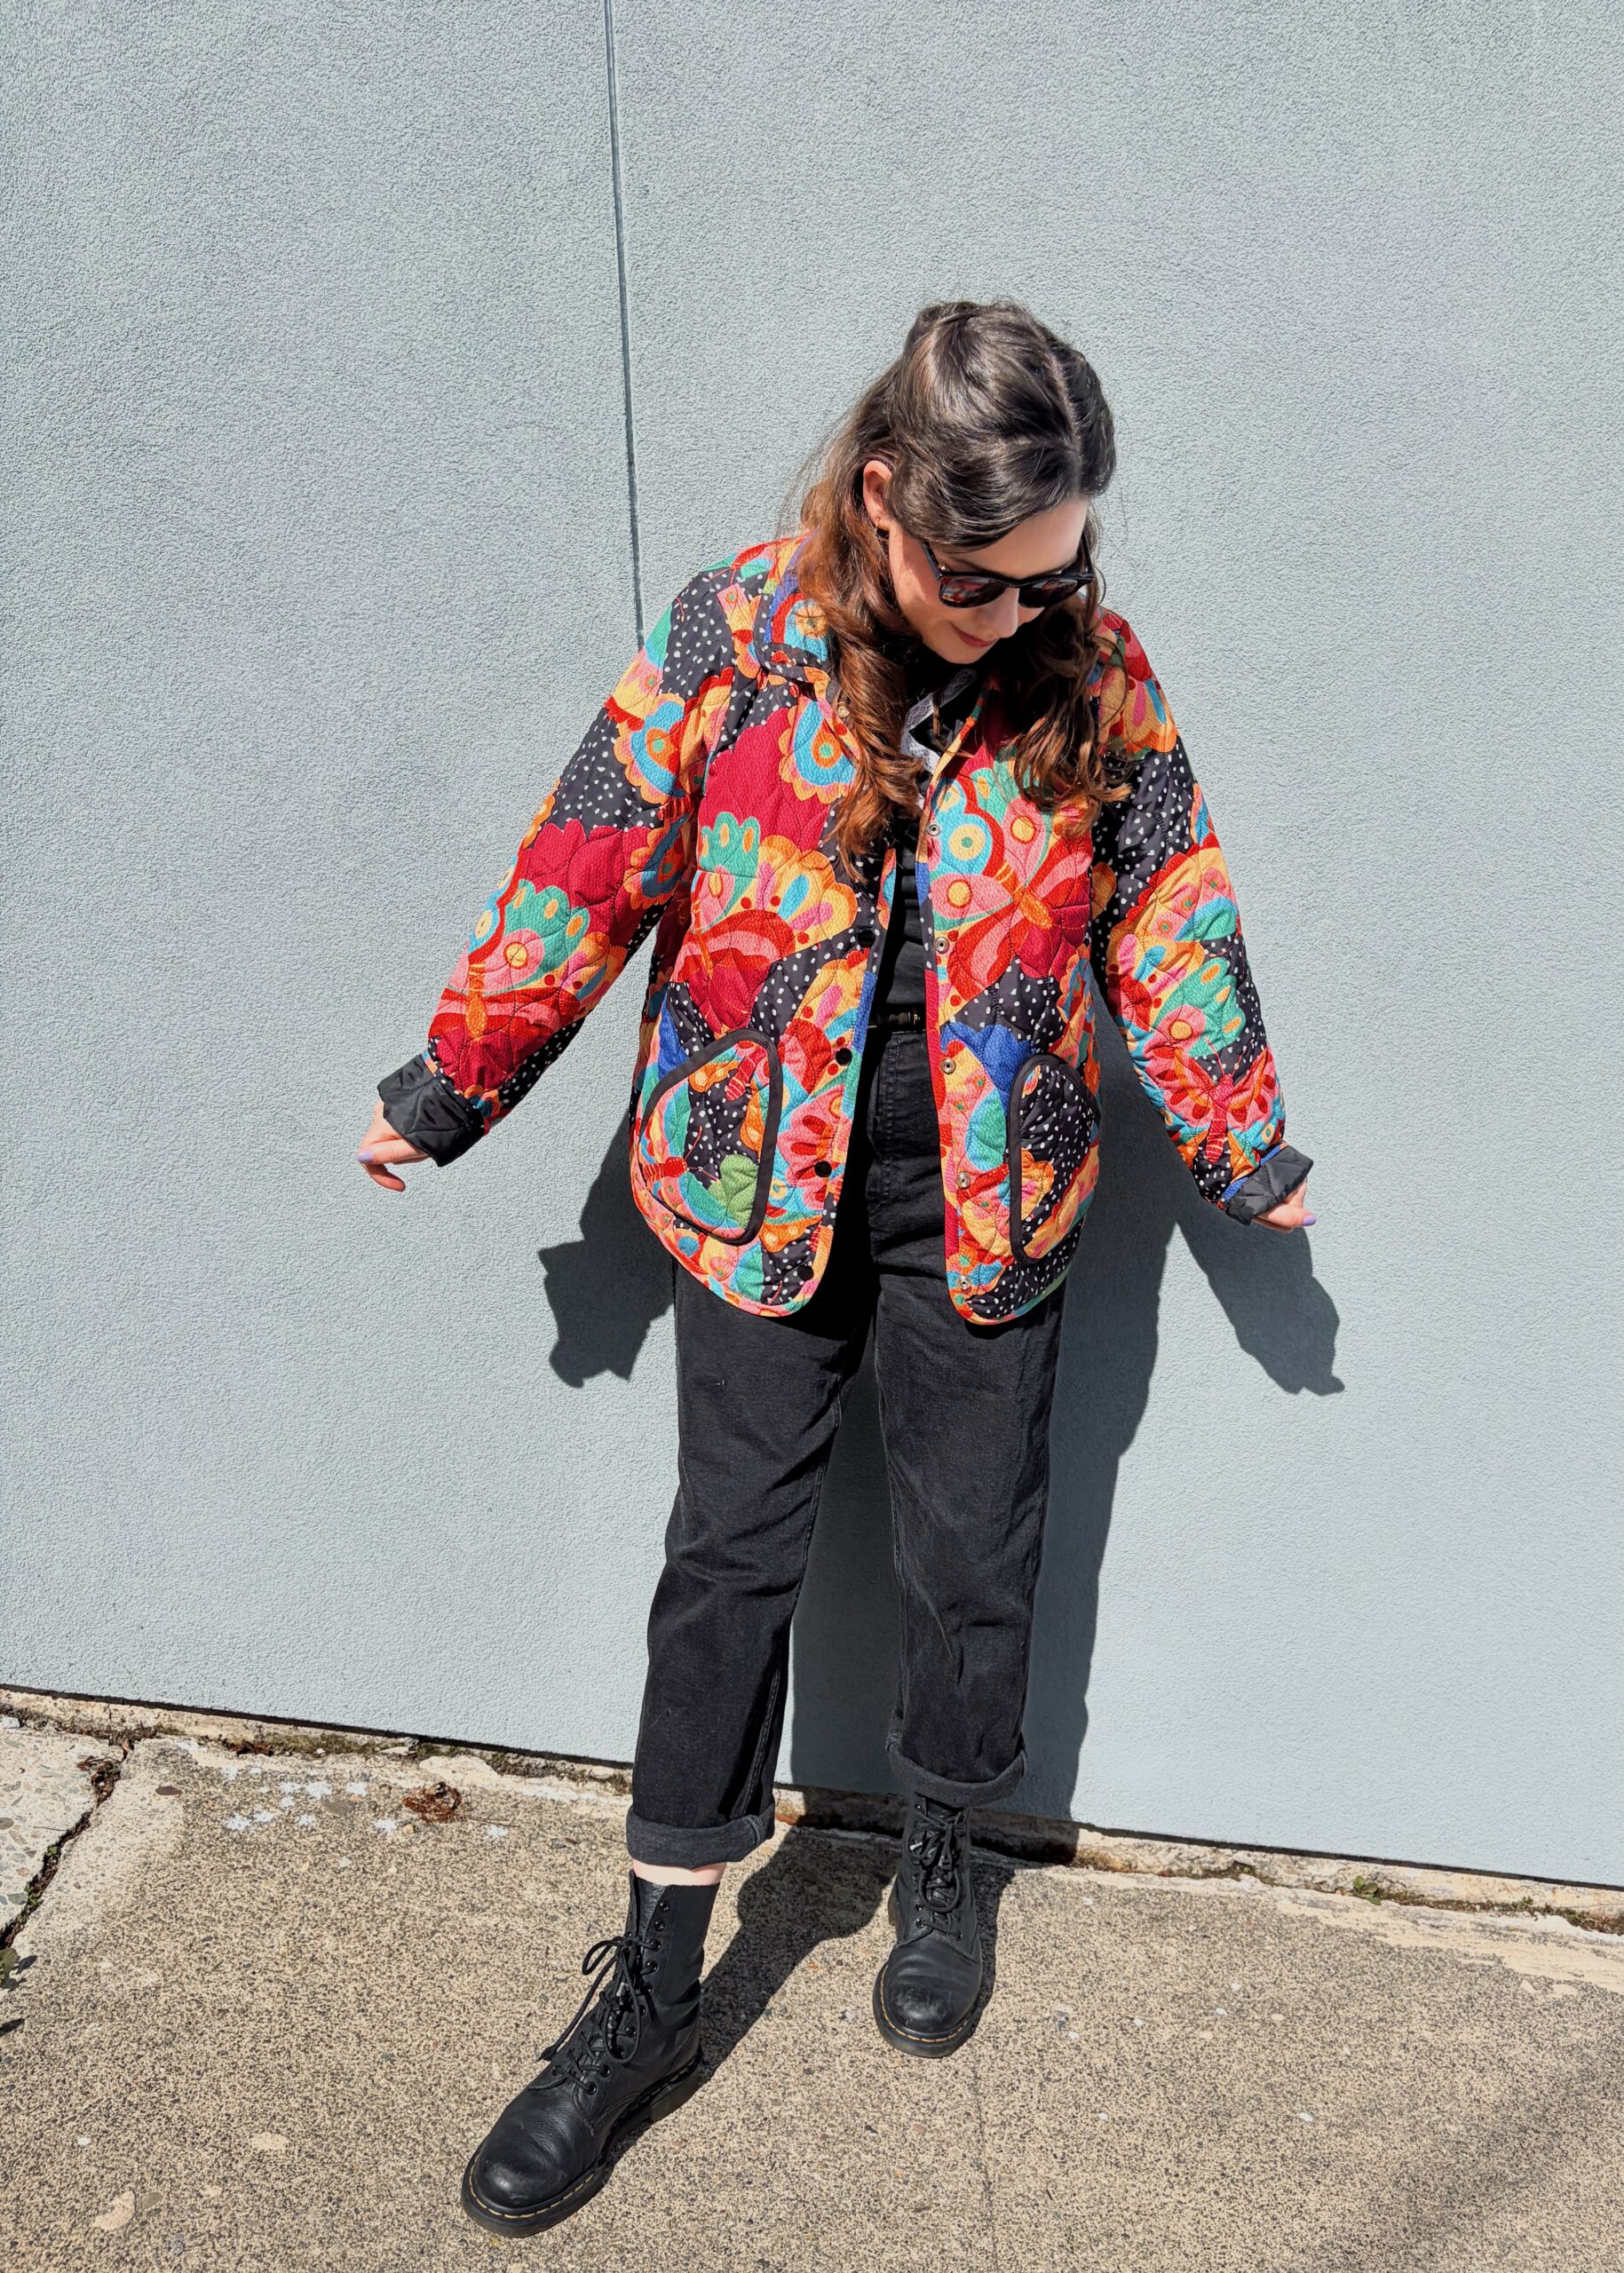
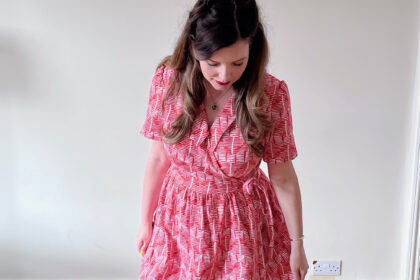
This jacket is easily one of my favourite makes to date: the print is striking and cheerful, the pockets are spacious, and the level of care I took to hand-sew the bias tape was gratifying. I think my favourite detail is the contrast black bias tape around the pockets, it really makes them pop! I have worn this jacket so often since finishing, it truly has been ideal in the mild Californian winter. I have styled it here with an all-black outfit to let the jacket be the focus, but you better believe I have been clashing wearing it with my colourful, patterned dresses 😅
I am pretty intrigued by the idea of quilting my own patchwork fabric from my scraps to make another version of this jacket, but that seems like a very arduous process. Perhaps in the future…?
Helen’s Closet Wildwood Jacket and Vest
Size 0 – 34
Bust/Chest: 31″- 60″
Waist: 24″- 52″
Hips: 33″- 62″


Aw g’wan then! 😊 This is great! And so tidy. My assumption was that you shaped the pockets to echo the shape of the butterfly wings, until I saw the line drawing. I’m surprised/impressed at the confluence! I’ve been thinking about a new quilted jacket and telling myself I don’t need a new pattern…but there’s so many enticing ones.
Thank you, I’m so happy with it! 💕 I am going to be a true enabler and tell you that you do need a new quilted jacket!
This is beautiful! You did a great job on it and the quality really shows! I’ve been contemplating a quilted jacket in one of the wax print fabrics I have and had kind of put the idea aside, but reading your post is reviving it. Way to go on this amazing project.
Thank you so much for your kind words, I’m really happy with my jacket! 💕 Oooh, a quilted jacket in wax print sounds incredible, I hope you get a chance to work on it!