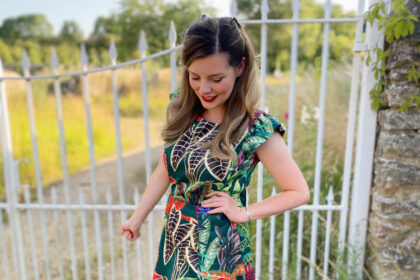
I am someone who loves having a fabric stash; I find just looking at the fabrics I already own can help spark my creativity, for it all to just suddenly click into place, and then I know what I want to sew next. But I really don’t like my fabrics to stay in the stash for too long, as then they begin to feel like they are too special, too precious, too risky to cut into. This juicy linen-look cotton wasn’t particularly expensive, but I had kept it in my ‘precious fabrics’ stash for a while, as the print is so cheerful and pretty much perfect. When I was writing up my seasonal sewing plan, I took out lots of different fabrics from my stash and draped them on me to help me decide what to include. I realised the lightweight nature of this fabric would be so lovely for warm weather, and I decided I had waited on it long enough. I added this fabric to my summer sewing plans, as I really wanted to finally make something up in it. I finished this dress just in time to take part in the #SewFruity25 challenge on Instagram, which was such a fun time and so inspiring for ideas of future garments. I am so glad I took scissors to this fabric and made something I can now wear!

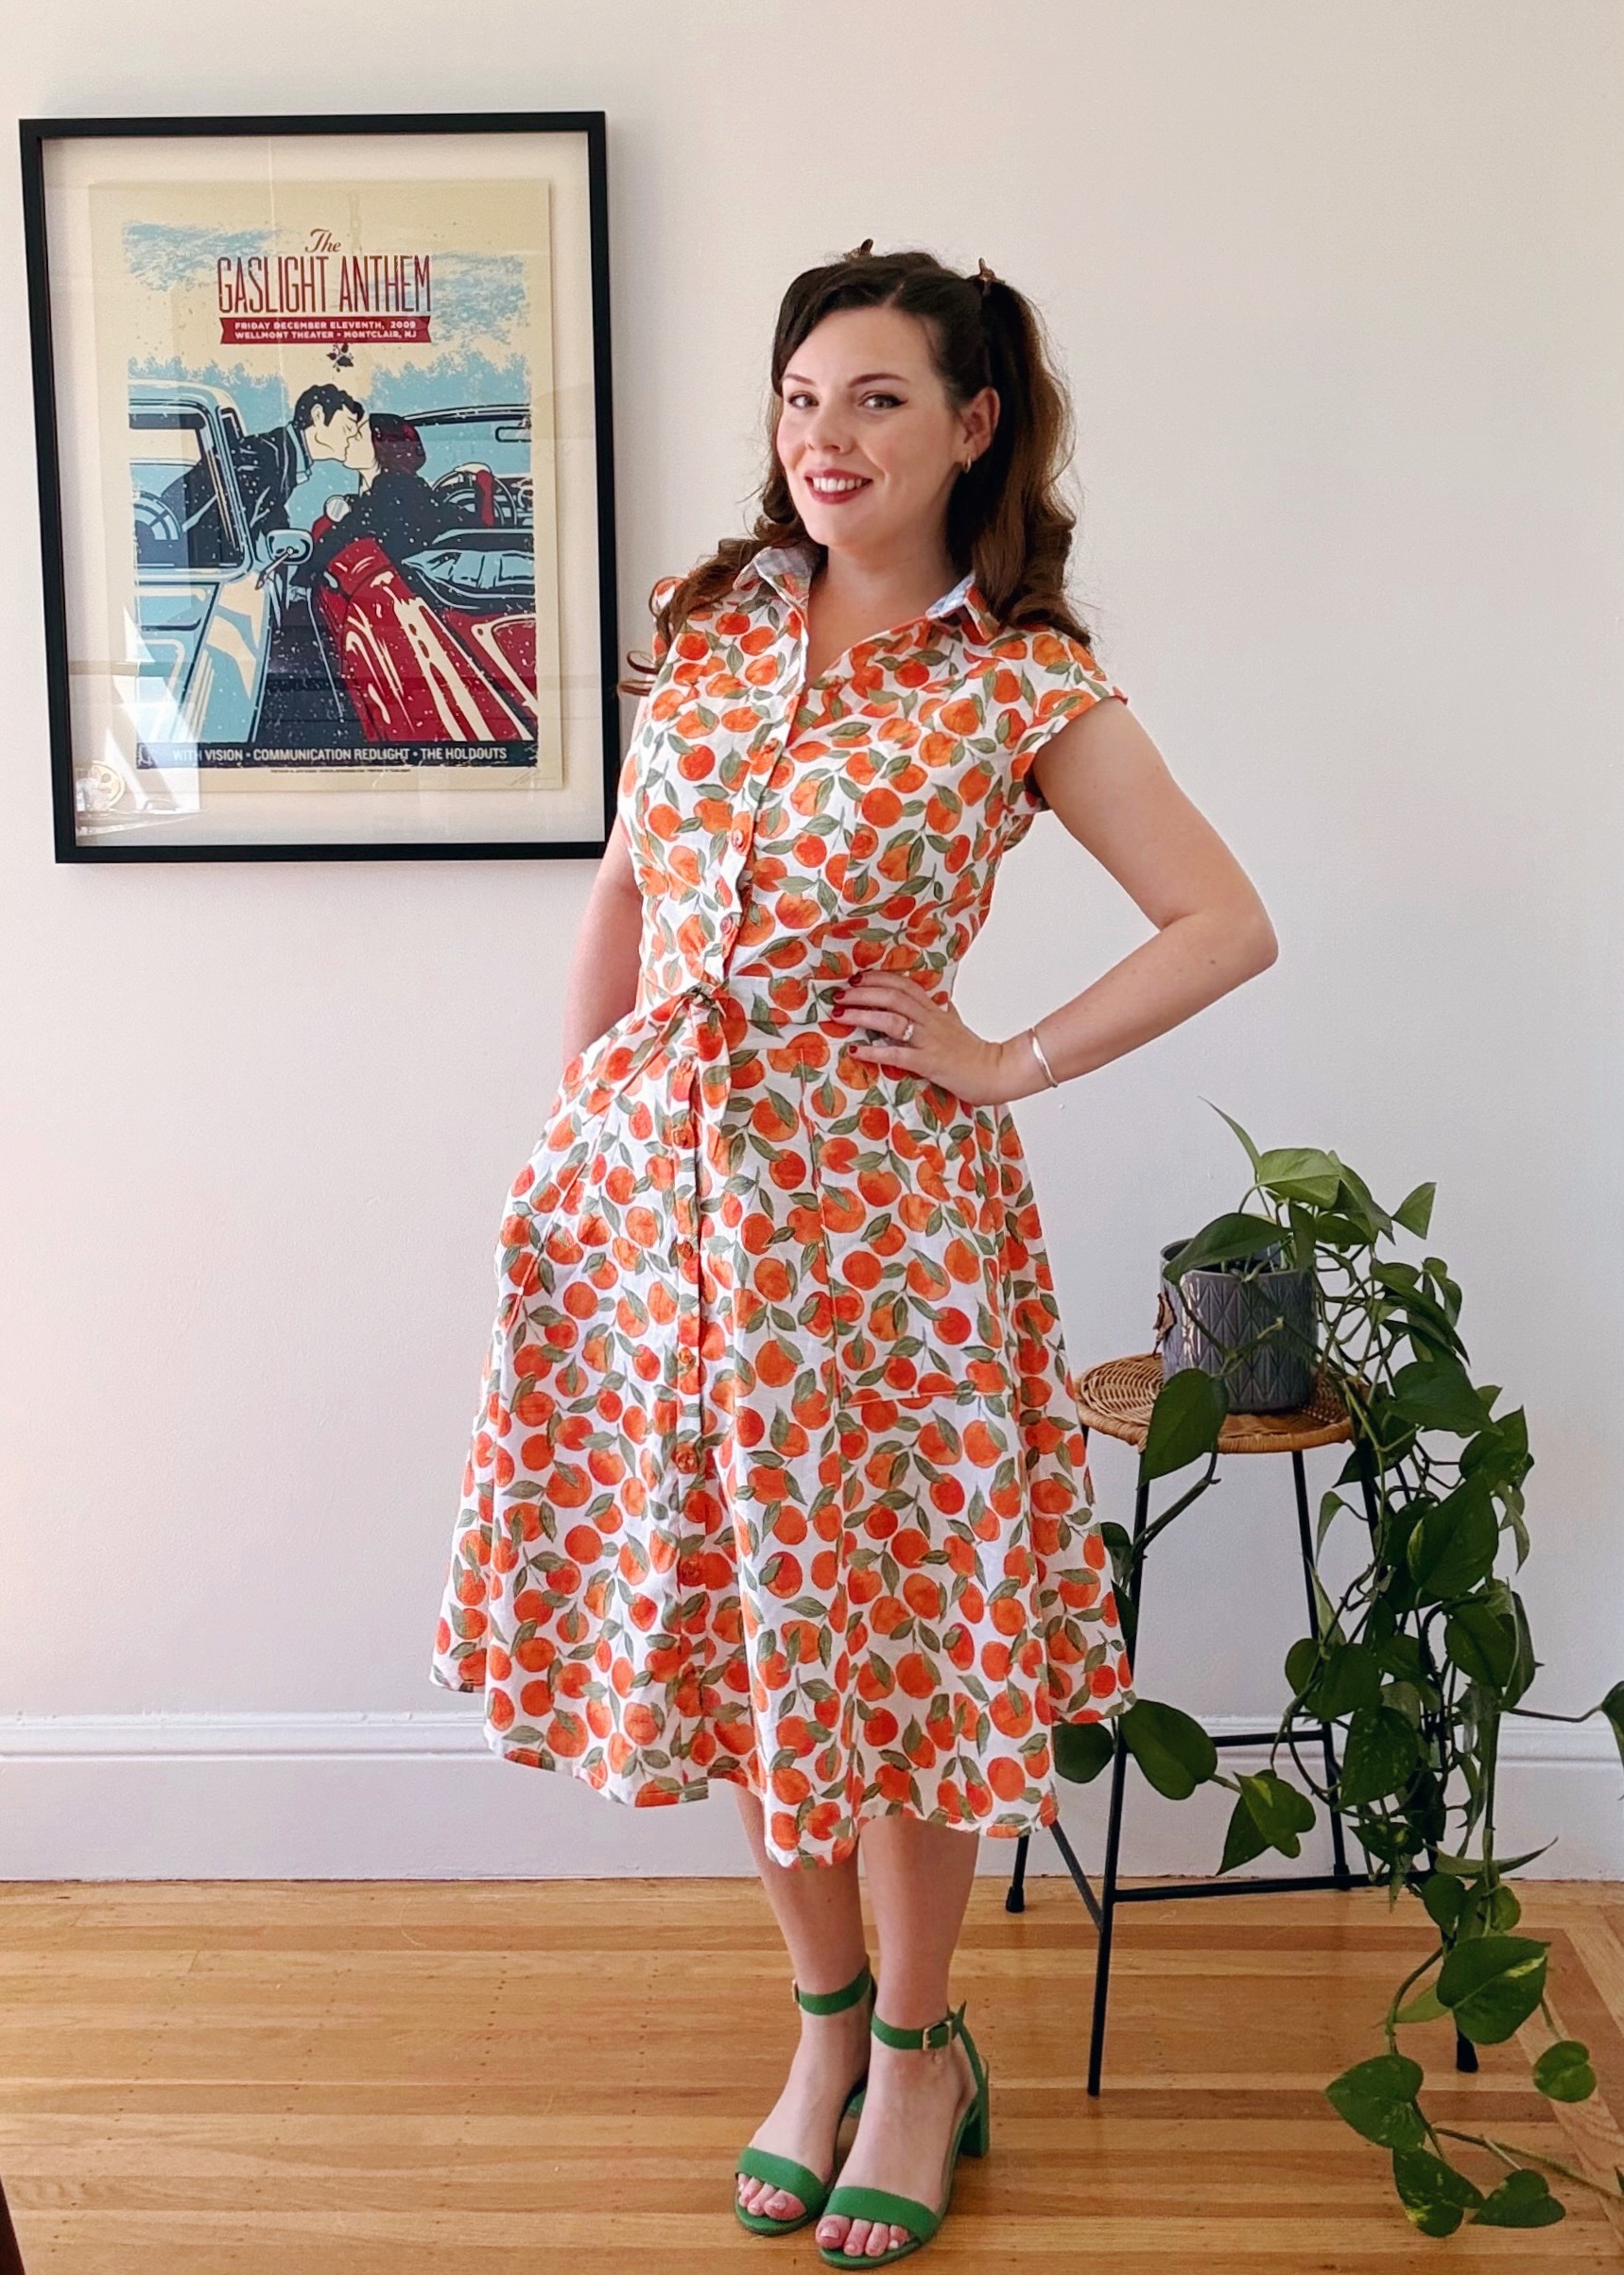
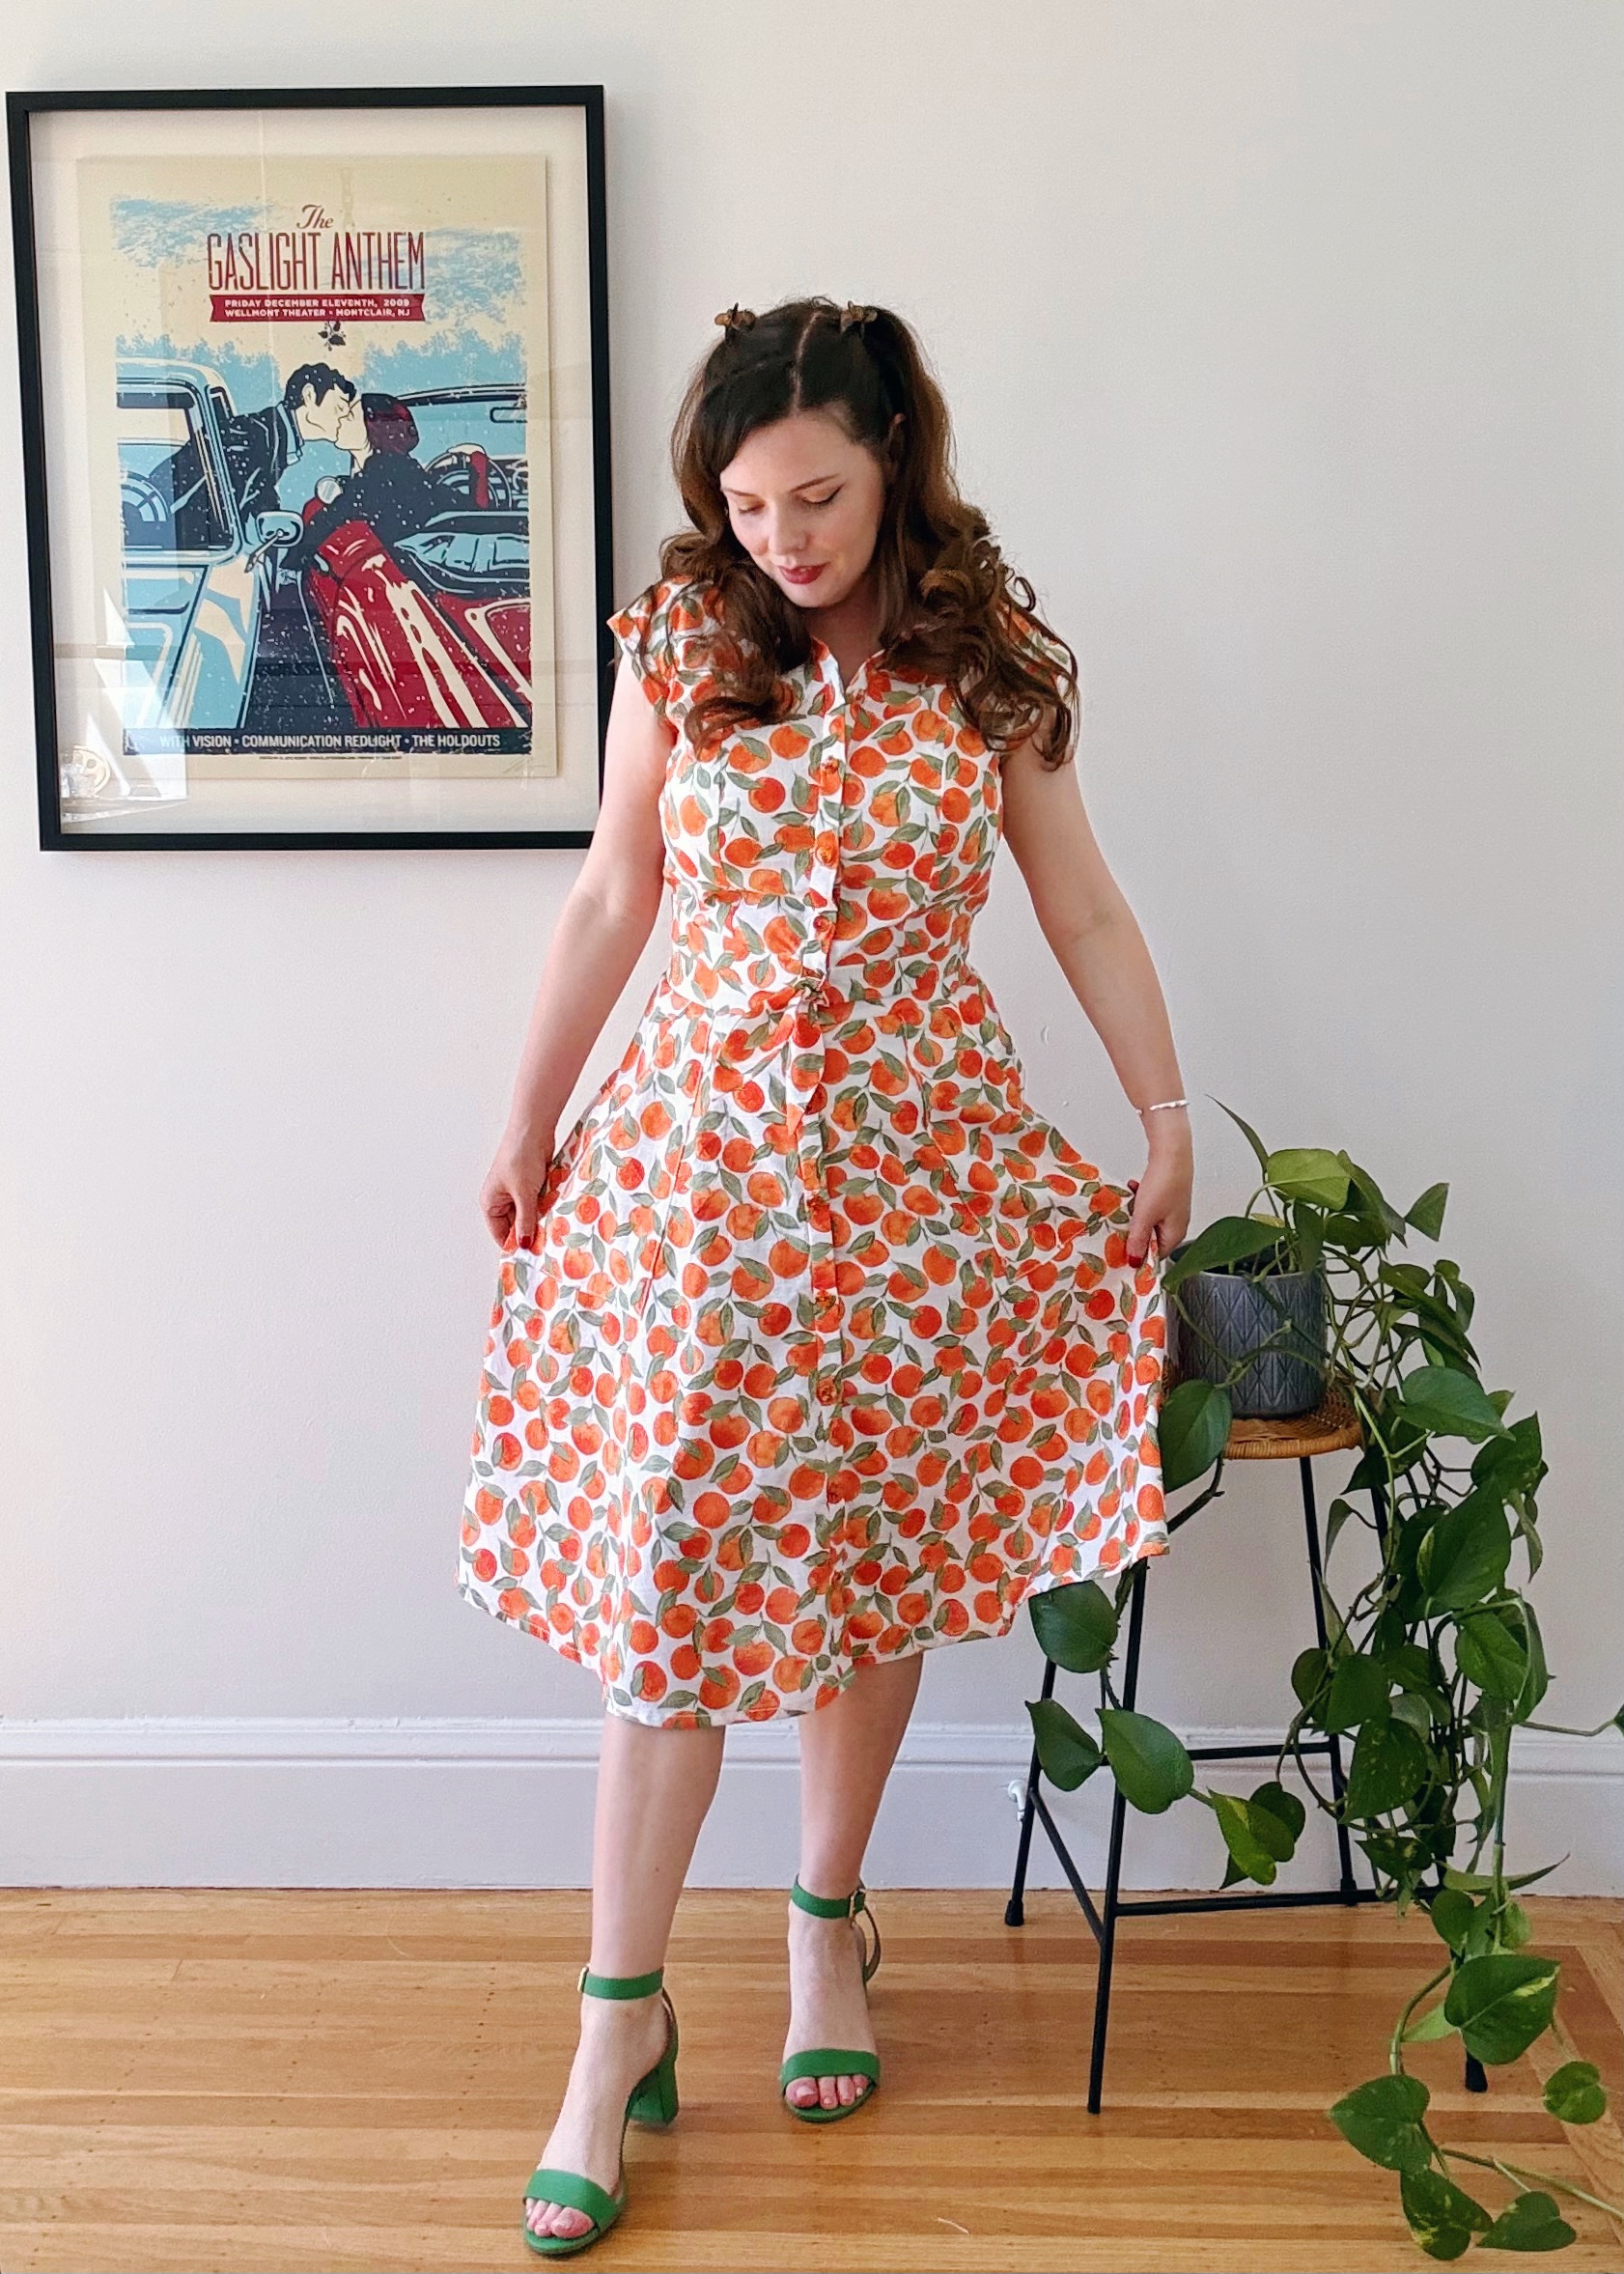
This clementine print cotton is soft and flowy, with a slight, natural textured hand — there is a slub in the weave that makes the cotton look like linen (but a lot less wrinkly!). I adore the painted watercolour design of the clementines, there is something about it that feels slightly vintage. It was a dream to sew with — cutting, pressing, pinning, and stitching were all easy. As I mentioned earlier, this fabric had been in my stash for quite a while, as I bought 3m from Stitch Fabrics back in 2022. At the time, I knew I wanted to pair this fabric with a pattern with a more vintage feel, but I hadn’t exactly worked out what that would be. A shirt dress felt like the most likely choice, but I didn’t feel like making a muslin to work out the fitting needed for Simplicity 8014, plus I wanted something with a different style: more utilitarian, with clean lines.
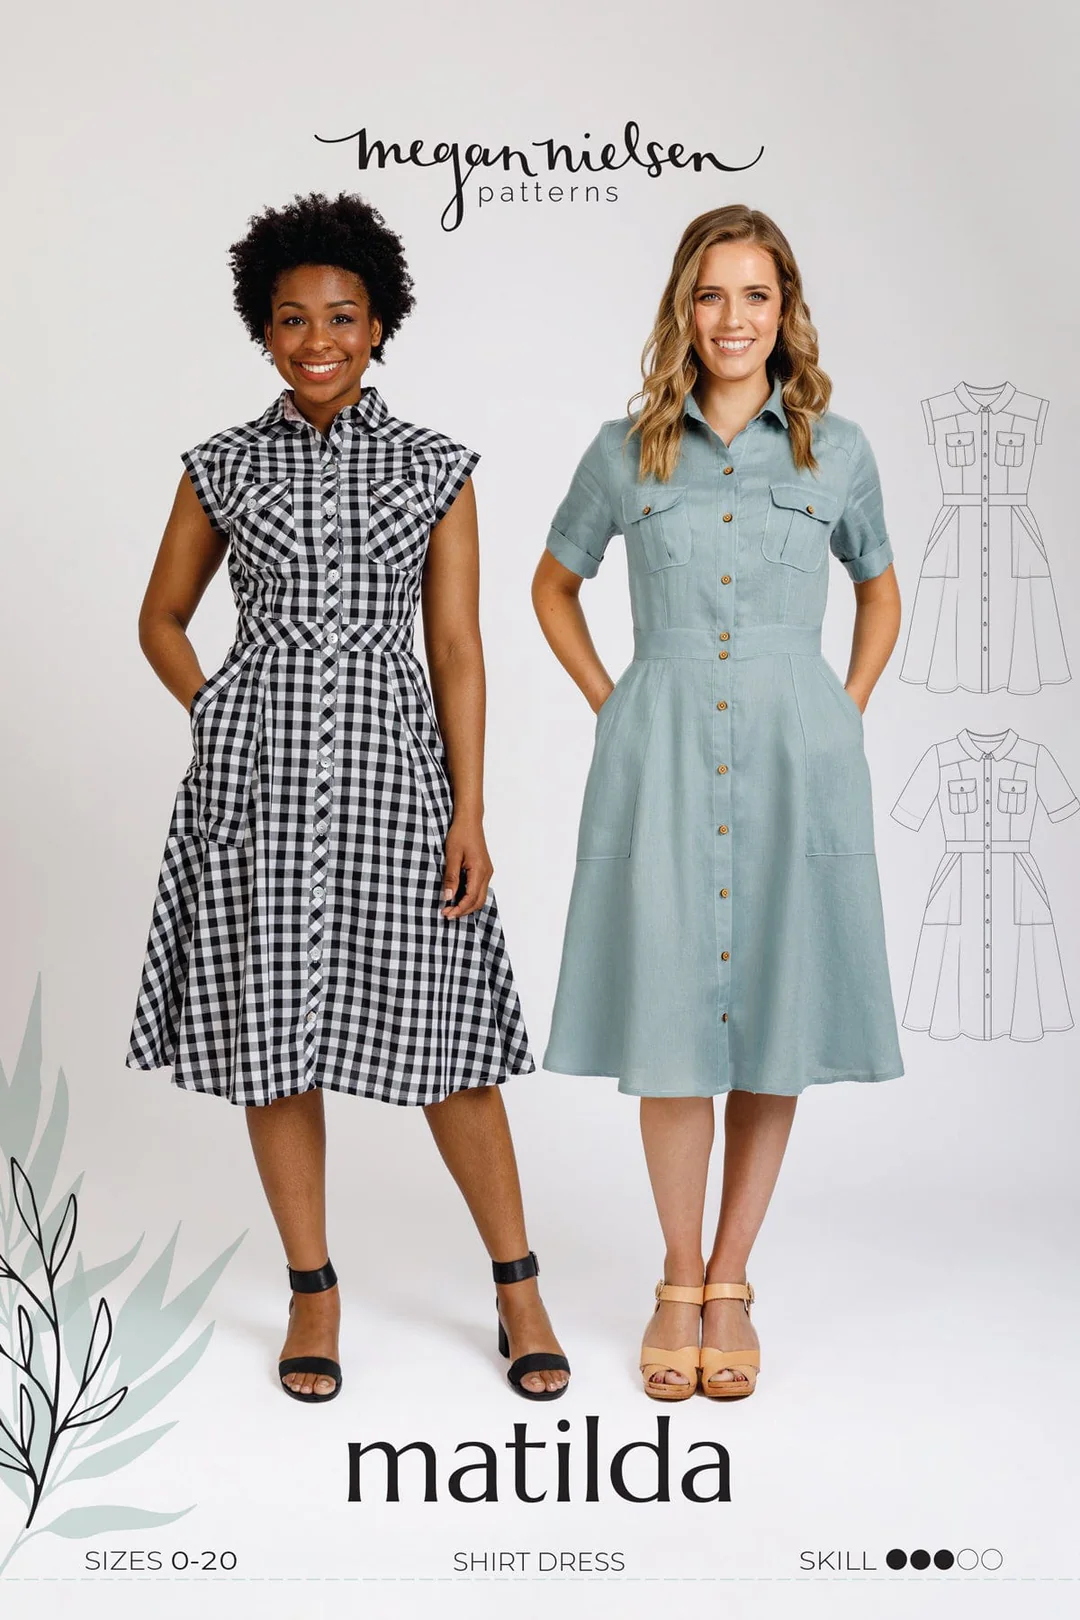
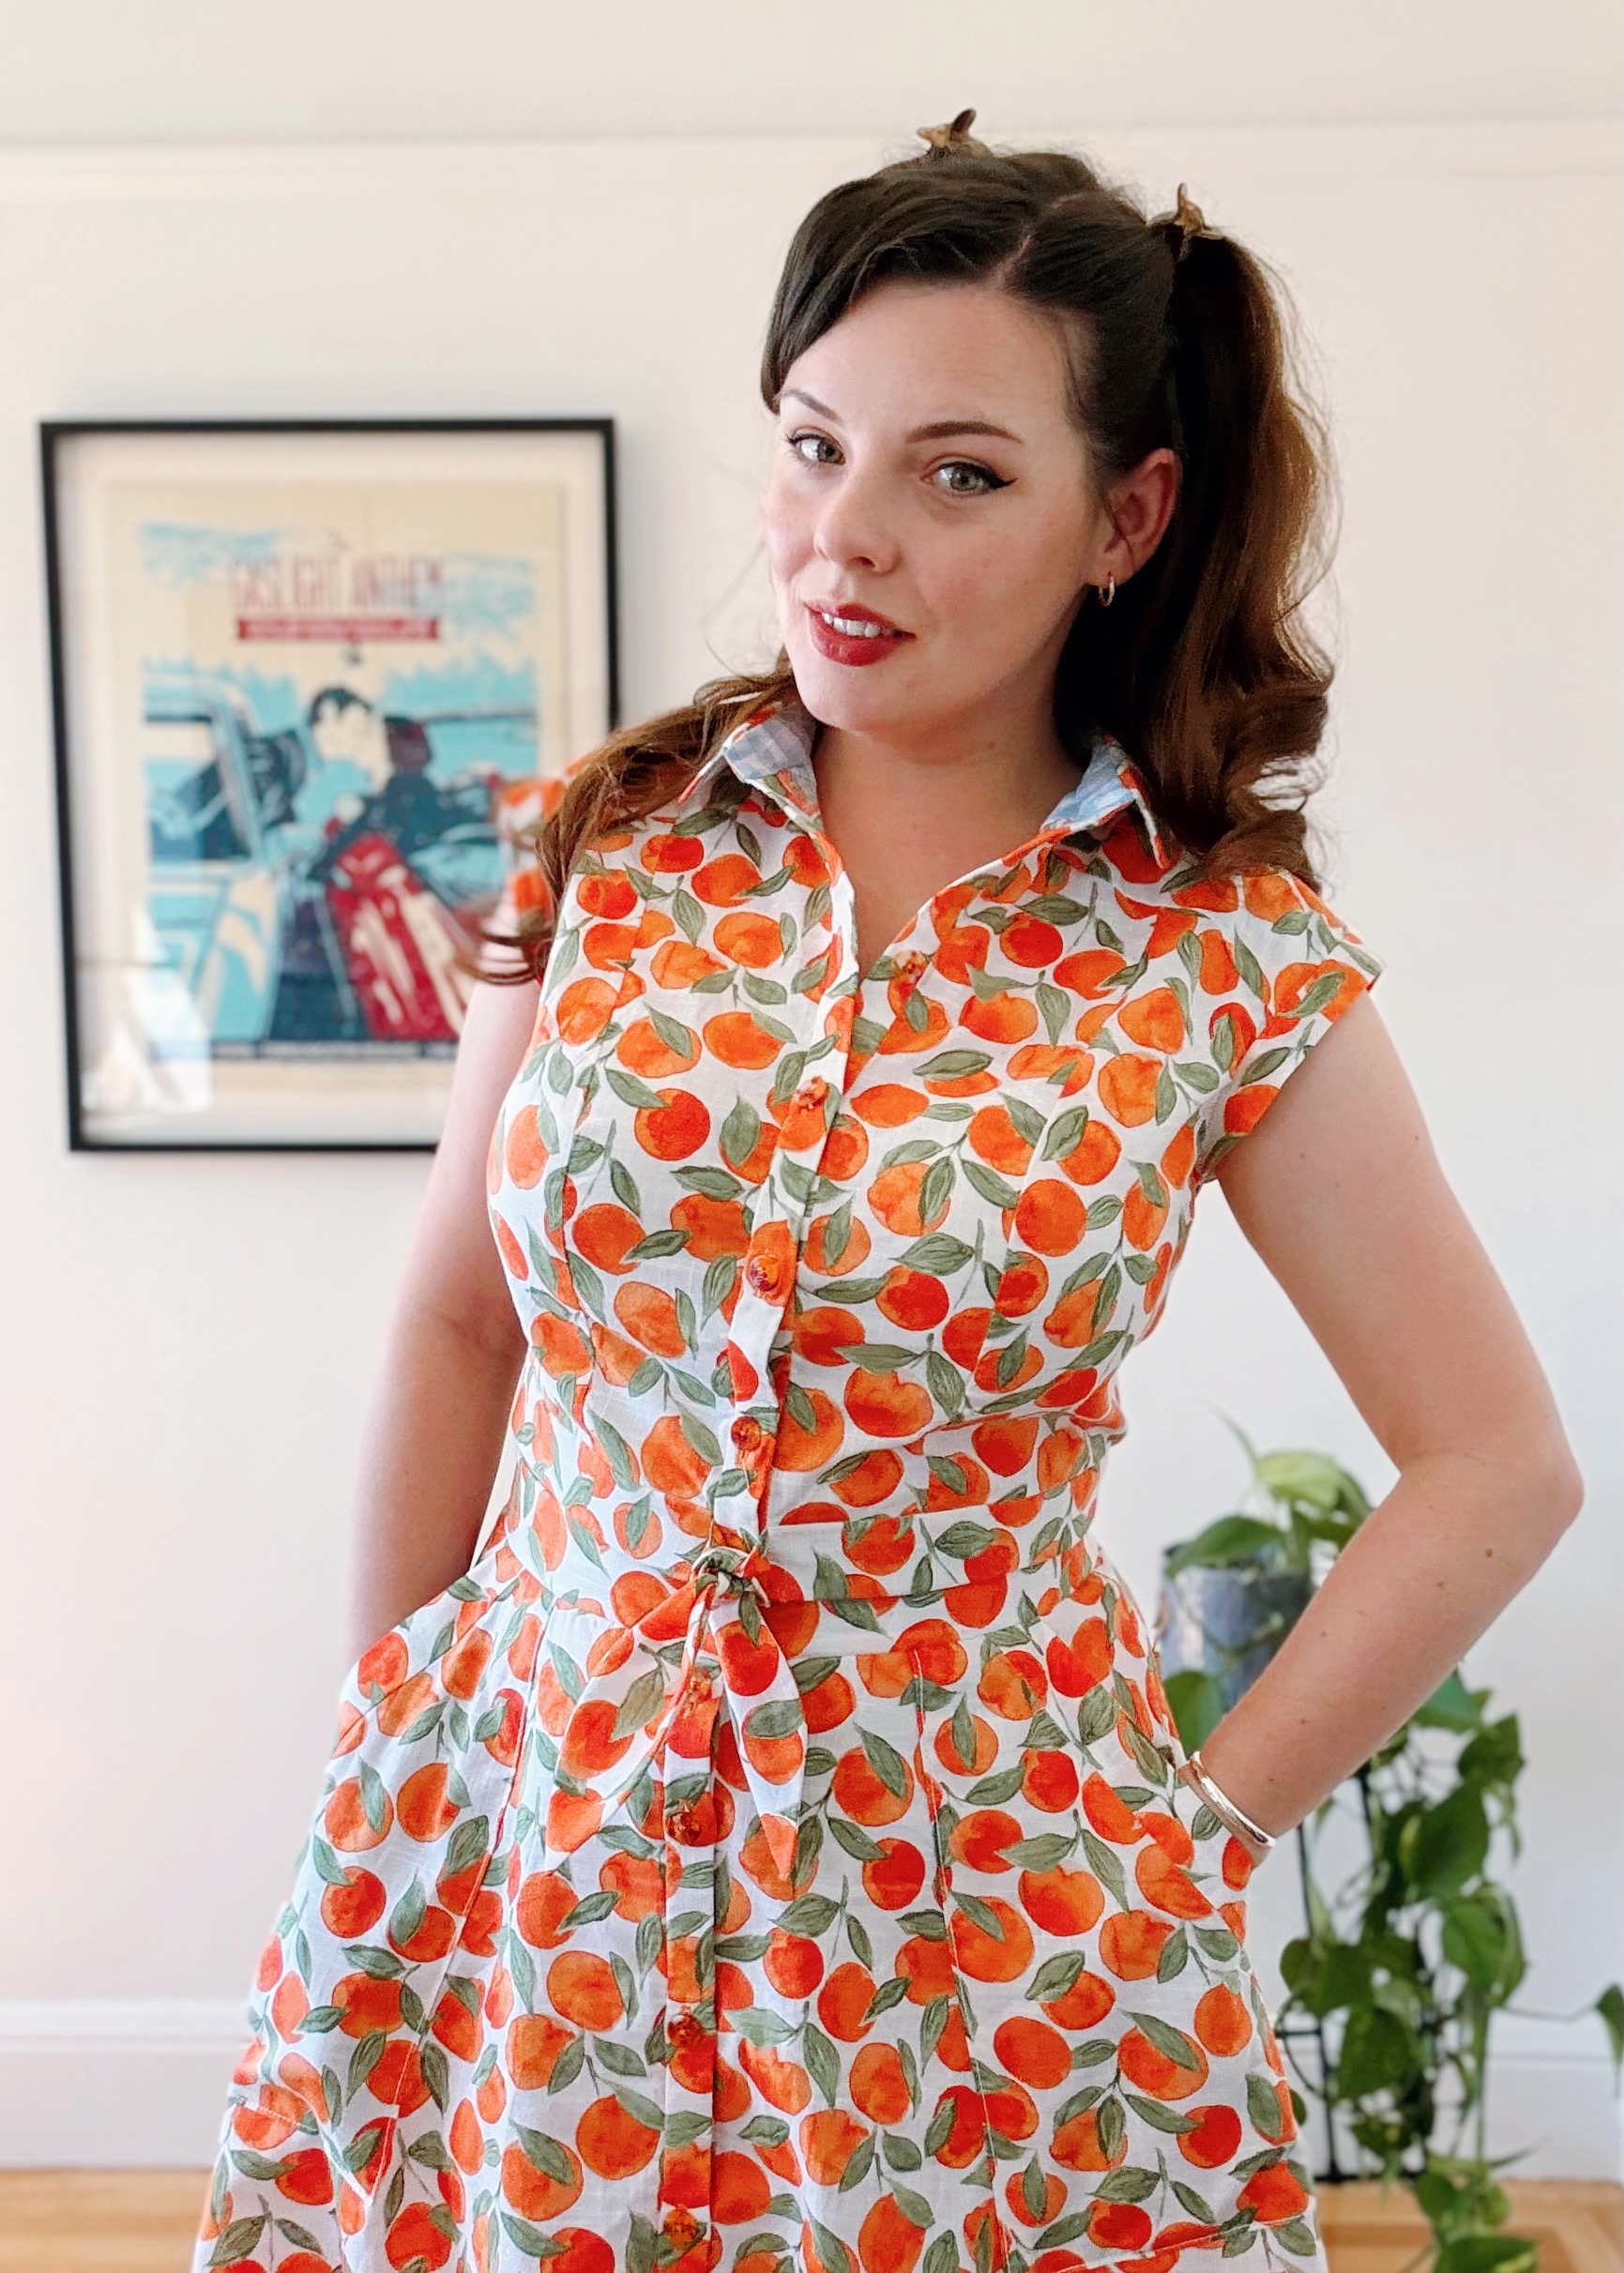
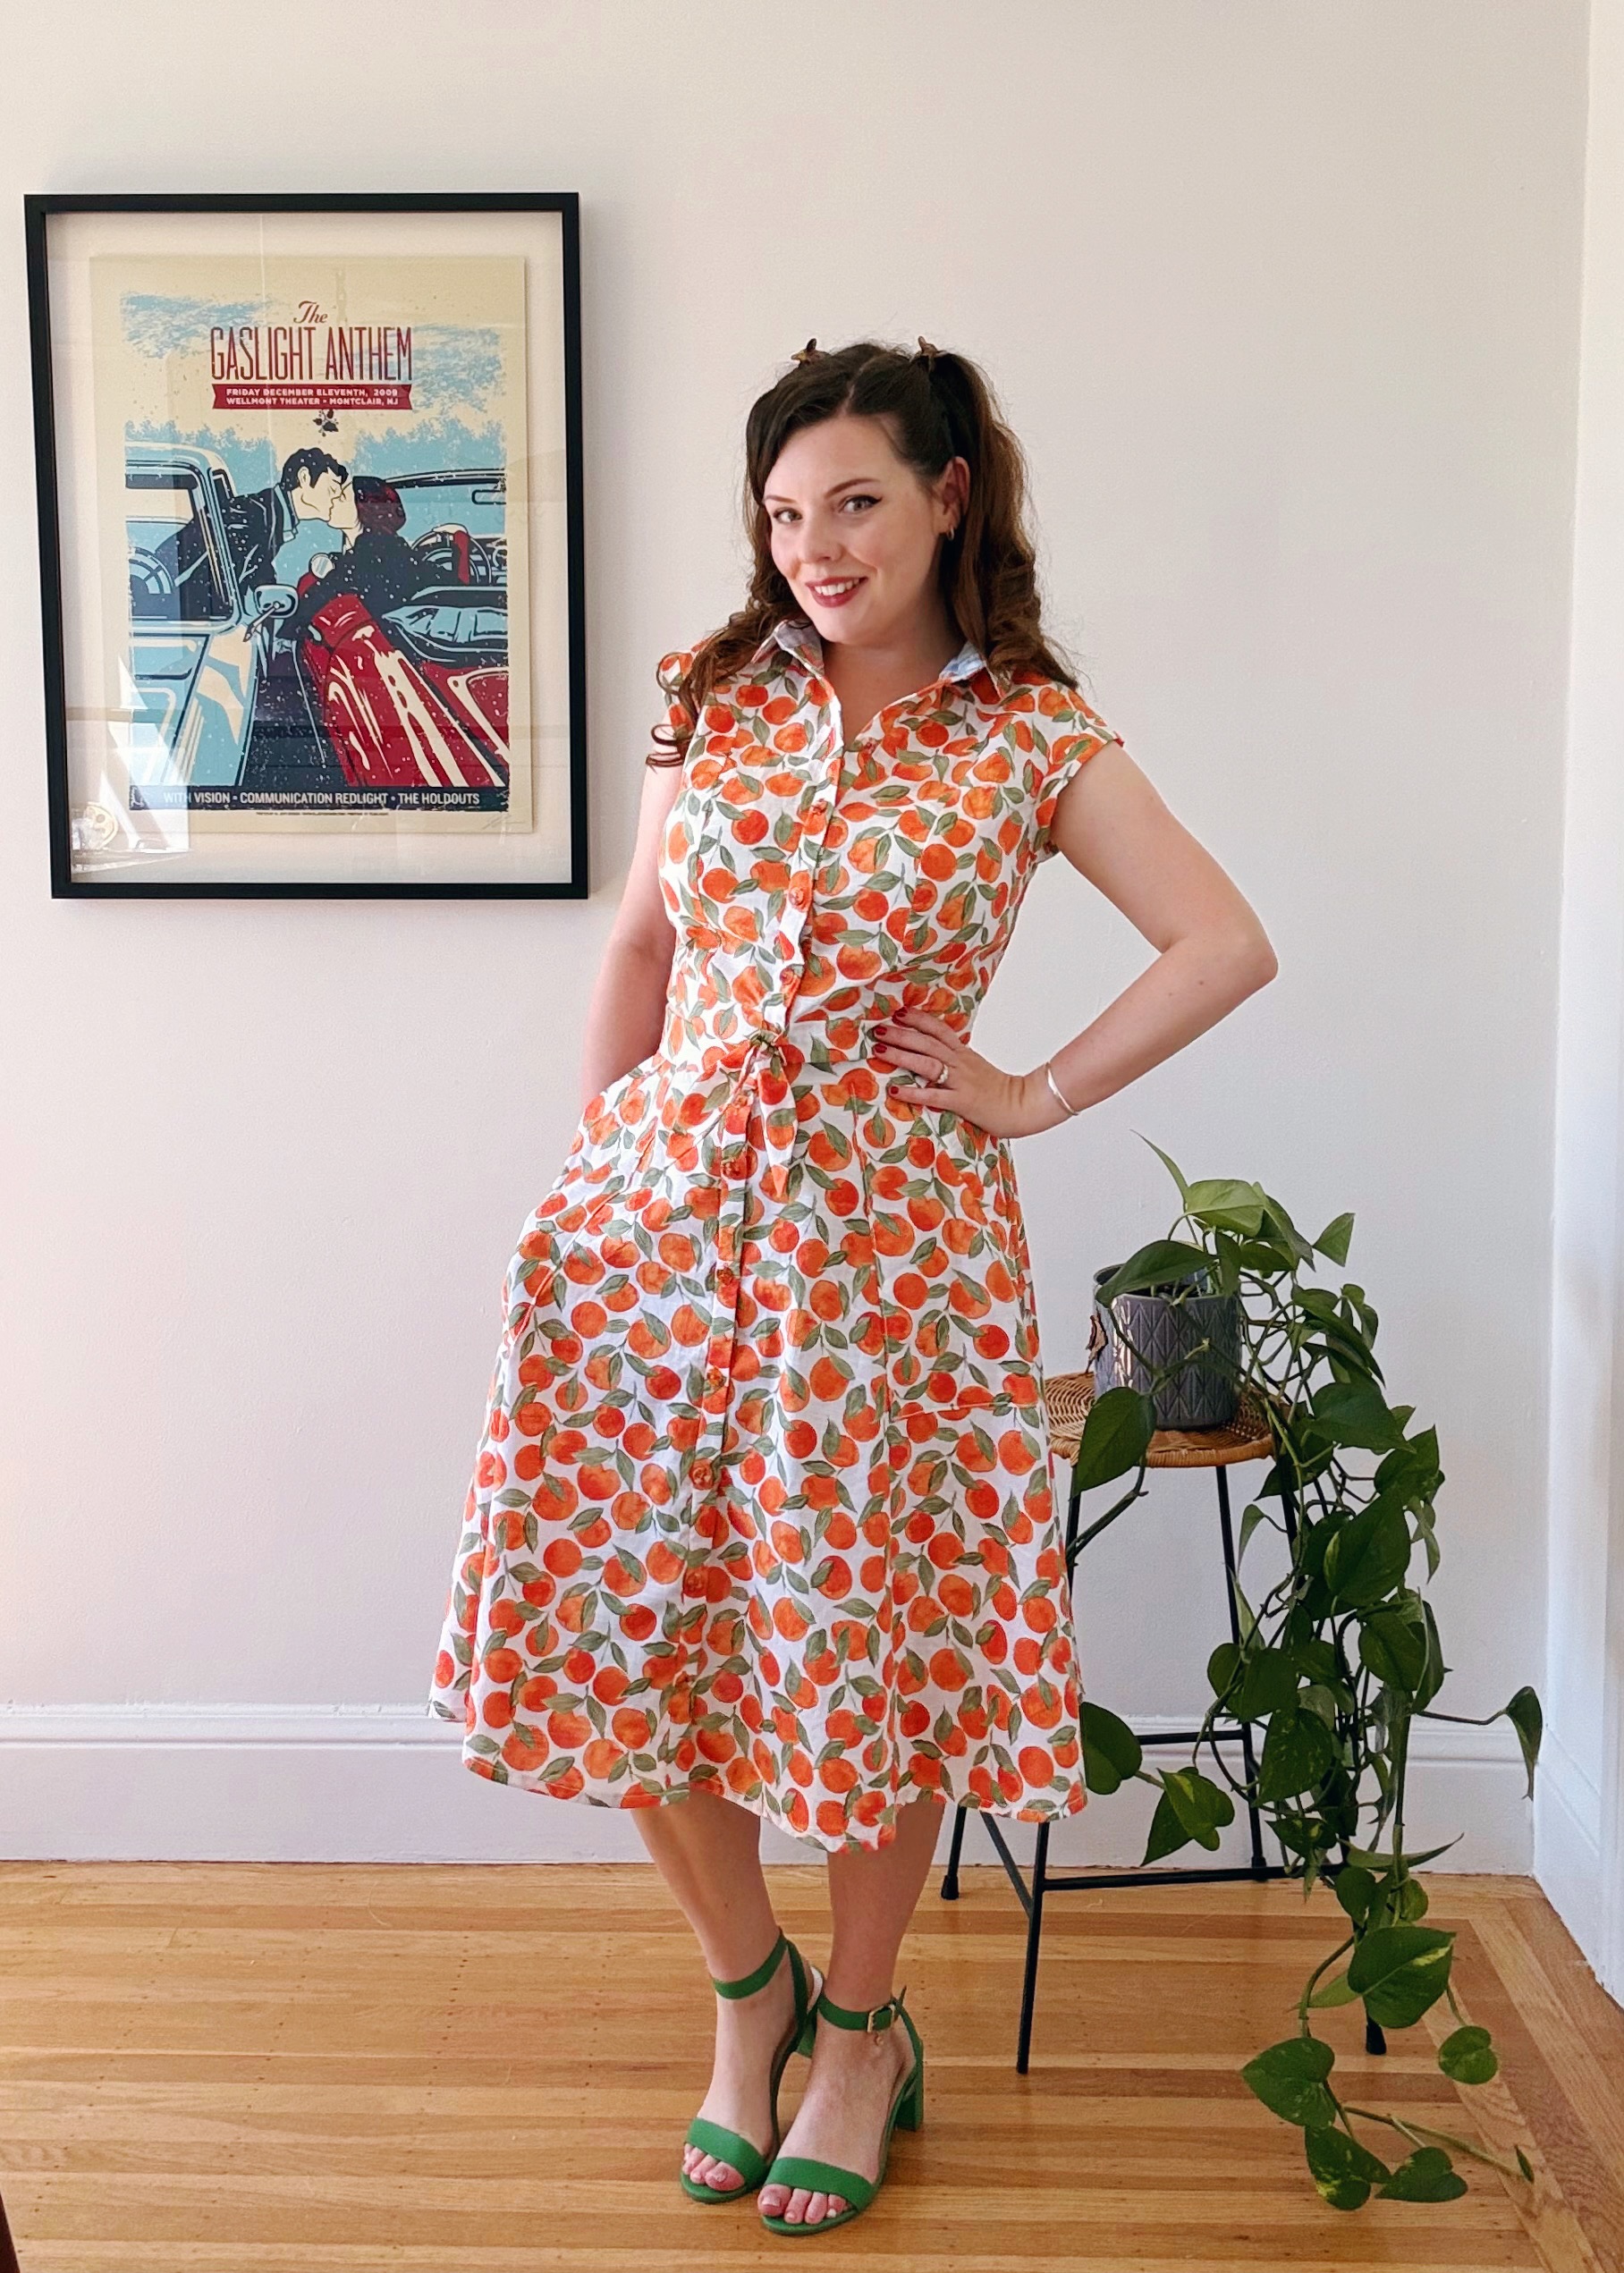
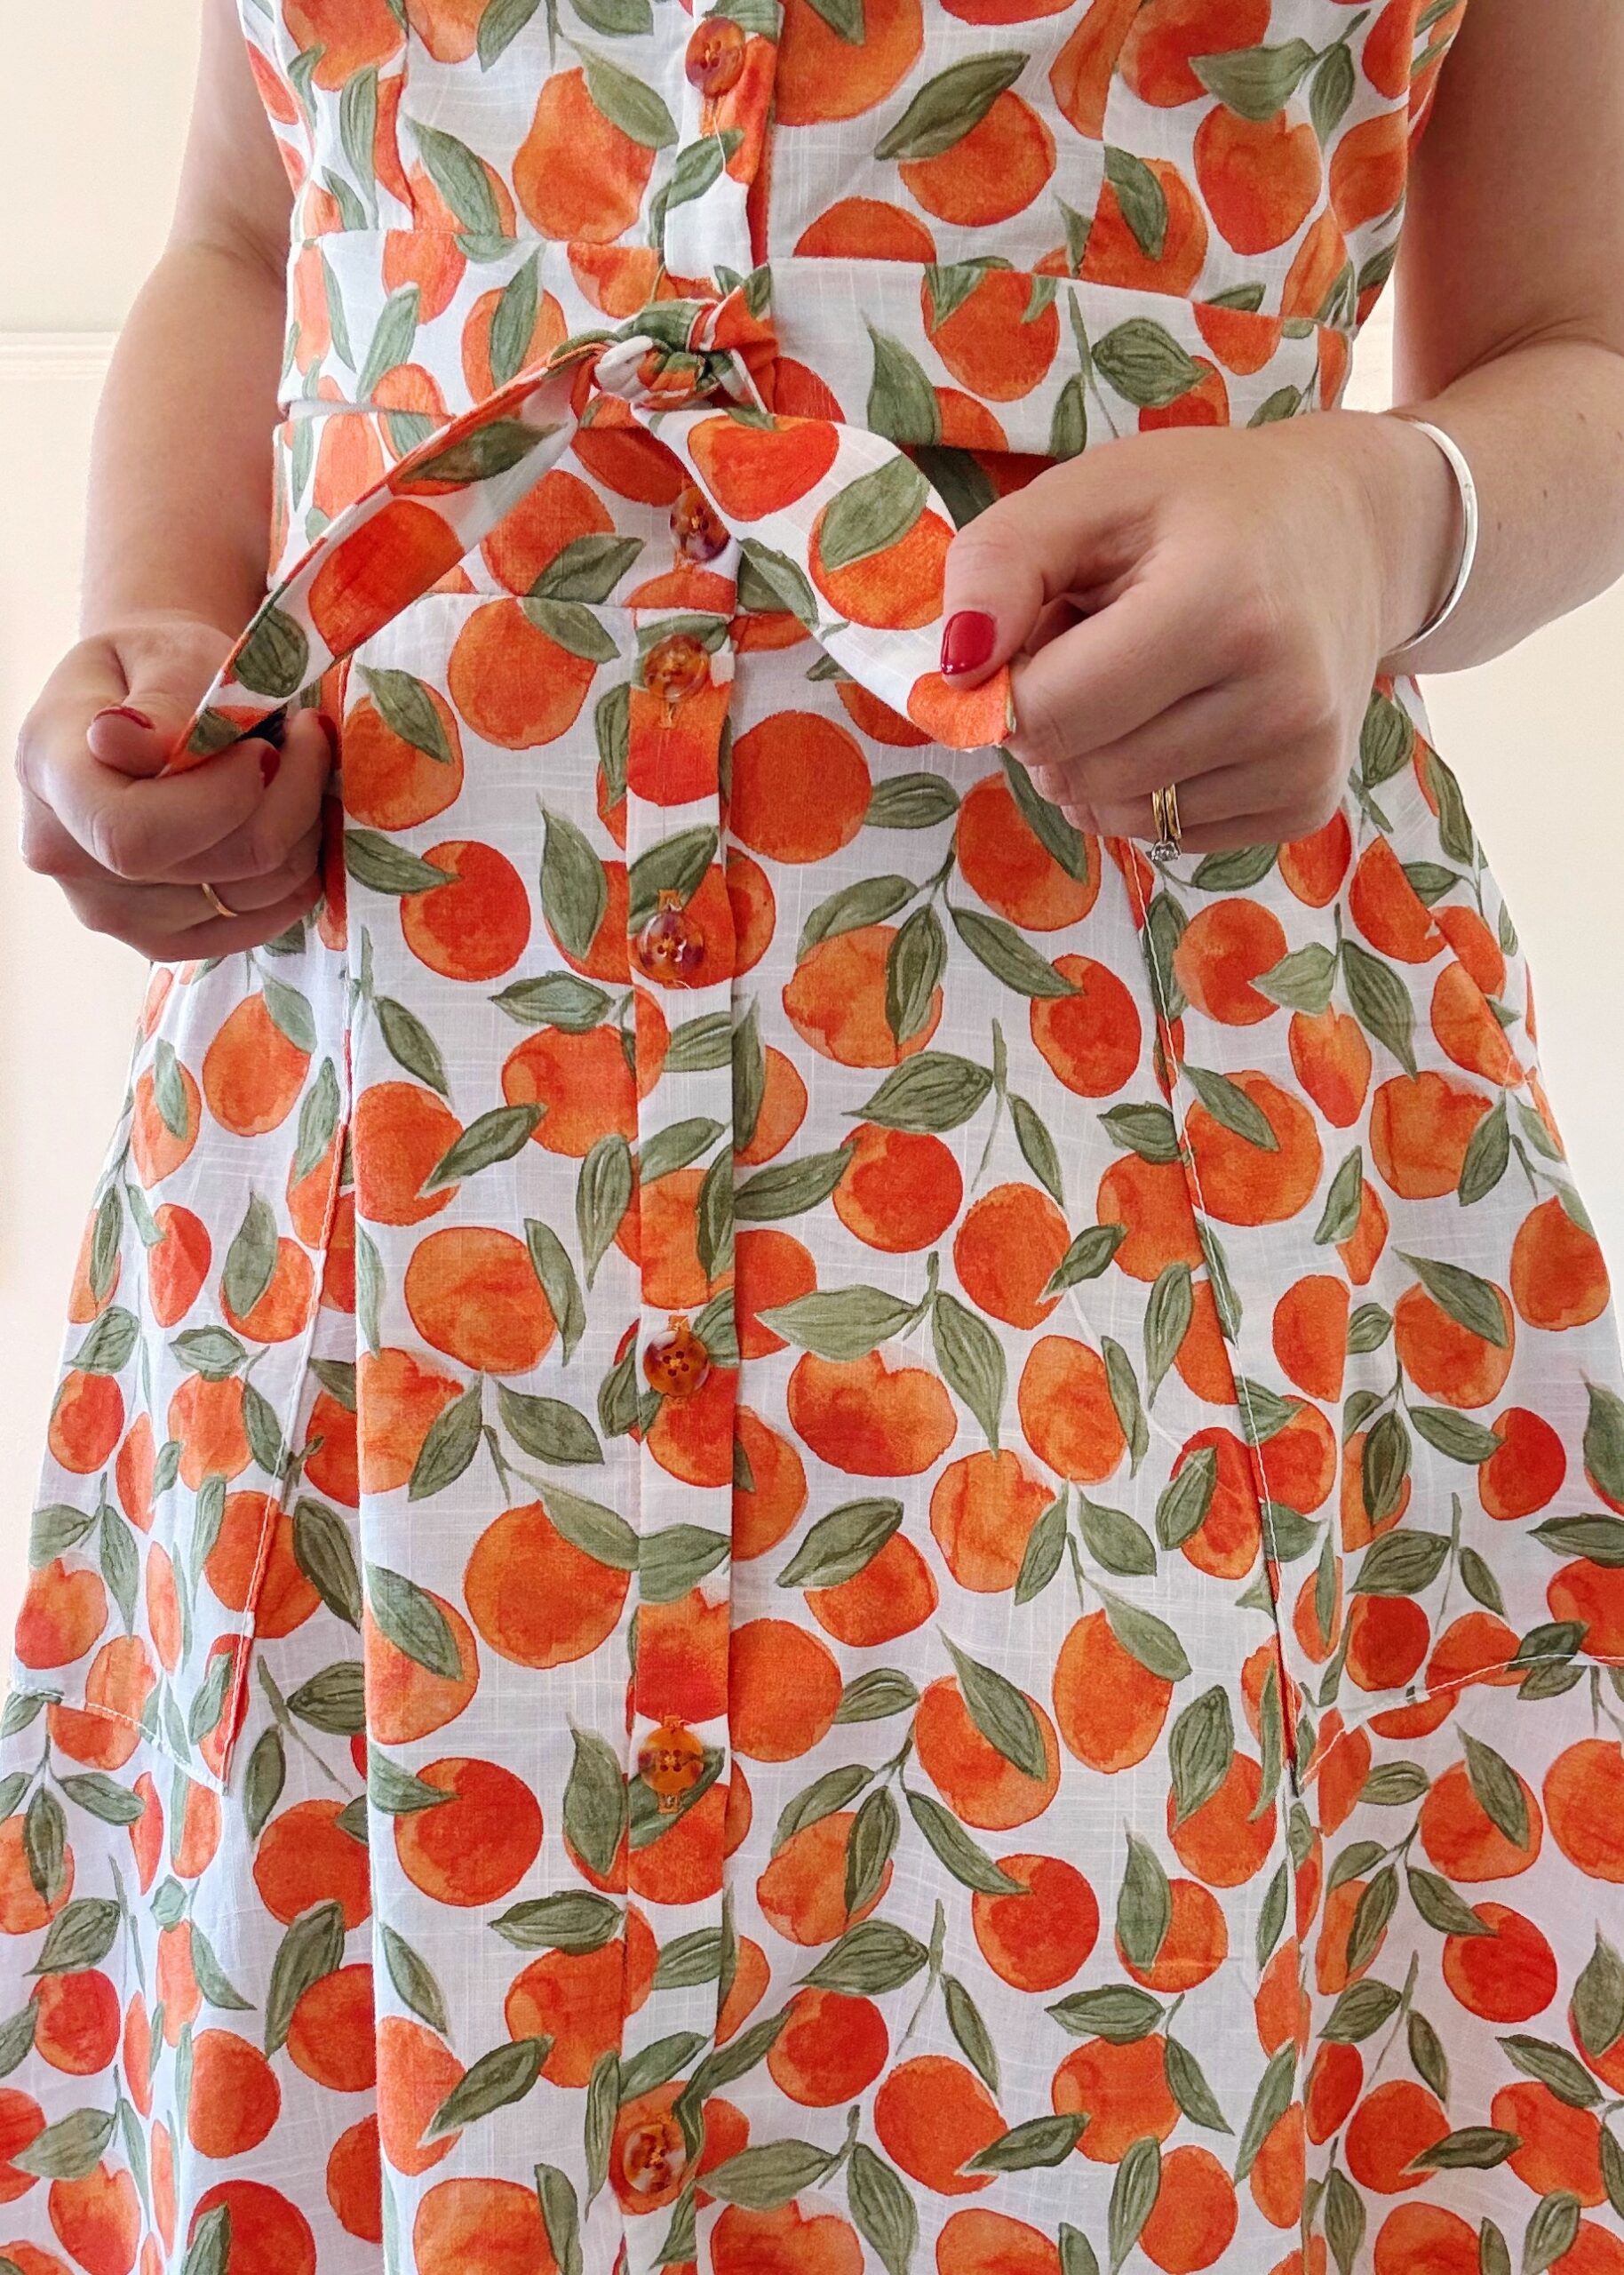
The Megan Nielsen Matilda shirt dress ticked all the boxes I was looking for! The Matilda dress is a utility-style shirt dress, with princess seams, an A-line skirt and a collar and collar stand. There is an option for either drop shoulders with a sleeve band or a medium-length sleeve with a deep hem, which can be rolled up into a cute cuff. The pockets on the skirt are seriously roomy and there are pleated breast pockets, although I left them off on my version to have a more minimal look. The Matilda dress is designed for light-to-mediumweight fibres, so cotton, linen, rayons, tencels and silk would all work really well. I could imagine a lightweight indigo denim chambray would look really lovely. I opted to make the version with the sleeve bands, but I was inspired to follow the co-ord hack tutorial on their blog — I love the option to mix and match some days! The hack is simple to follow — you just need to alter the front placket, draft a new tie pattern piece and a new waistband pattern piece.
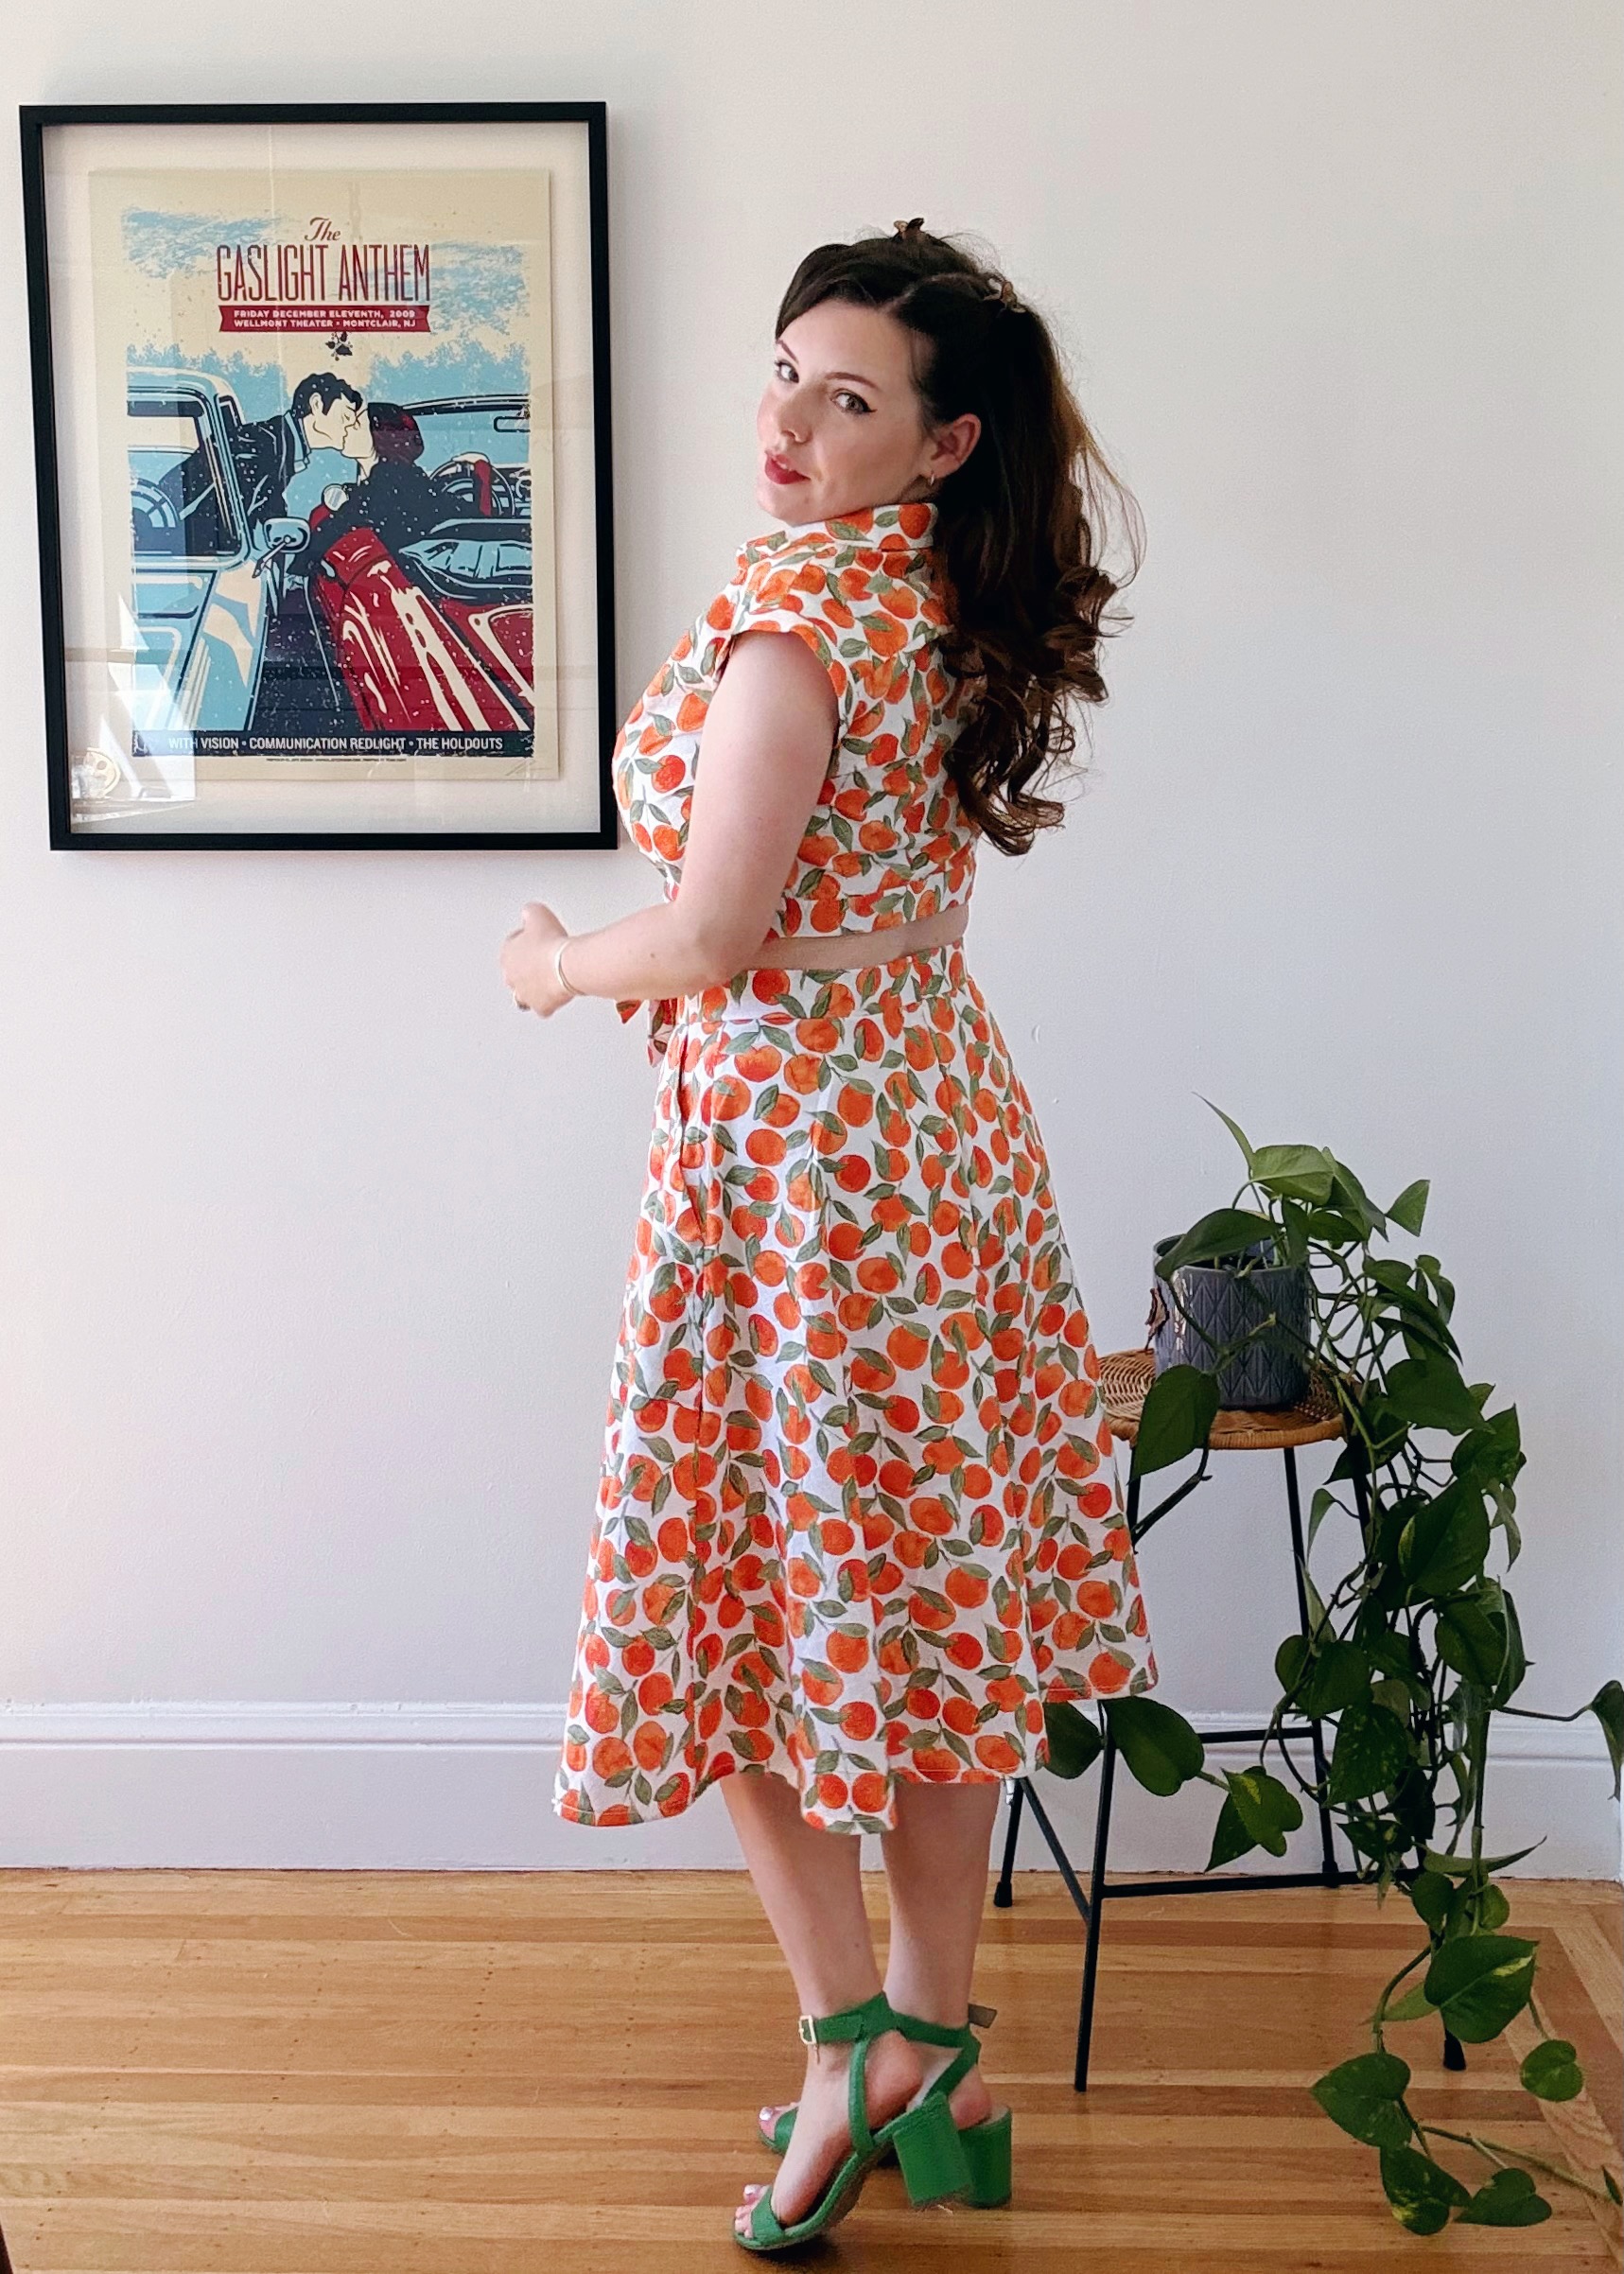
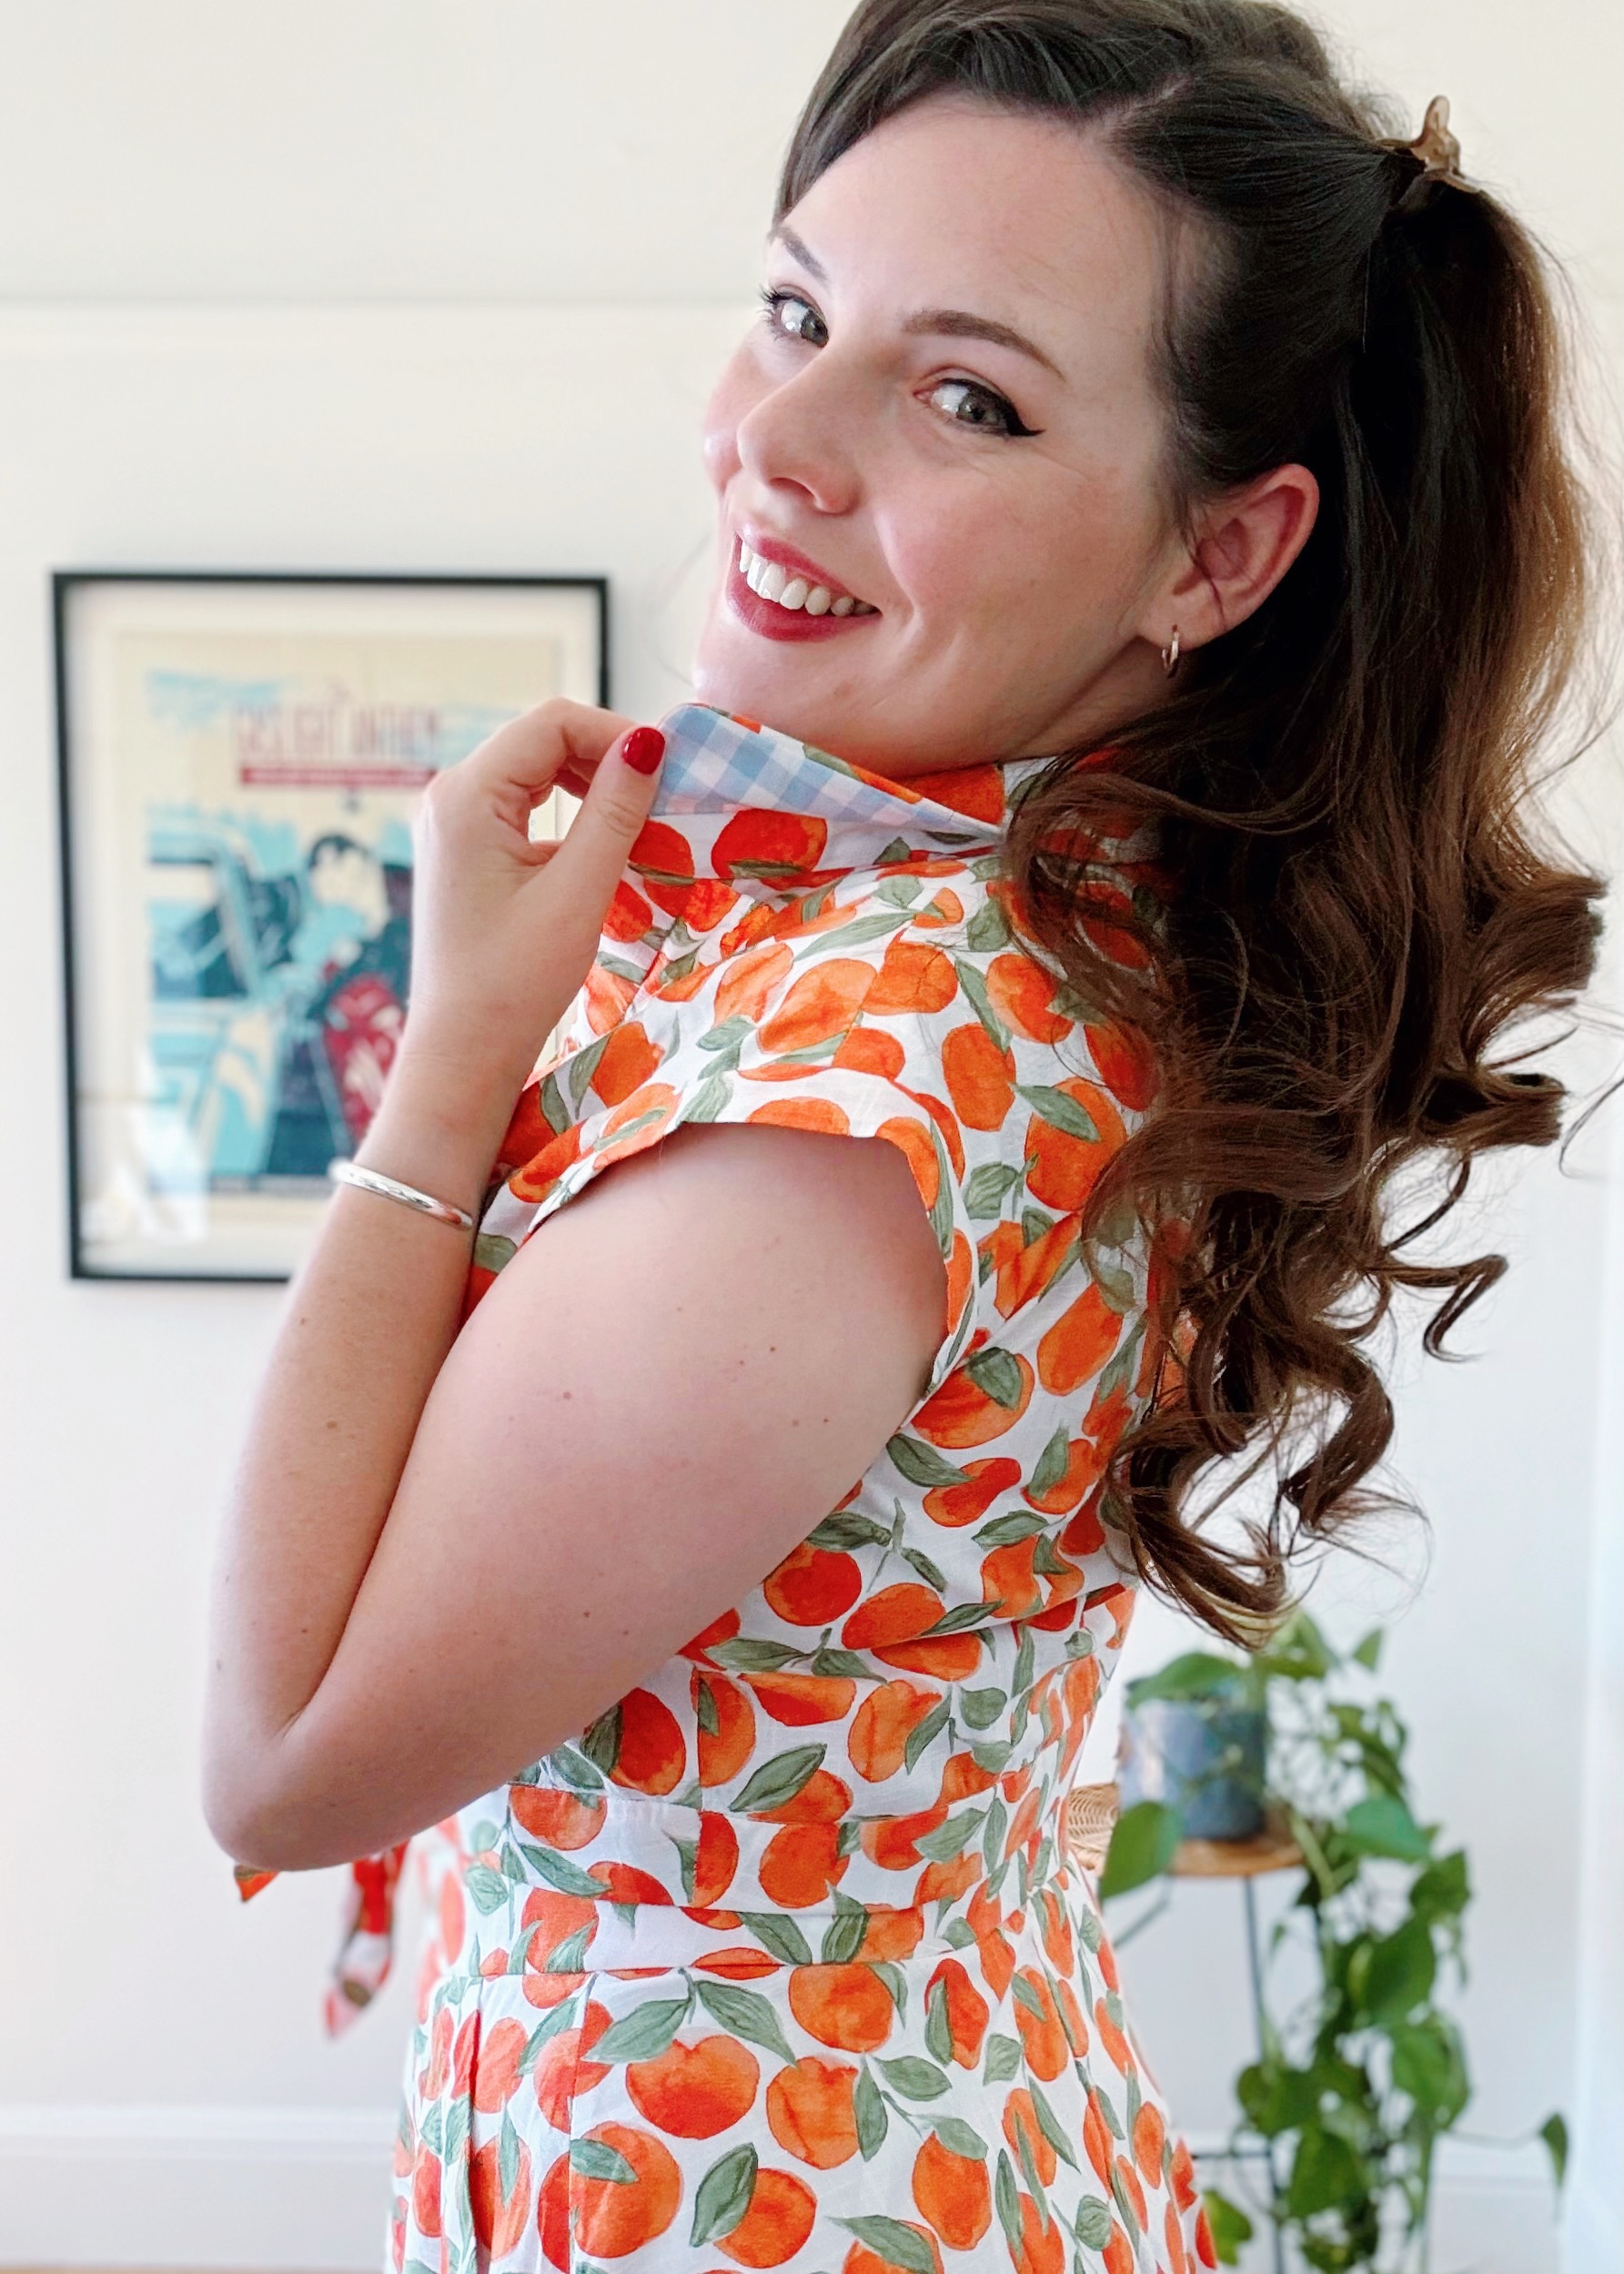
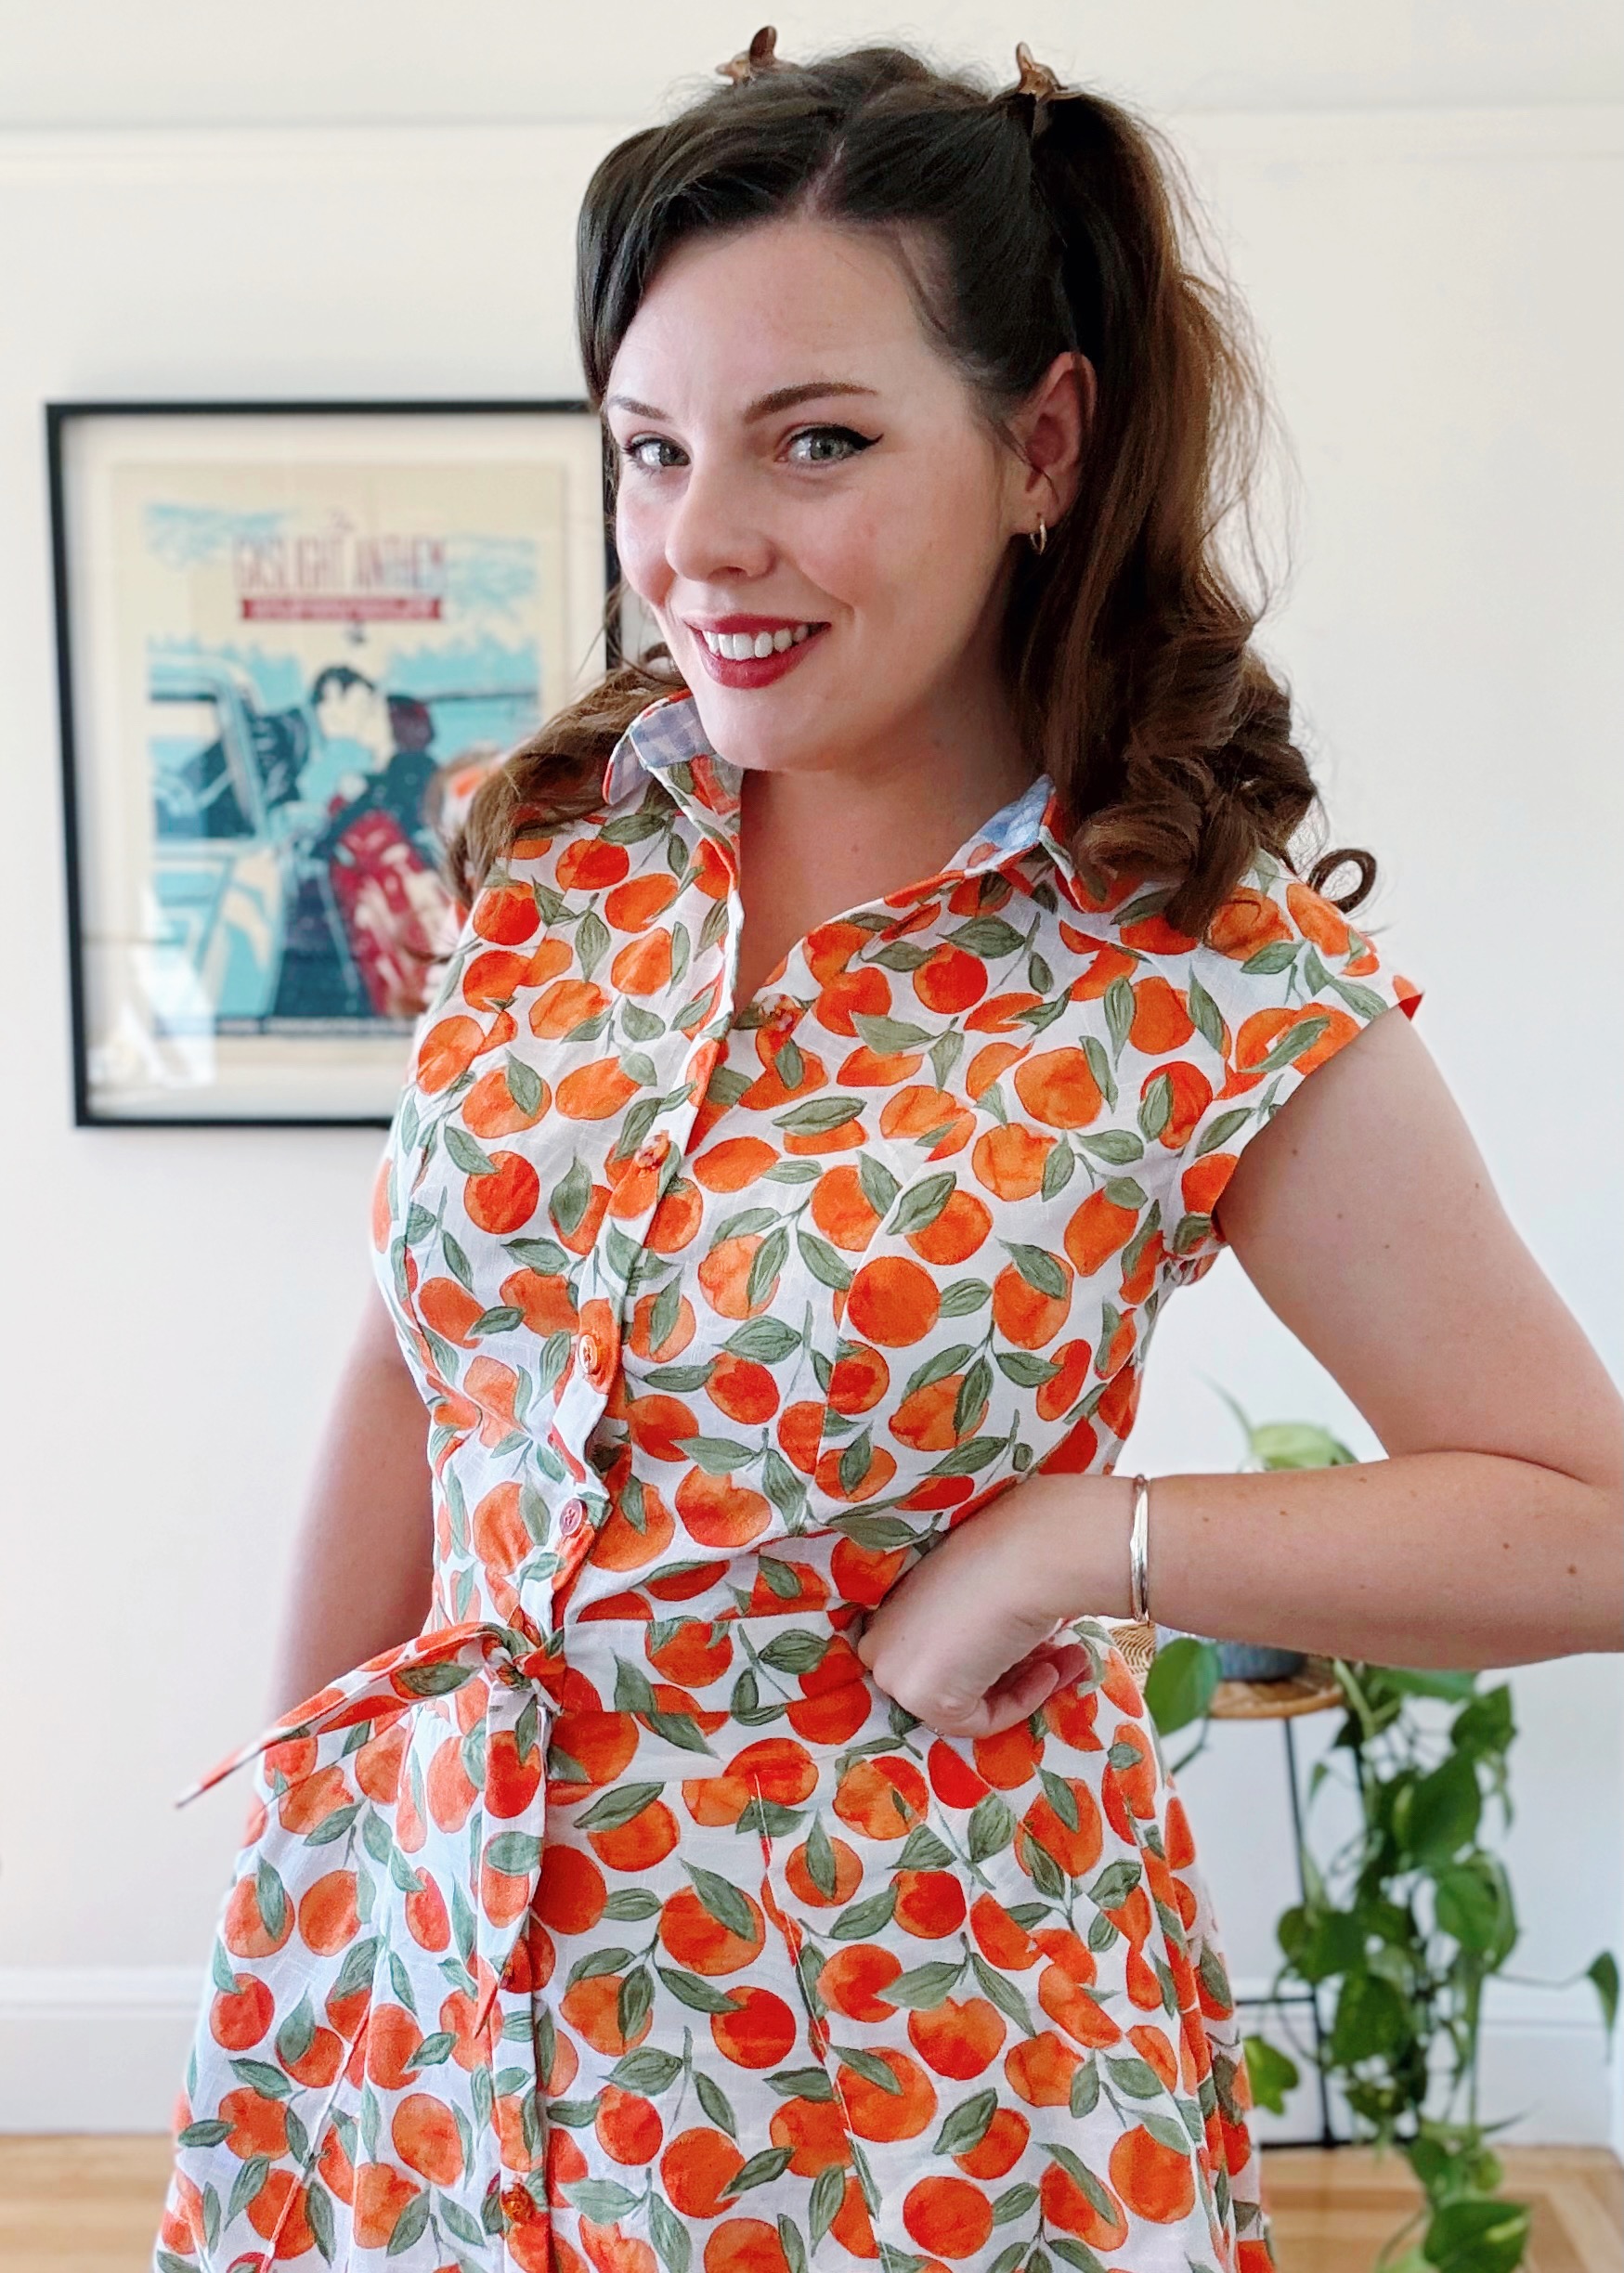
In terms of construction, I found everything was pretty straightforward; I just bounced between the written instructions and the blog post for the hack. However, this pattern would probably best suit an intermediate sewist, as there are multiple pattern pieces to keep track of, plus there is some precise topstitching and sewing needed. One element I liked was that the Matilda dress has two different bodice options, based on whether you are using the sleeves or not. If you are using sleeves, several key pattern pieces are narrower around the armscye to accommodate setting in the sleeves. I made a few fitting adjustments at the bust, including an FBA to add 1 ¼” and I lowered the apex by ½”. My FBA amended the armscye size, so I also had to amend the sleeve band piece to ensure it would all line up correctly at the end. One issue I ran into was the collar and collar stand being too big; I think this may be an error I made in either tracing or cutting, but this meant it wouldn’t align nicely at the top, so I skipped the button and buttonhole there. I wouldn’t ever wear a shirt dress buttoned up to the neck anyway, so it is not really the end of the world to me 😅

For my fussy details, I lined my inner collar stand, under collar and the waistbands with a cotton sky blue gingham for a splash of contrast to all of the various shades of orange. Adding a couple of hidden elements like this to a project makes me so happy — you definitely don’t see that level of care on many RTW garments! I switched out my white thread for an orange thread on the buttonholes. I also used ban-rol for the waistbands and skirt placket instead of interfacing; I decided this on a bit of a whim, but I am actually really impressed with how structured the waistband feels. There is nothing worse than a high-waisted skirt slowly crumpling, creasing and collapsing over the course of a day! Lastly, I finished off my co-ord with some orange, fuchsia and cream swirly resin buttons from the What Vicki Made x Pigeon Wishes collaboration.
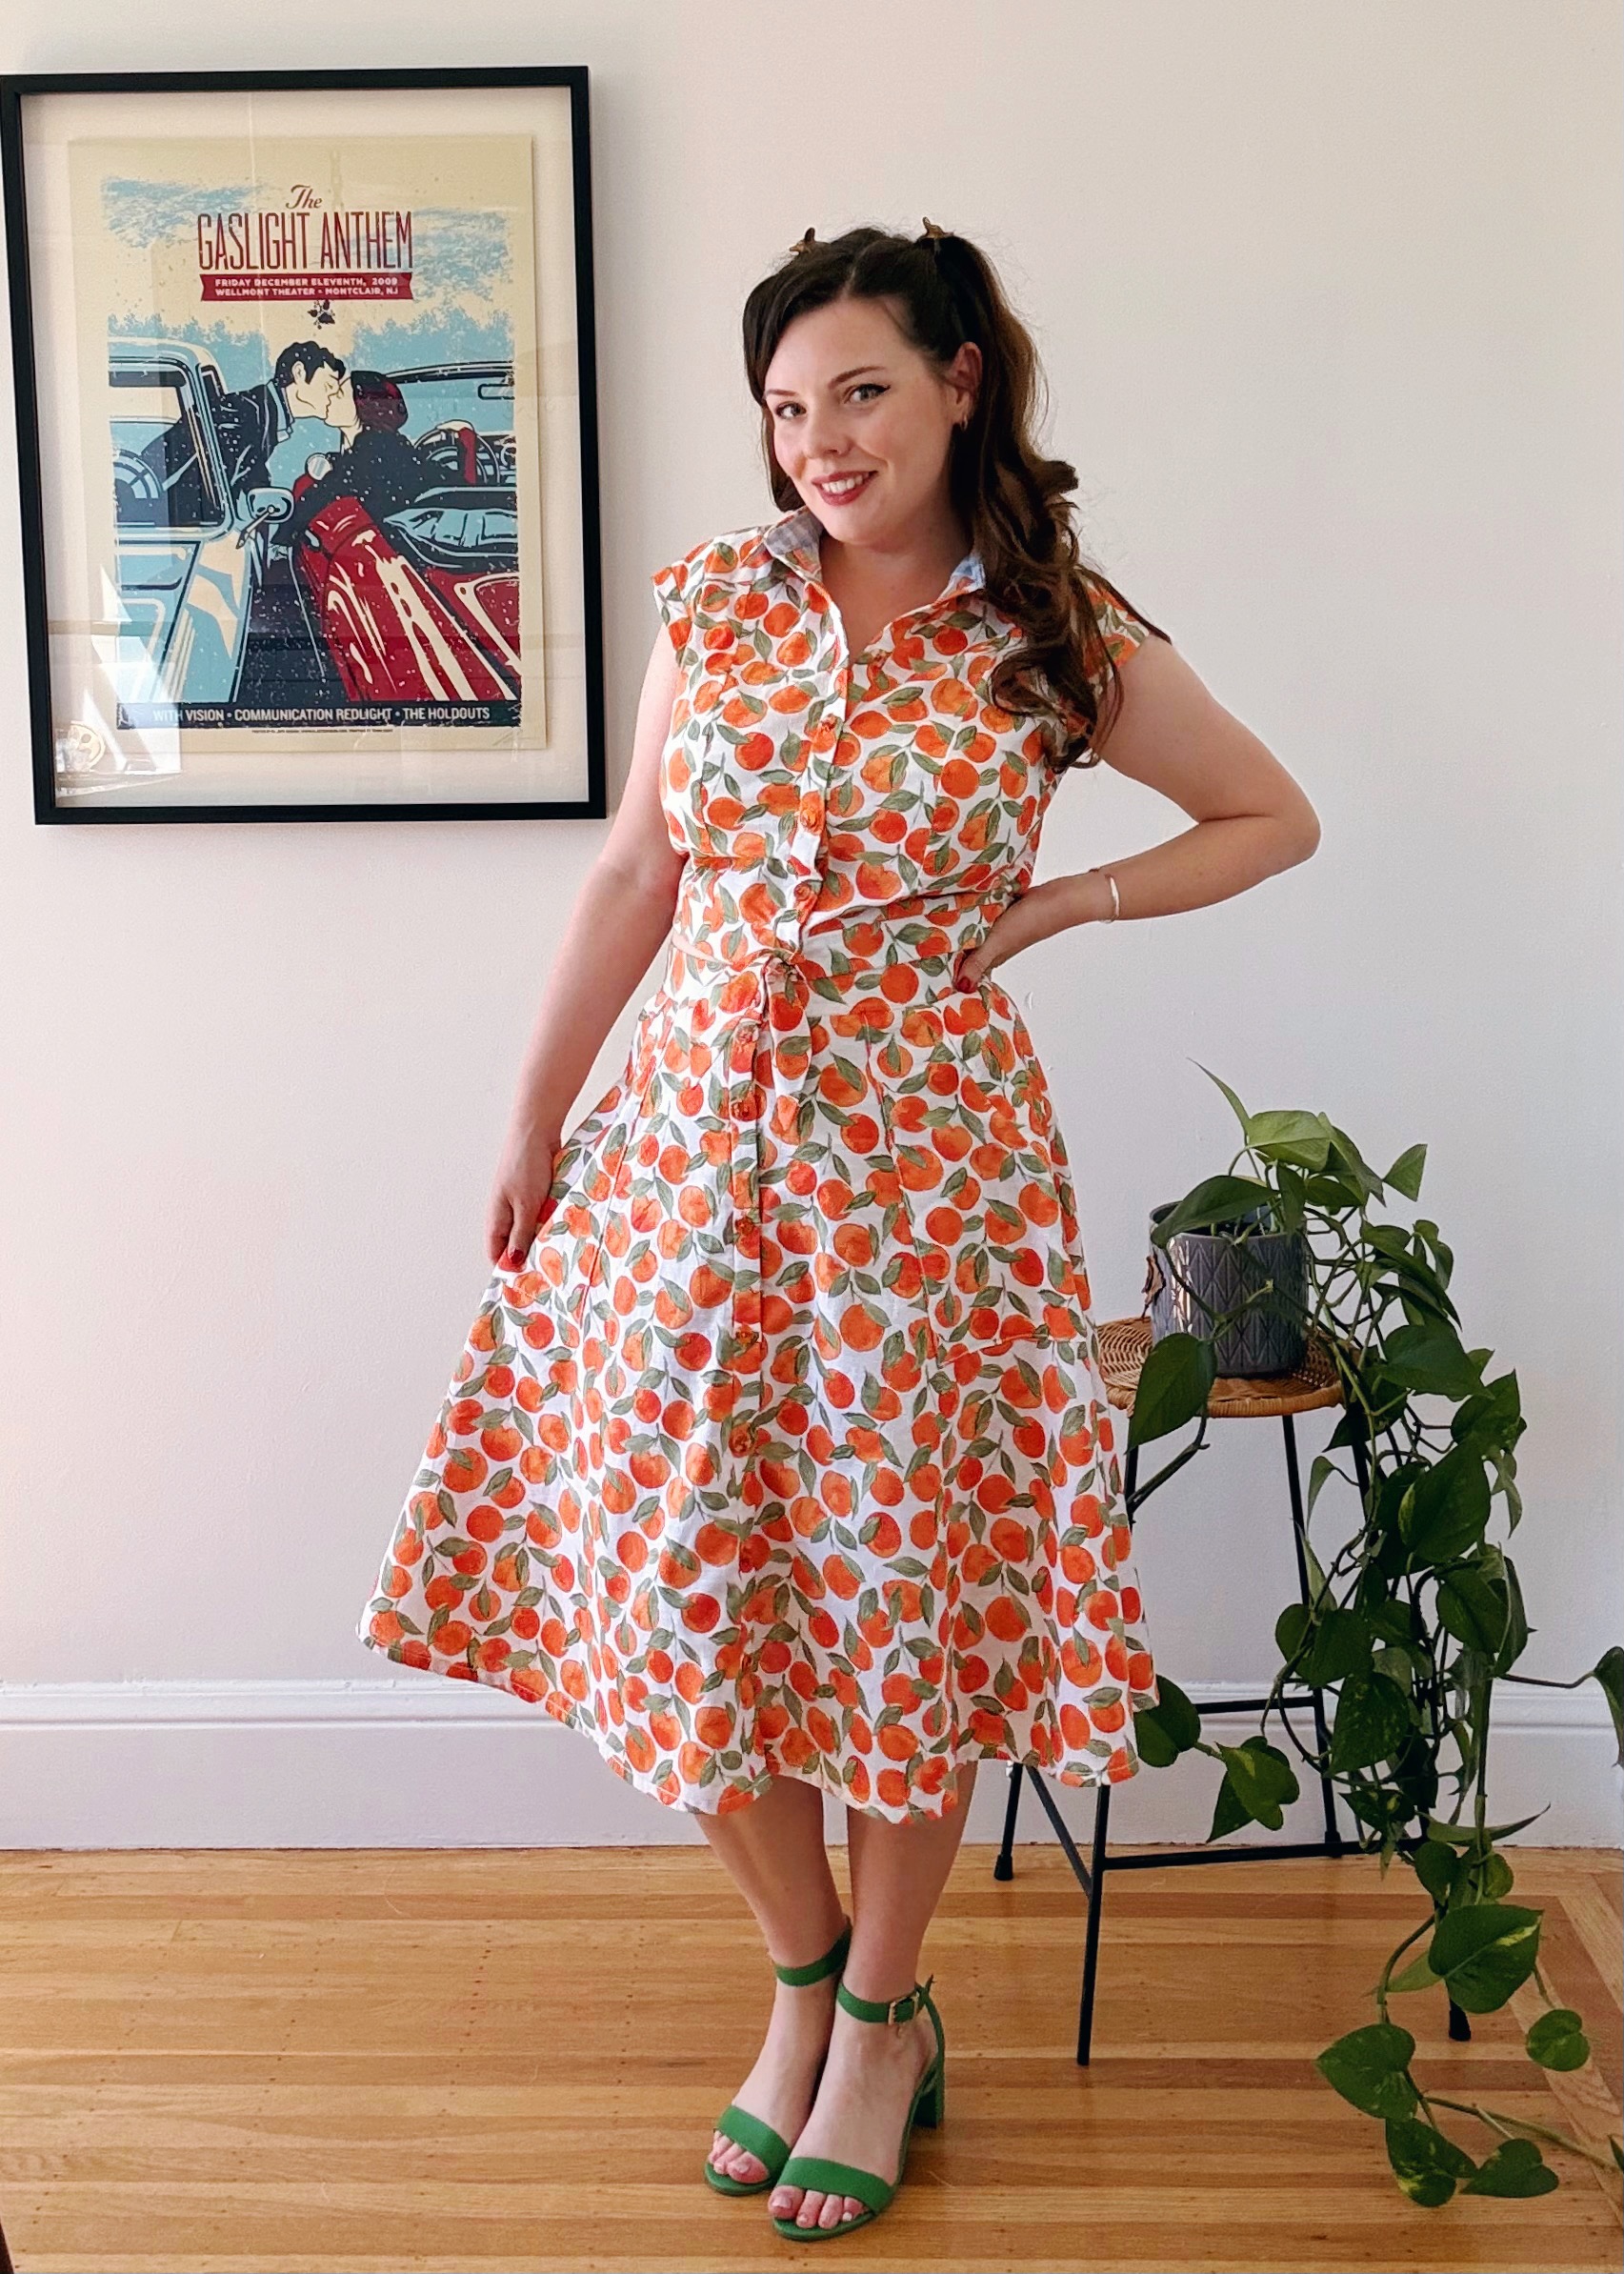
This finished co-ord has been lovely and light during the recent warm weather. Making a co-ord was the right call, as it has been really versatile; I have been wearing the shirt with high-waisted jeans, the skirt with slouchy striped tees, and then wearing them together for a matchy-matchy style. I am planning to make a pair of orange linen shorts to also coordinate with the shirt, but I still need to seek out the right fabric weight. I would definitely make the Matilda dress again — I would opt for the bodice with sleeves and then use contrast piping to highlight all the style lines.
Megan Nielsen Matilda Dress
Size 0 – 34
Bust: 32″ – 60″
Waist: 24″ – 52″
Hips: 34″ – 62″